In this document:
Introduction
In this guide, we’ll show you how to add and edit team members and give an overview of their profile options.
Use this guide to:
- Add, Delete, or Restore team members
- Search Team Members
- Edit their profile information
- Check what appointment types are tied to each team member and how to set custom working hours.
To learn more about how to fully set up the Team feature, check Setup Team Booking.
Add, Delete, or Restore Team Members
First, head over to the Team settings page under the SSA Settings tab.
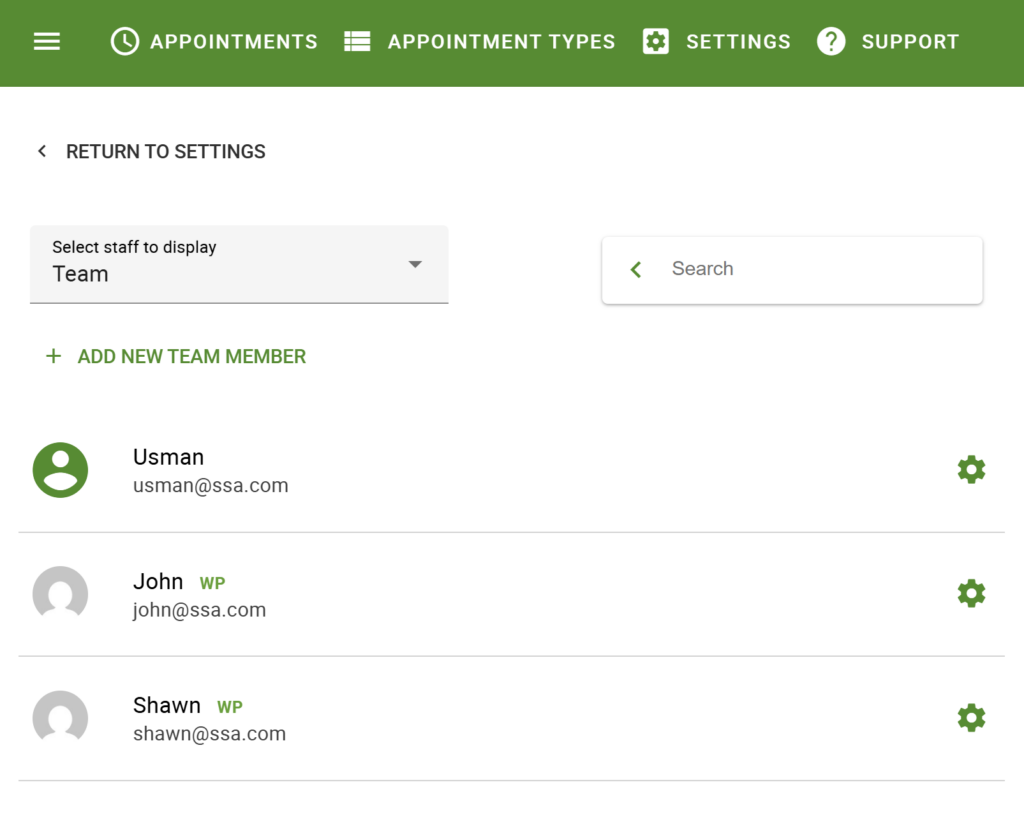
Add a Team Member
Click on the +Add New Team Member button to add a team member. This should open a screen where you can enter their email address.
Adding Users:
- Existing WordPress Users: If you enter the email of an existing WordPress user on your site, their information will automatically transfer over to the following screen.
- New Users: If you enter an email not yet associated with a WordPress user, you’ll need to fill in the rest of their information in the following screen.
Delete or Restore a Team Member
Team members can be in 1 of 3 states:
- Active: Can receive new bookings
- Inactive: Cannot accept new bookings, but their profile still exists, and an admin can restore it
- Deleted: Cannot accept new bookings, and their profile no longer exists
Inactive Team Members
SSA does not assign new bookings to inactive users. This is useful if there’s ever a situation where the teammate needs to step out of the system for a while without completely deleting their profile in SSA.
Use the cog on the right side of the Team View listings and the Make Inactive button.

Delete Or Restore Team Member
To thoroughly delete a Team Member, you’ll first need to make them inactive using the cog button on the right side of the Team listing.
Next, go to the Team View dropdown and click on Team – inactive.
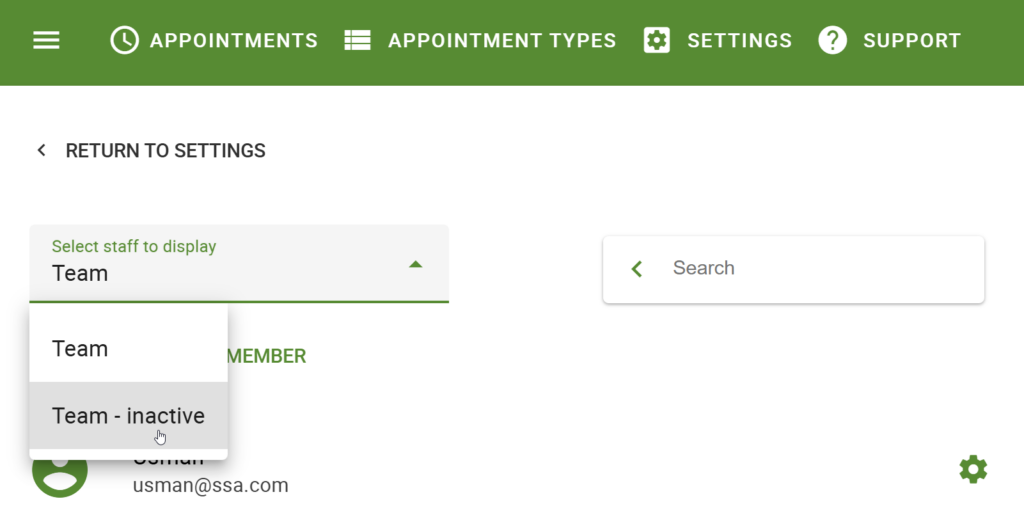
And to permanently delete a Team Member profile, click the right side cog and use the dropdown to select the Delete option.

Or, use that same right-side cog dropdown to make the user active again with the Make Active option.
Searching Team Members
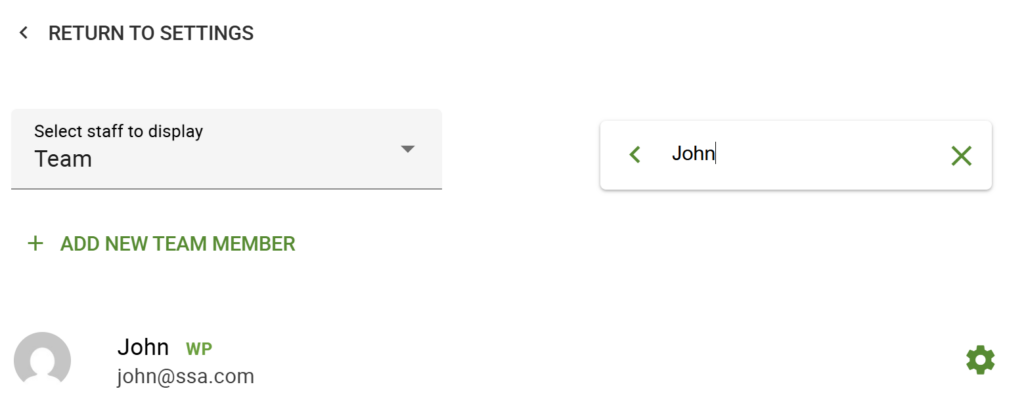
Use the Search button on the Team page to look for Team members based on the following:
- Name
- Phone
The Search feature is not case-sensitive, but it considers spaces.
Edit Team Member Profiles
In the team member listing, click the one you’d like to edit or use the cog on the right-hand side to click the Edit button.
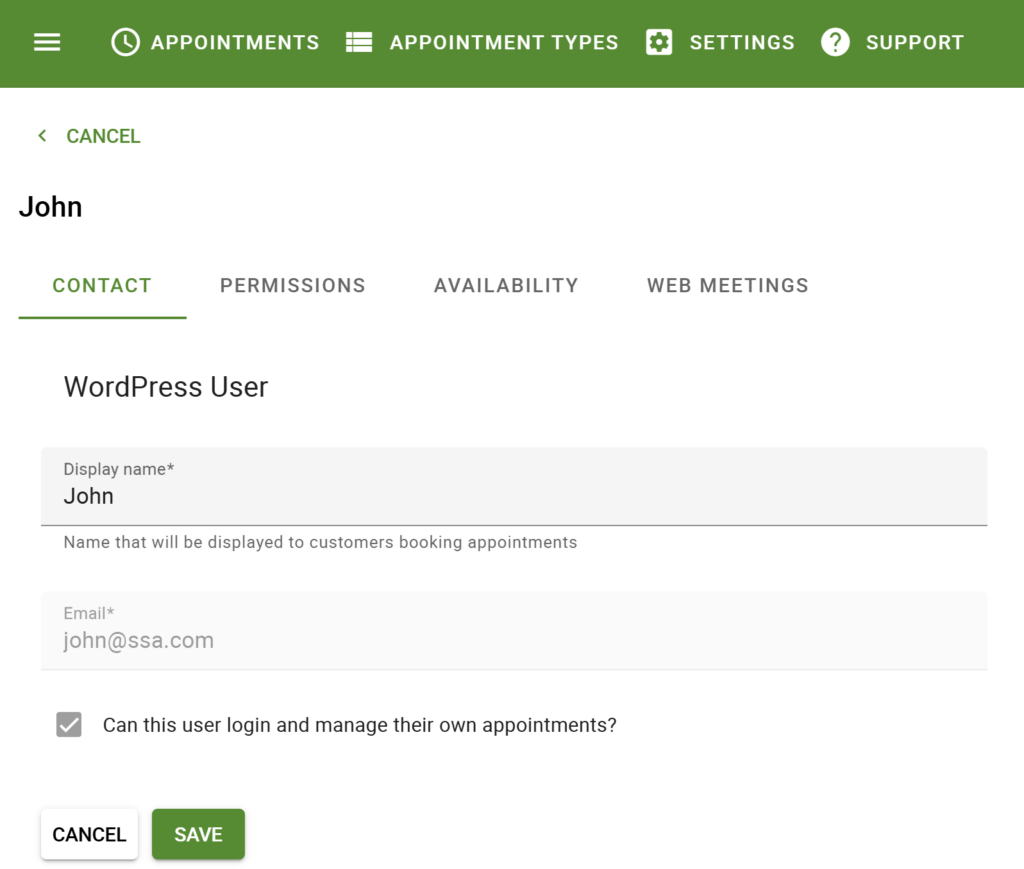
You’ll now see the Team Member profile screen, which includes their Contact and Availability information.
Contact Tab
- Display name: Name the plugin will use for the team member, which can match the Name field entered when adding the team member
- Email: The email the plugin uses to send Team Member notifications and sync to Google Calendar (no sign-in required)
- Phone: The Team Member Phone Number (if you have the plugin SMS feature enabled)
- Can this user login and manage their own appointments?: Checkbox to instantly create a new WordPress user to associate with the Team profile.
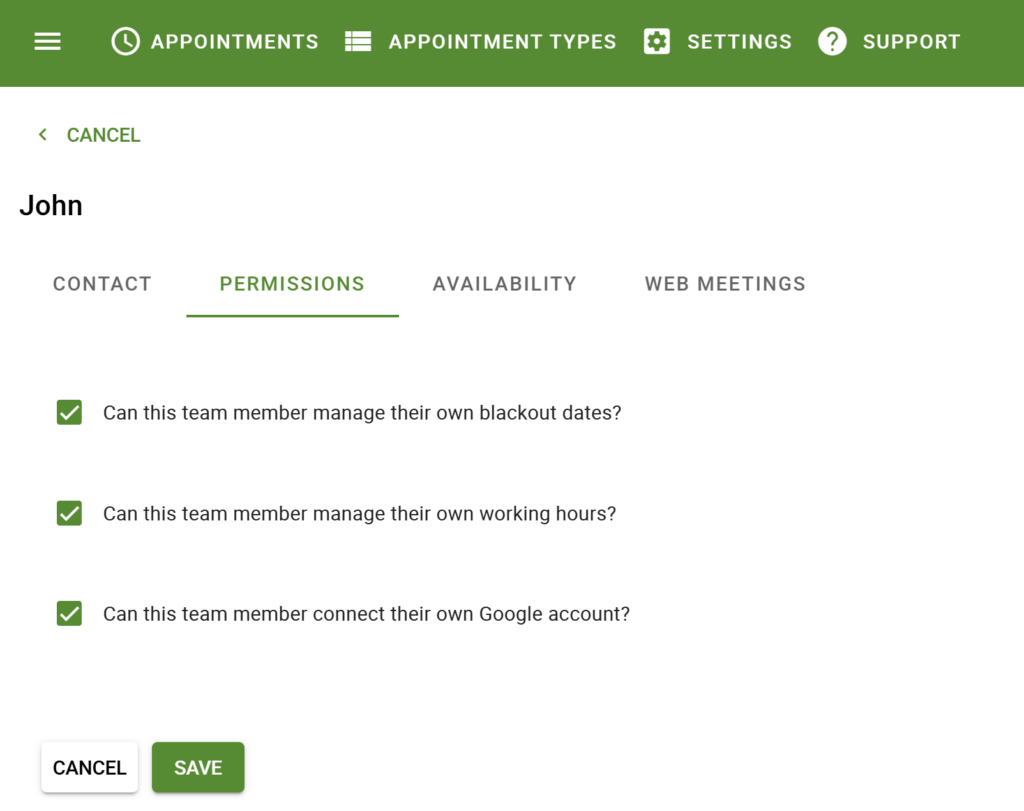
Permissions Tab
(Only for connected WordPress Users) Give the Team Members permission to manage their own:
- Blackout Dates
- Working Hours
- Google Calendar sync
These changes will be reflected when the team member logs in to the site to manage their settings.
Availability Tab
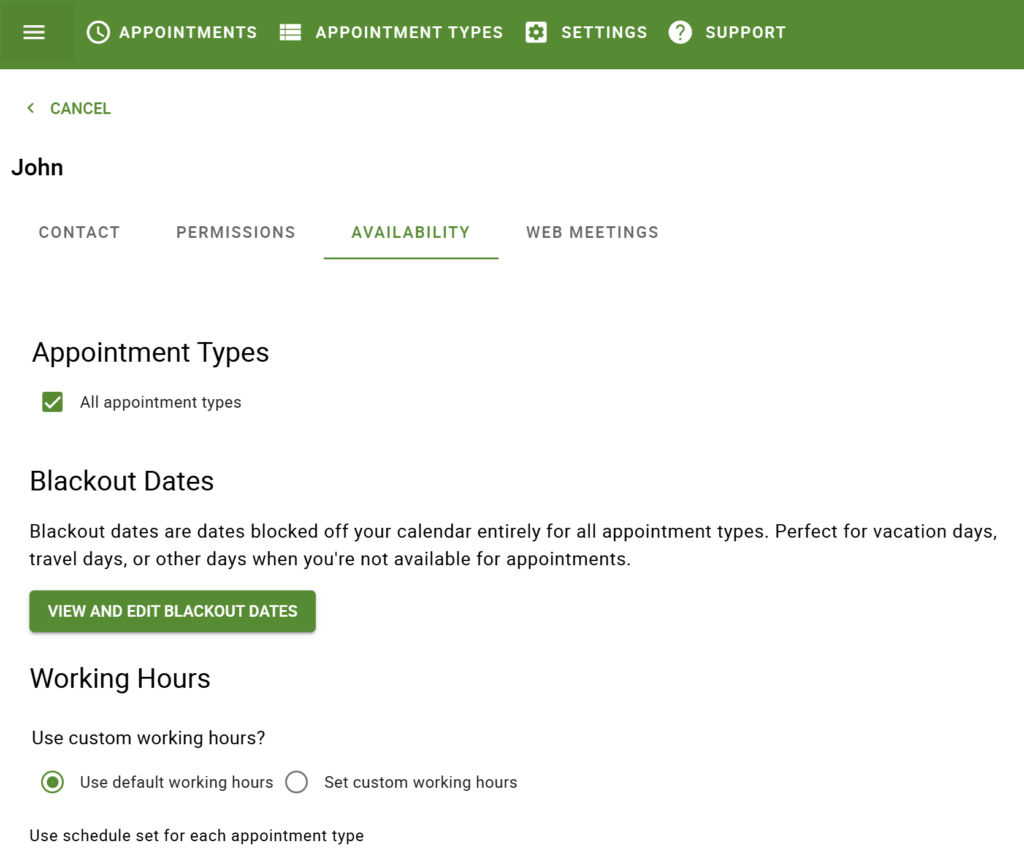
- Appointment Types: This is a checklist of all the Appointment Types that this Team Member can take on (it only includes the Appointment Types that have the Team settings turned on).
- Blackout Dates: A direct link to the screen where you can edit this Team Member’s blackout dates.
- Working Hours: Choose whether you want this team member to be available during the default working hours or set custom working hours.
- Connect Google Calendar: The button allows team members to select Google Calendars for conflict checking.
Google Calendar Disconnecting
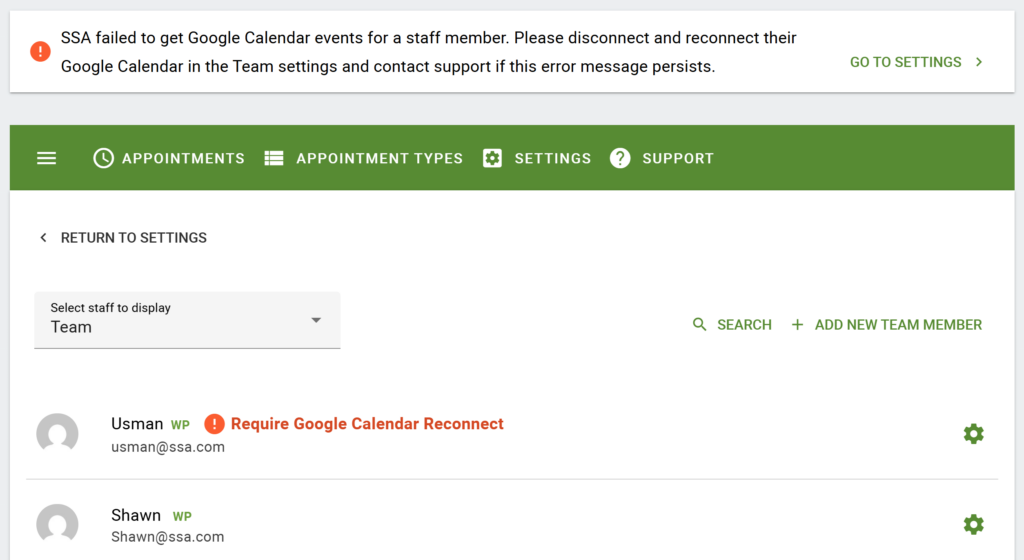
If a Team Member’s Google Calendar gets disconnected, you’ll see a message “Requires Google Calendar reconnect” along with an error message displayed on the SSA Admin Dashboard, and the admin will receive an email notification regarding the disconnected Google Calendar.
Web Meetings Tab
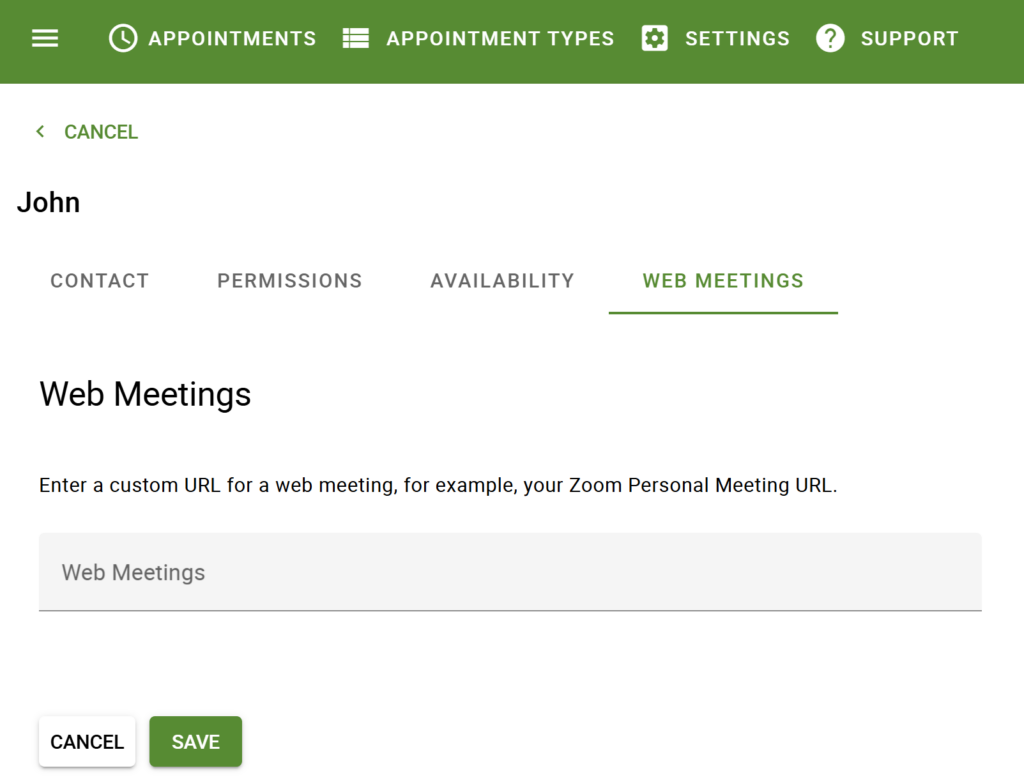
This is where they can enter their Personal Meeting Room link; if you want the team members to be able to take 1-on-1 virtual meetings, you’ll need to use this field.
The Team booking feature is incompatible with Google Meet, Webex, and Zoom integrations.
Learn more about this feature in our Web Meetings guide.
Custom Working Hours
When a team member has Custom Working Hours selected, the availability of the booking calendar for the team member will change accordingly.
A custom schedule would only allow bookings when the teammate AND appointment type are available. It makes only the overlapping time slots appear on the booking calendar.
Overlapping Custom Working Hours Example
For example, if you have an appointment type with availability from 1 PM to 5 PM, and your teammate has availability from 3 PM to 7 PM.
The booking calendars’ actual availability will only show time slots between 3 PM to 5 PM.

Now, the overlapping functionality still applies if you introduce another Teammate with custom working hours between 12 PM and 1 PM.
The availability changes from 1 PM – 2 PM to 3 PM – 5 PM.

Related Guides
-

Business Edition Guide
-

Start Here — Team Booking
-

Viewing Team Bookings
-

Team Member Google Calendar Sync
-

Team Notifications
