In this document:
Introduction
The Zoom integration will allow you to add a unique meeting link to your Google Calendar events and notifications. Use this to create a common location where you and your clients can meet.
Before you start this guide, first set up a Zoom account.
To set up, you’ll need to complete the following steps:
- Log in to Zoom through SSA
- Set up your appointment types
- Finish setting up your Google Invites and Notifications
Setting Up the Zoom Integration
Log in to Zoom Through SSA
Start by going to SSA Settings > Zoom. If the card is greyed out, toggle it on and click Edit.
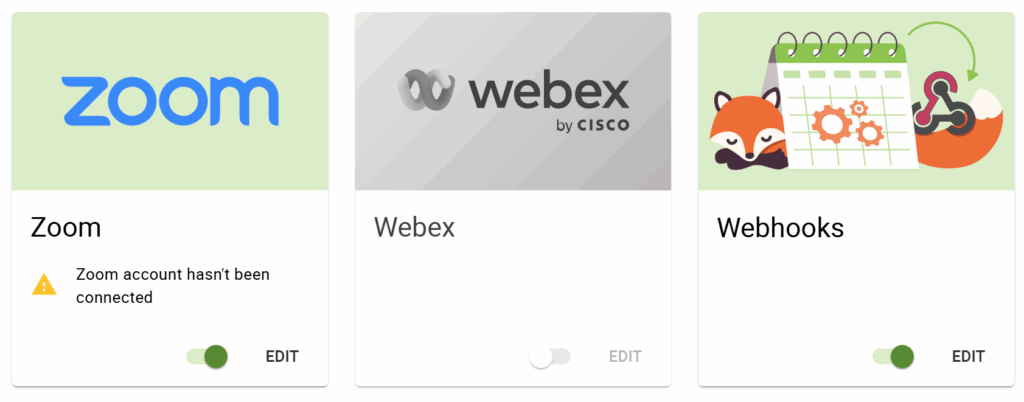
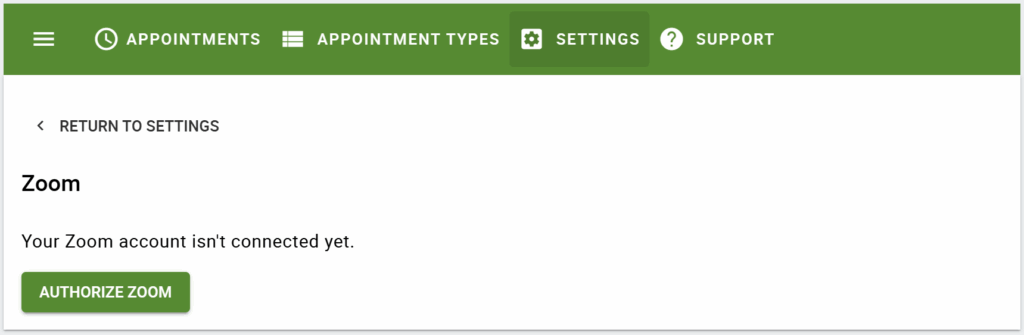
You should see a button that says Authorize Zoom. Click this to initiate the login process.
You’ll be asked to log in to your Zoom Account and asked to authorize the integration with Simply Schedule Appointments. Make sure to select Allow this app to use my shared access permissions before allowing SSA access.
After clicking Authorize, you’ll be redirected back to SSA where you’ll see your account information listed on the page.

Set Up Each Appointment Type with Zoom
Now that you’ve set up the integration, you’ll need to manually choose which Appointment Types you want to use for Web Meetings.
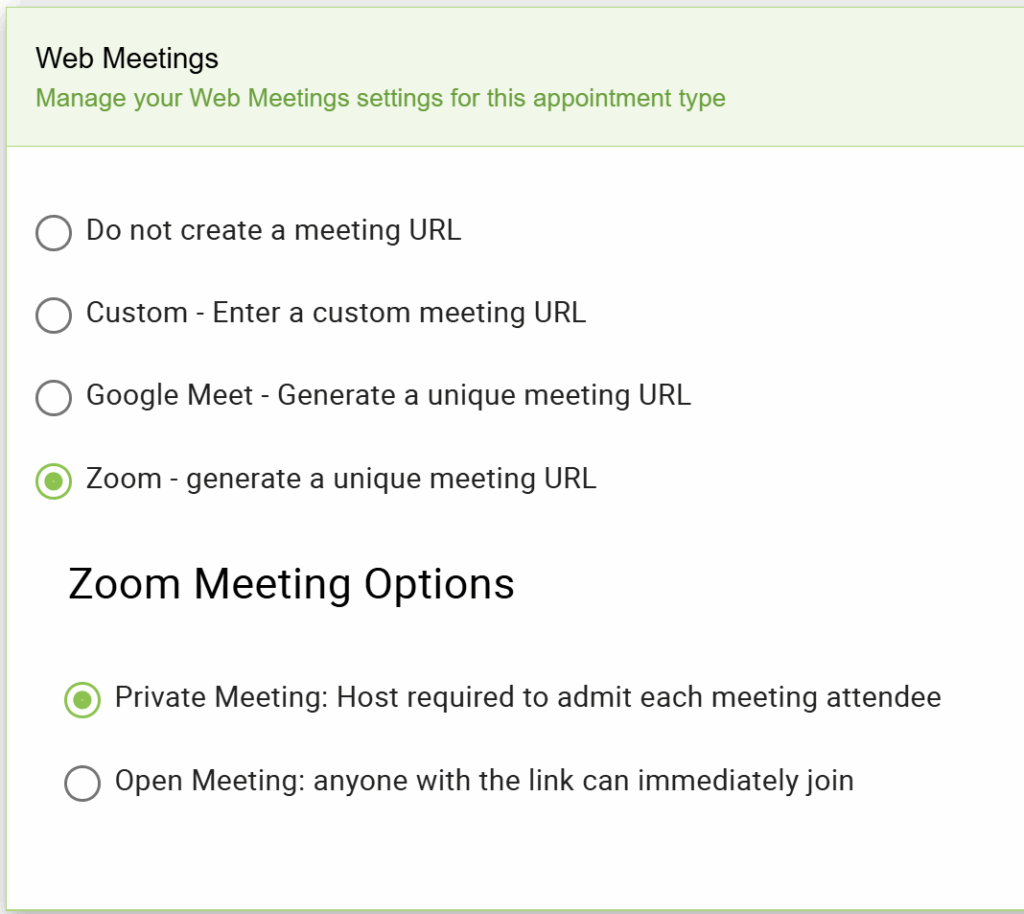
Go to Appointment Types > click one from the list to open their settings > go to the Web Meetings tab.
Select Zoom – generate a unique meeting URL. This will open up two options:
- Private Meeting: The host is required to admin each meeting attendee
- Open Meeting: Anyone with the link can immediately join
Choose whichever best suits you and Save.
Open Meeting
You may find that just setting the Zoom Meeting Options to “Open Meeting” may result in the waiting room still being used for attendees. This is due to Zoom’snew security guidelines where the account must use one of three security options when joining a meeting:
- Waiting Room
- Passcode
- Authentication
For Simply Schedule Appointments to use “Open Meeting”, you must have the “Authentication” security option set for your account. Using “Waiting Room” and/or “Passcode” will prevent this feature from working as expected.
This setting can be found in your Zoom account’s Personal Settings > Meeting tab > Security section.
To ensure that the Zoom Open Web Meetings option works, please enable:
- Only authenticated users can join meetings from Web Client
And disable:
- Waiting Room
- Meeting Passcode
- Personal Meeting ID (PM) Passcode
- Require Passcode for Participants joining by Phone
This integration is not compatible with our Team booking feature at the moment. Only a single meeting link can be used at a time; this could be an issue when multiple team members try to run a meeting simultaneously.
Sending Out the Unique Meeting Link
Now, to finish, you’ll need to make sure to turn on the Google Invites setting (if you’re using Google Calendar Sync), and add the Twig template to your Notifications.
We have a guide to show you how to do both here: Web Meetings.
Uninstalling the Zoom Integration
If you decide to discontinue the integration with SSA, you’ll need to do two things 1) disconnect in SSA and 2) uninstall the app from the App Marketplace.
Disconnect in SSA
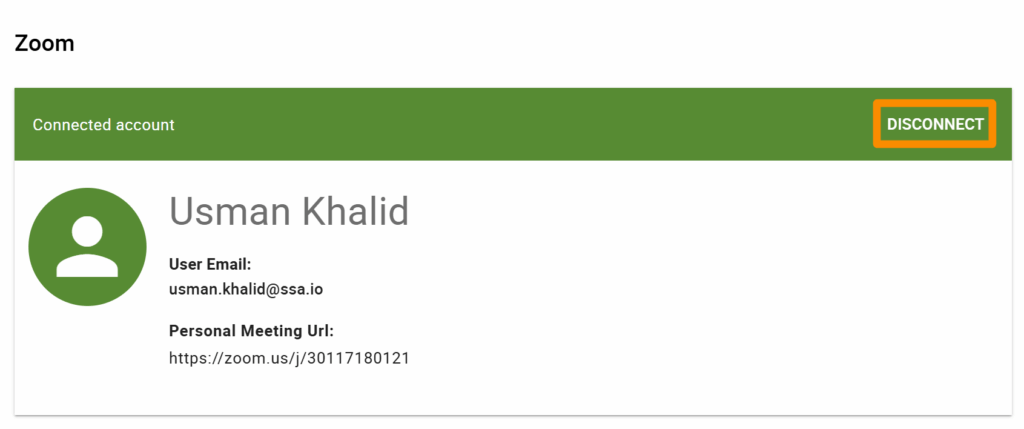
Go to SSA Settings > Zoom and click on the Disconnect button.
Uninstall in the App Marketplace
To uninstall it in your Zoom account, first log in to your account. From your Profile page, go to the Advanced tab on the left sidebar. Click App Marketplace.
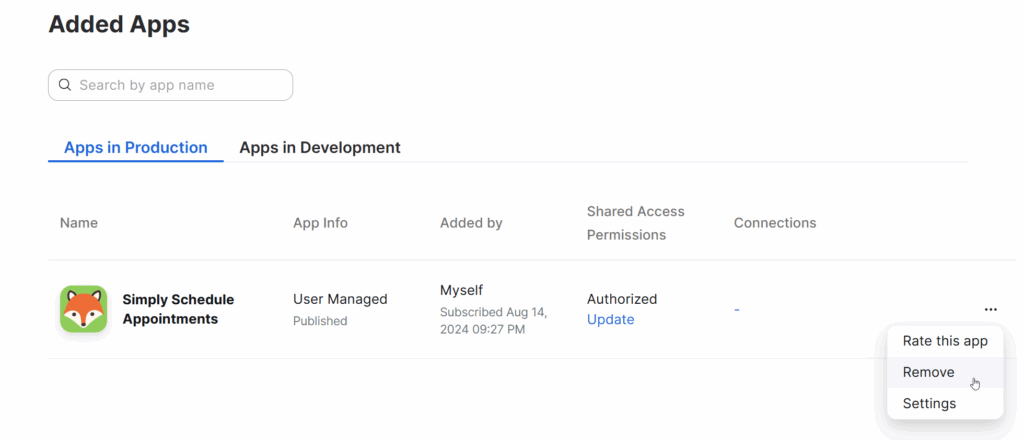
This should open a new page on the Zoom App Marketplace. Click on Manage on the top right side menu. Go to Installed Apps under My Dashboard. And here, you’ll see SSA; go ahead and click Remove.
Related Guides
-

MemberPress Appointments for Memberships
-
Appointments Tab for Member Dashboards
-
MemberPress FAQ
-
Let Employees Manage Admin Page