In this document:
Introduction
A quick overview of how you and your clients can book appointments on the booking calendar. The process includes the following:
- Pick an Appointment Type
- Select a Resource and/or Team Member
- Choosing a Date, then a Time
- Filling out the Booking Form
- Confirmations
Try Out Our Booking Calendar First
Here is a quick demo of our booking calendar process that customers will see when you add it to your site. For more information on displaying a specific calendar on your site, please visit our guide on displaying the booking calendar here.
If you schedule an appointment with our demo above, you will receive a confirmation email.
Where You Can Book
The customer can book wherever you’ve embedded the booking calendar on your site. Follow this guide if you still need to Display the Booking Calendar on your Site.
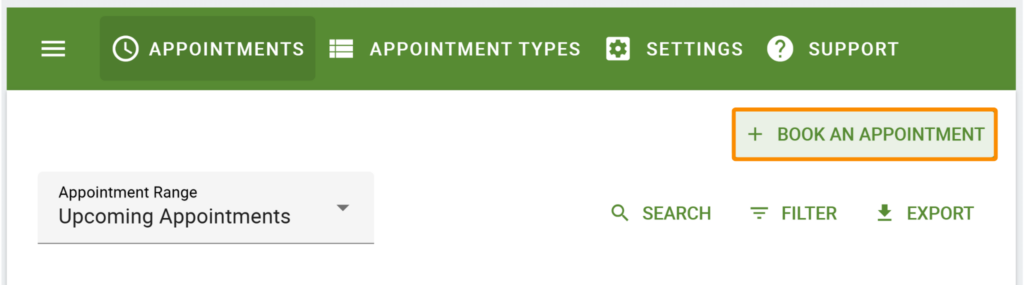
Admins can quickly book directly from the SSA Admin page. Just go to the Appointments tab > click + Book An Appointment. That should open a lightbox with all the appointment types listed.
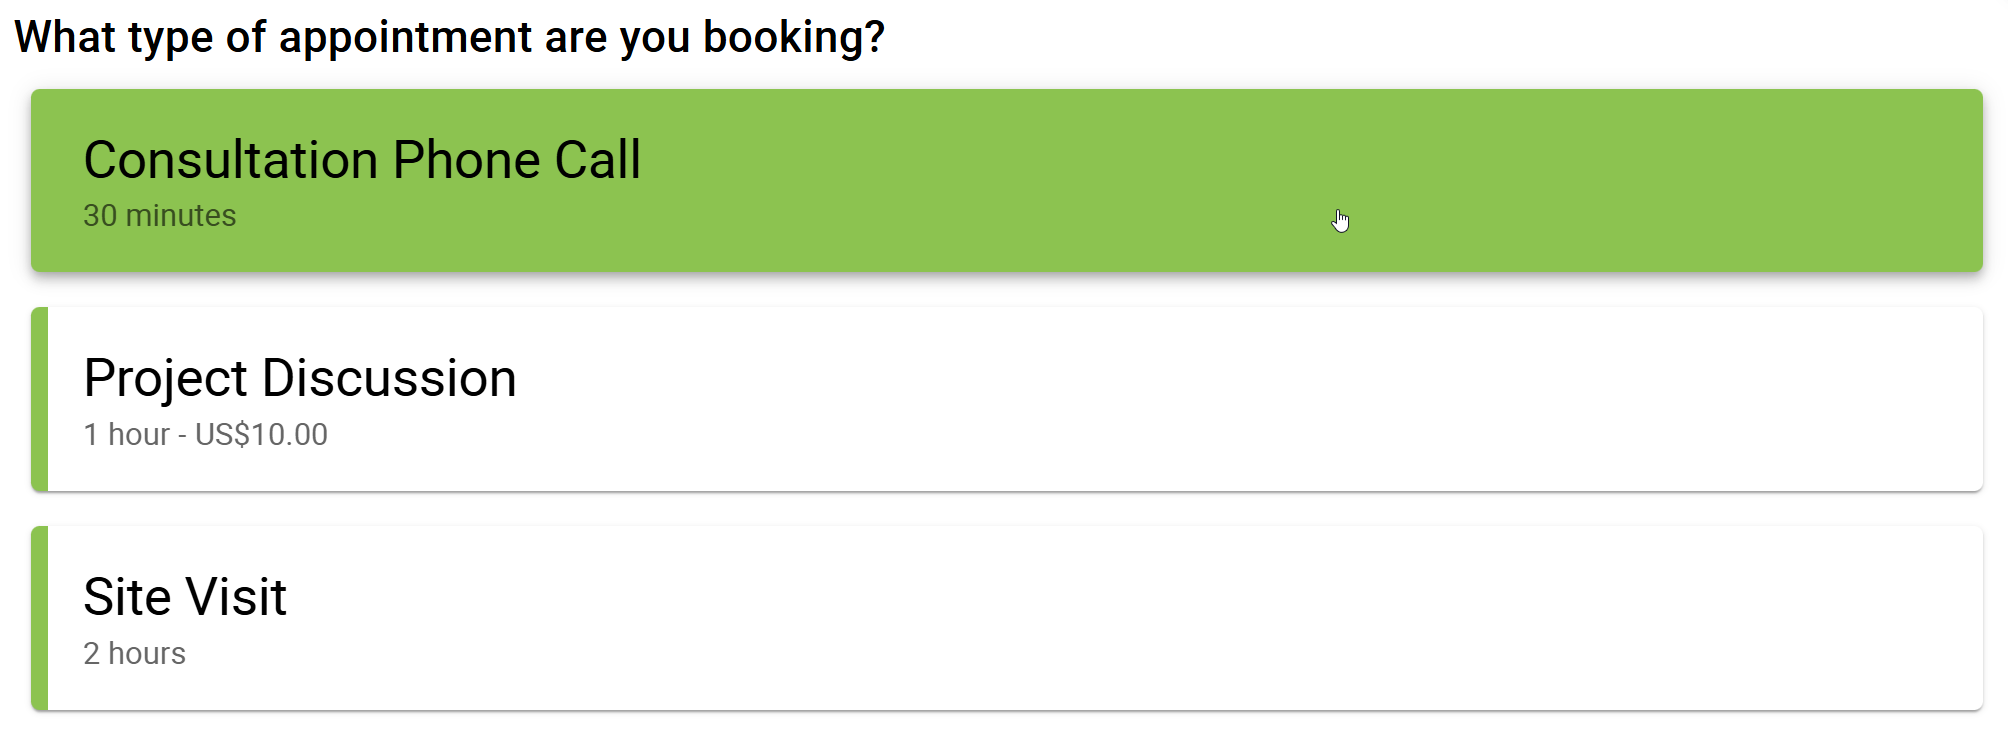
Pick an Appointment Type
Select which type of appointment you’d like to book. The options available here are based on the appointment types that you’ve added.
The order these appear in depends on how you’ve ordered them in the Admin Appointment Types Page, use the Reorder button to choose their order.
Choose a Resource and/or Team Member
The Resource and Team Booking features are included in the Business Edition of the SSA plugin.
In case you’ve assigned Resources and/or Team Members to an appointment type and chosen the User Preference option for them. You’ll prompted to choose the Resource and/or Team Member from the dropdown or radio button options after you’ve selected the Appointment Type.
Find more information on how the User Preference setting works in our Resource and Team Booking guides.

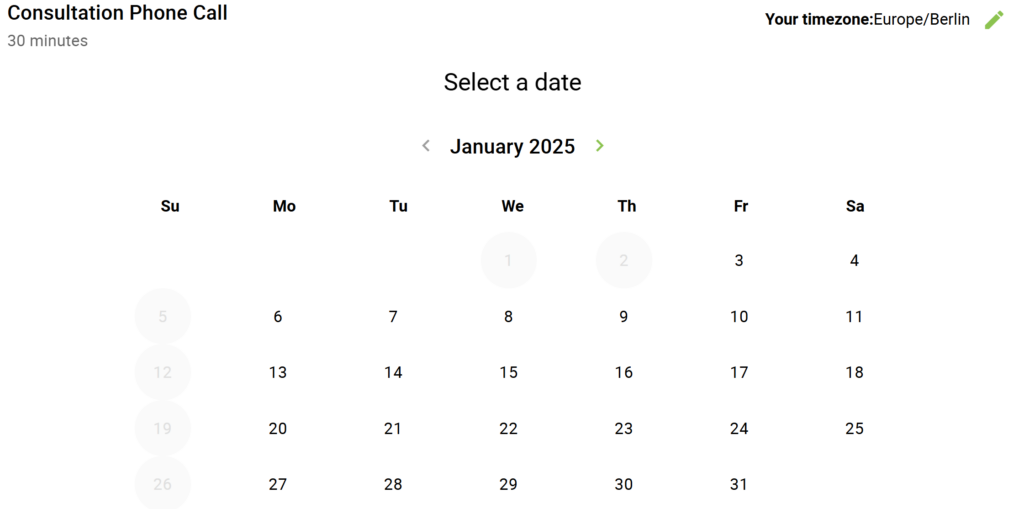
Choose a Date and Time
After that, you’ll be able to select the date and time that works best for you.
Dates that are unavailable will appear as disabled or ‘greyed-out’, while times that can’t be booked won’t even be displayed.
Date and Time can be displayed in several ways, depending on your preference.
- Dates can be displayed as either a weekly view or a monthly view.
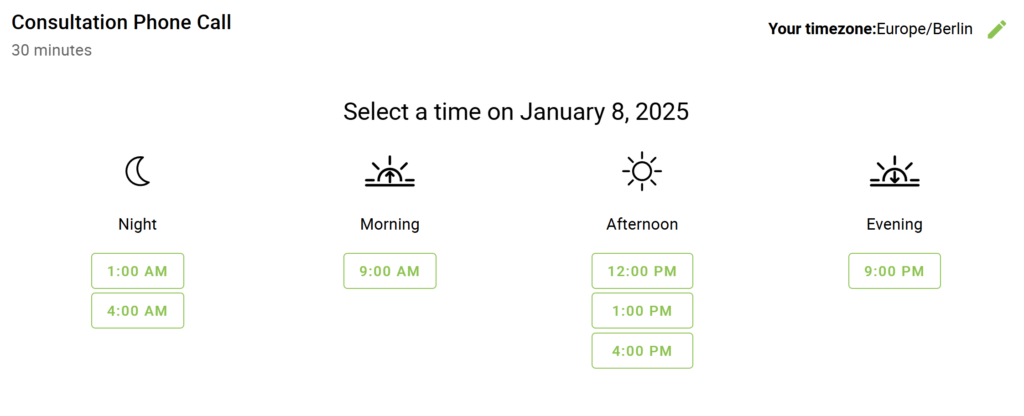
- Time slots will split up depending on what timeframe they fall under, e.g. morning, afternoon, evening, and night.
- Dates and time slots can be displayed in different sequences, such as Express, Expanded, and First Available, via the Booking Flow feature.
You can use the Booking Flow feature to customize the sequence of Views or screens of the Date and Time options in the booking form.
With Expanded Flow, you’ll see a separate date screen in a monthly or weekly view.
After a date is selected, the next screen will display the available timeslots for that date.
Complete the Customer Information Form
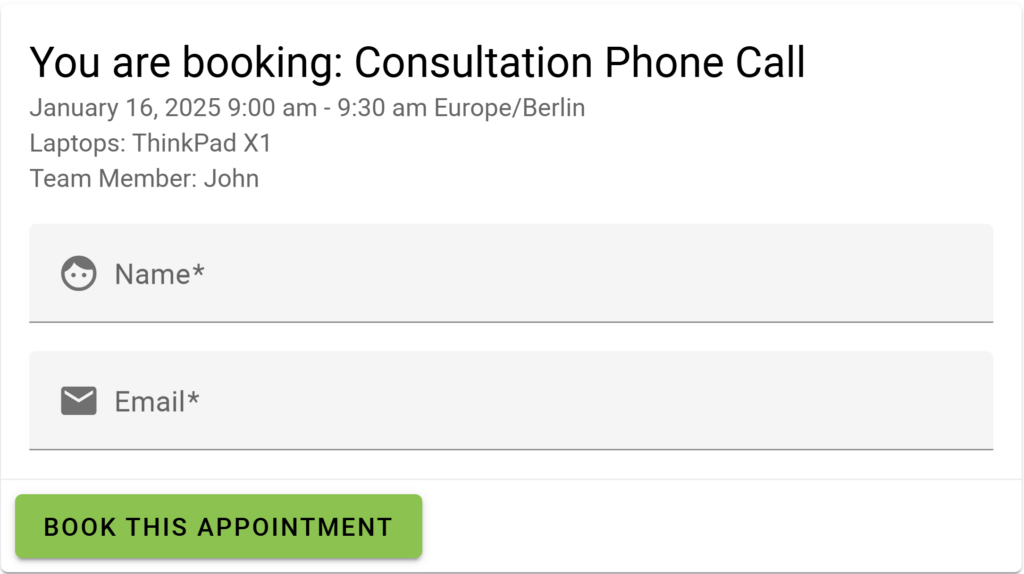
For functionality purposes, we always require the Name and Email Address fields when booking appointments. Asterisks mark the Required fields.
Basic/Free Edition users can select from a list of pre-determined fields (phone number, address, city, state, postal code, notes).
Premium/Paid Edition users can set their own custom fields here, including checkboxes and radio buttons.
After filling it out, click the Book this appointment button.
Submitting an Appointment with Payment Feature
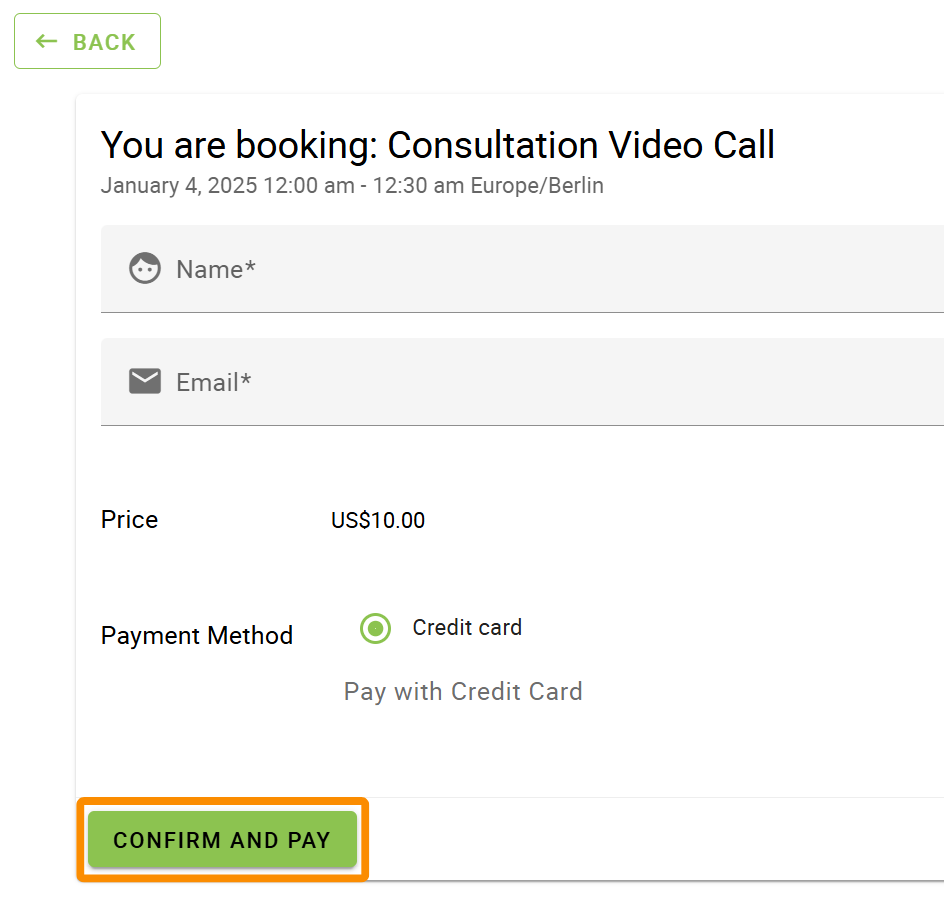
The Payments feature is included in the Professional and Business Editions of the SSA plugin.
If the Payments feature is enabled on your site for an appointment type, you’ll see the Confirm and Pay button instead. When you click that button, you’ll be redirected to the checkout page or shown the payment pop-up. Once your payment is successful, you’ll see the booking confirmation page.
Confirmation
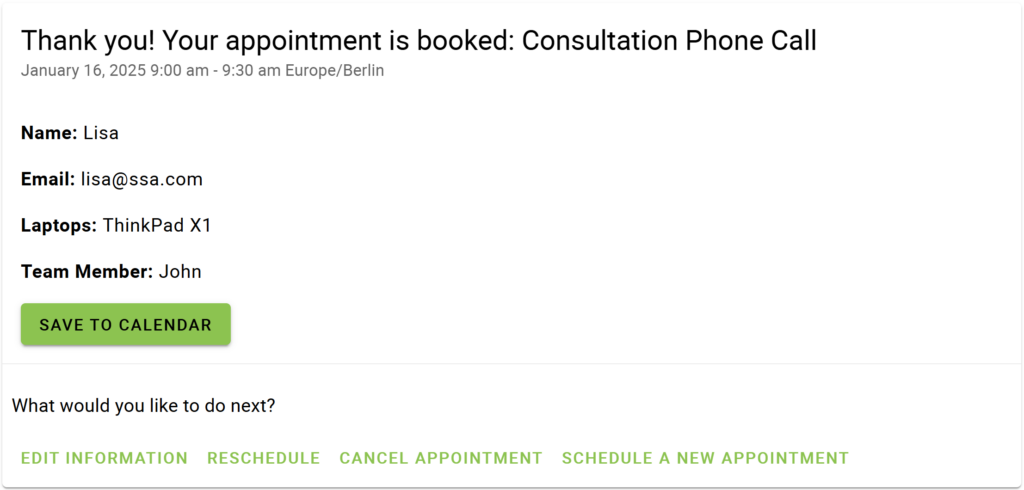
After submitting the booking form, you’ll see a confirmation page with all your information.
You have the option to save the appointment to your calendar, either to Google Calendar or to download a .ics file.
You also have the option to edit the customer information, reschedule the appointment, cancel the appointment, or schedule a new appointment.
By default, the customer and the appointment admin will receive confirmation emails with the appointment details, but the notification settings are customizable.
The SAVE TO CALENDAR button will not appear on the confirmation page if you’re using the Google Calendar integration and have enabled the option to invite customers to the event in the Appointment Type settings.
You can also set up a custom confirmation page to redirect users to it once they submit their bookings.
Related Guides
-

Display the Booking Calendars
-
Appointment Type Settings
-
Admin Dashboard Walkthrough
-
Cancel, Reschedule, Edit or Delete Bookings