In this document:
Introduction
This guide will show you how to redirect users to a new page after submitting their booking. This is handy for creating a custom confirmation page or tracking booking conversions based on the page sessions instead of custom events.
This can only redirect to pages on the same WordPress website since the new shortcode attribute requires a post ID.
Create the New Confirmation Page on Your Website
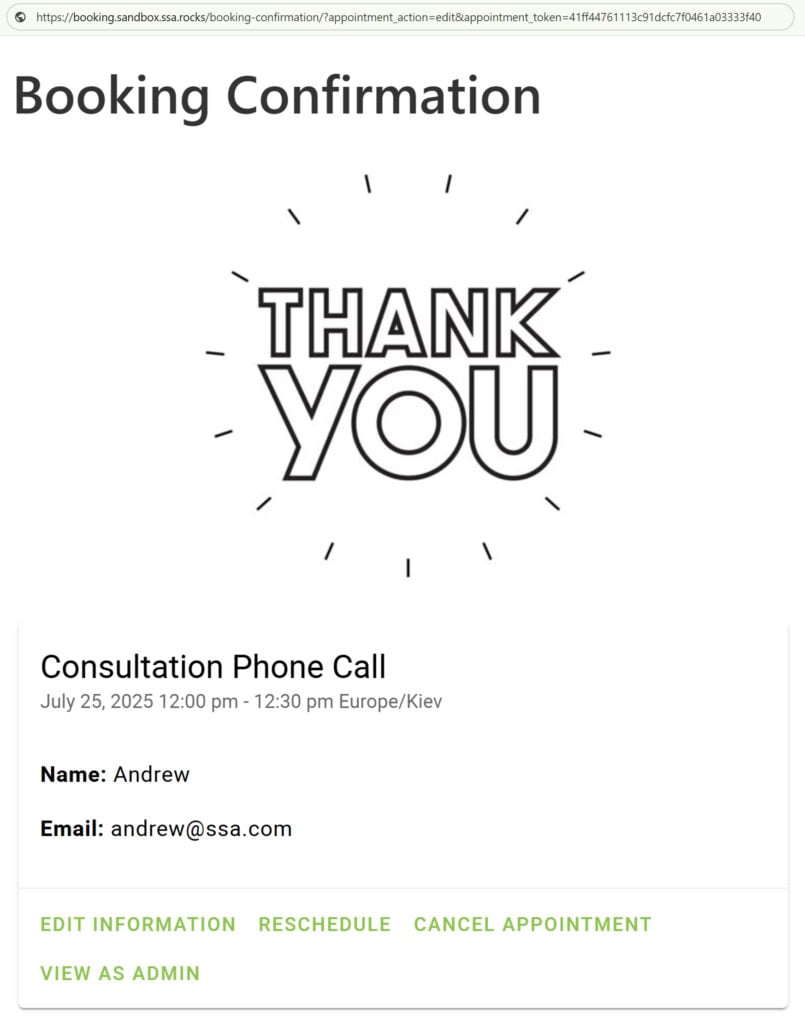
Embed the following shortcode on your new confirmation page:
[ssa_confirmation]By default, this shortcode says, “Simply Schedule Appointments Booking Confirmation.” You’re welcome to change the text here, but remember that this converts into the confirmation module during the redirection process.
Find the Post ID
While creating this new page, take note of the Post ID since you’ll need this for the next steps. To find the Post ID, open the page’s editor and look at the URL. The number will be listed after post=.
For example, your URL may look like this:
https://yourwebsite.com/wp-admin/post.php?post=1234&action=edit
In the example above, the post ID is 1234.
![Example of a confirmation page with the [ssa_confirmation] shortcode embedded and finding the post ID within the URL](https://simplyscheduleappointments.com/wp-content/uploads/2022/12/Finding-the-Post-ID-for-the-Confirmation-Page-1024x503.png)
Update the Booking Page Shortcode
Embed the booking calendar using a shortcode along with the new redirect attribute, redirect_post_id:
[ssa_booking redirect_post_id="1234"]Replace 1234 with the Post ID we collected in the previous step.
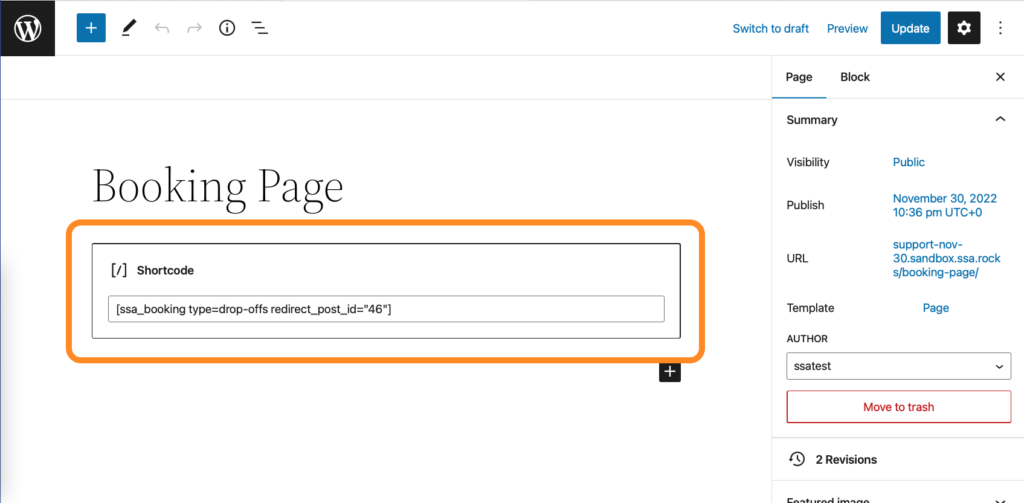
Your new booking Confirmation page will be set up, and clients will be redirected to it after they book their appointments.
Related Guides
-

Which Simply Schedule Appointments Edition Is Right for You?
-
Installing the Free Basic Edition
-
Installing a Paid Premium Edition
-
Start Here – After the Setup Wizard