In this document:
Introduction
In this guide, we’ll be covering how to use the Resource Booking feature. This will allow you to add, manage, and book Resources through your SSA booking calendars.
Resources can include:
- Rooms: for example, meeting rooms and studios
- “Things”: for example, bikes, golf carts, and tables
- Max occupancies: for example, if your store has a general capacity that should affect all of your Appointment Types
How the Resource Booking Feature Works
Resource Booking is a simplified inventory system that lets you limit Appointment Type availability by the number of Resources you have available.
You begin by creating Resource Groups of either Identical or Unique resources. You’ll then assign the Resource Groups to one or more Appointment Types.
When applied to a single Appointment Type, this feature acts similarly to our Capacity feature and adds another layer to limit availability. However, when applied to multiple appointment types, this creates a unique way of applying maximum capacity across multiple calendars.
The Resource Booking feature also acts similarly to the Team booking in which it assigns a resource to each appointment. If your Resource Group contains Unique resources, you’ll also have the option to give your clients the ability to select from a list of available resources.
Set up Resource Booking
Before we get started, there are some things to note:
- You can create an unlimited number of Resource Groups.
- Multiple Resource Groups can be assigned to each Appointment Type.
- One Resource Group can be assigned to multiple Appointment Types.
- Only one Resource per Resource Group can be assigned for each appointment.
1. Enable Resources Feature
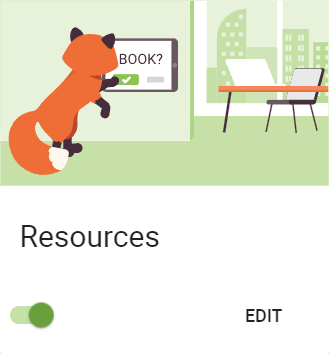
Go to SSA Settings > scroll down to the bottom until you see the Resources Card > Toggle the Card On.
2. Add a New Resource Group
After toggling on the Resources Card, you can click on the card or use the Edit button to open the Resources settings.
From here, you’ll be able to:
- Add new Resource Groups
- Edit existing Resource Groups
- Set Resource Groups as Inactive
- Delete Inactive Resource Groups
Adding a New Resource Group
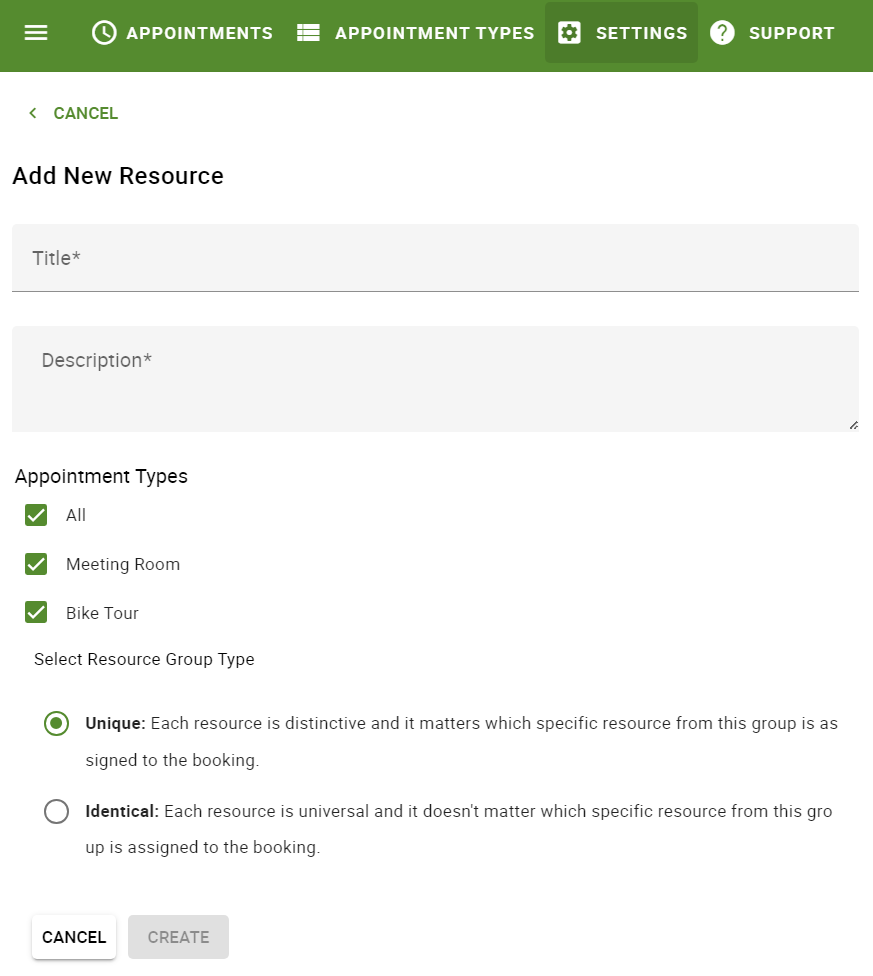
Click the + Add a New Resource Group button to get started. This will open the initial Resource Group editor, where you’ll be able to enter the following:
- Title: The name of this Resource Group. For example, “Meeting Rooms” or “Bikes”
- Description: The summary details regarding the Resource Group.
- Appointment Types: Select the Appointment Types that this Resource Group will supply Resources to.
- Resource Group Type: Choose whether this is a Unique or Identical resource; the Resource Groups are treated differently depending on which you choose.
Review each Type below to finish the setup steps for creating a new Resource Group.
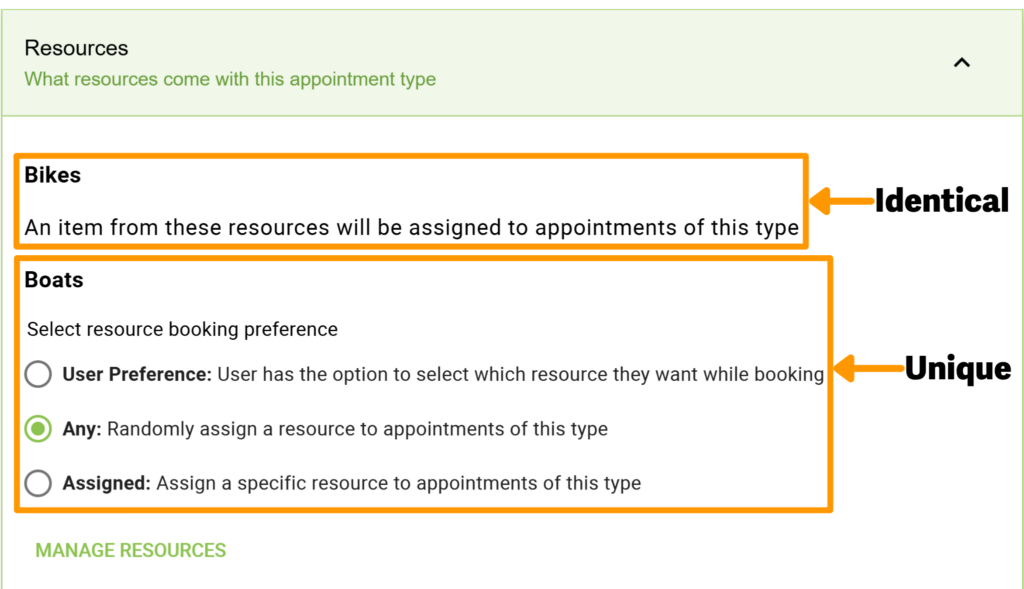
Identical Resources
Identical Resource Groups mean that each resource is universal, and it doesn’t matter which specific resource from this group is assigned to the booking.
For example, you have a collection of bikes in your group, and they’re all the same model; in this case, each bike is generic, and it doesn’t make sense for you to describe each one or have the customer select their bike.
Choosing to create an Identical Resource will display an additional Quantity field in the initial Resource Group editor. Enter the number of Resources included in this group. Then click Create.
Unique Resources
Unique Resource Groups mean that each resource within the group is distinctive, and it does matter which specific resource from this group is assigned to the booking.
For example, you may have three boats in your group: a canoe, a kayak, and a paddle boat; in this case, each boat is distinguishable and you need to be able to describe each one to the customer or even give them the ability to choose the one they want.
Choosing to create a Unique Resource Group doesn’t require any additional steps in the initial Resource Group editor. Click Create.
After creating a Unique Resource Group, you’ll need to go into the Resource Group detail screen to enter each Unique Resource. While your Unique Resource Group is still empty, you have two options to fill in the Resources.
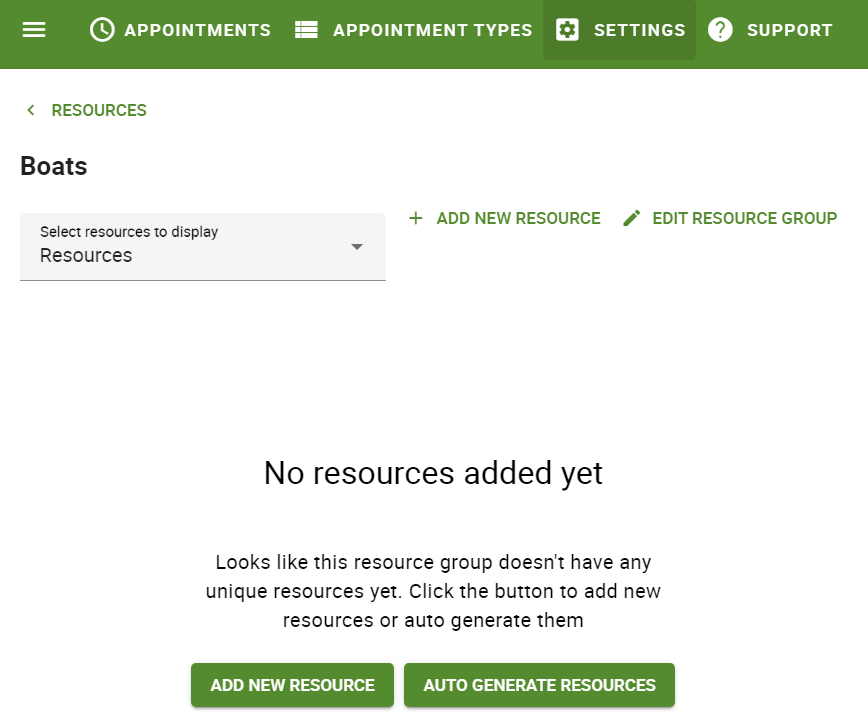
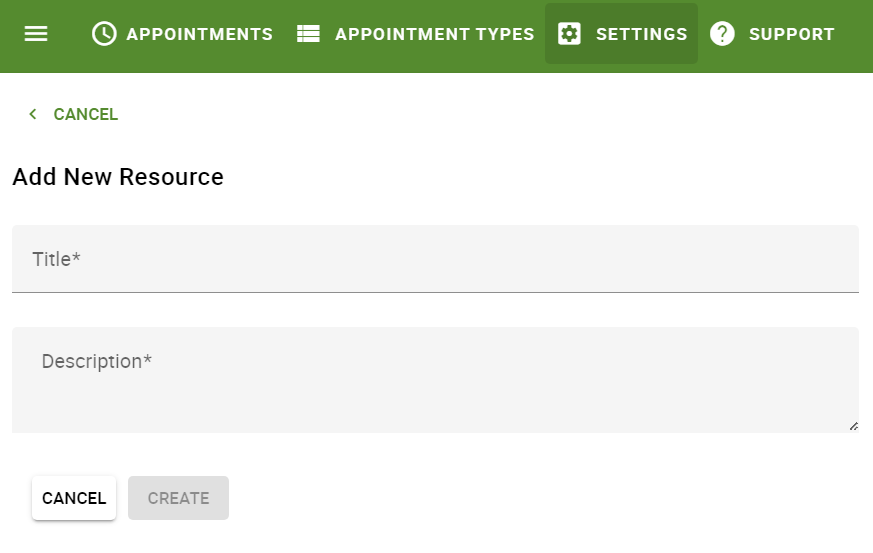
Add New Unique Resources
Click on + Add New Resource. Next, enter the title and description of this specific resource. Enter each Unique Resource manually one by one until your Resource Group is complete.
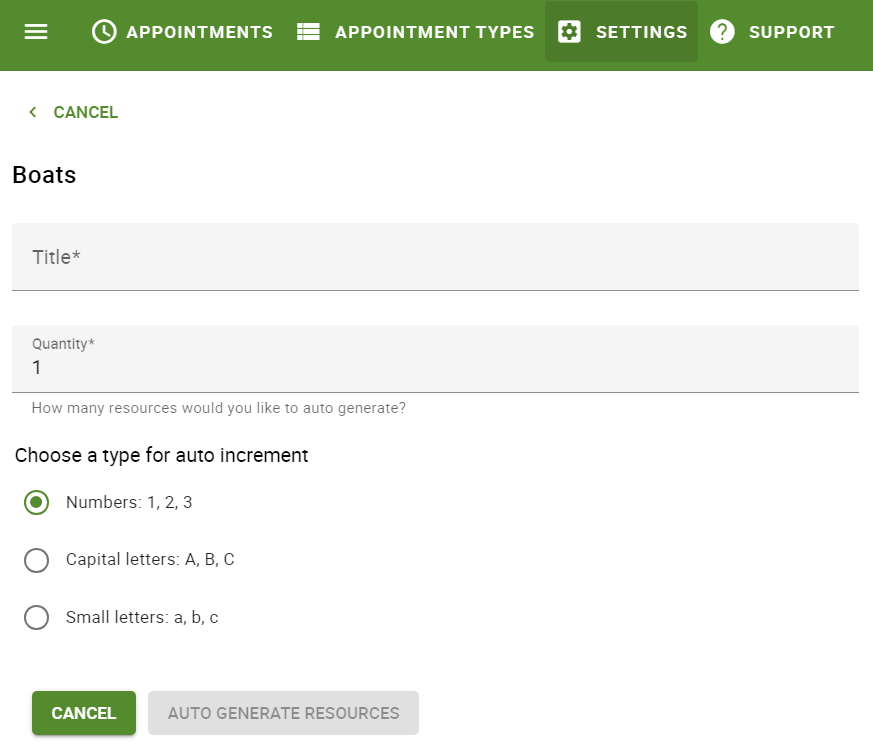
Auto-Generate Unique Resources
Click on + Auto-Generate Resources. Next, enter the Title, Quantity, and Increment Type. This will automatically generate a list of Unique Resources using the Title and Increment Type to create individual Titles (ex., Bike 1, Bike 2, Bike 3, etc.). The number of Unique Resources created is determined by the Quantity.
After auto-generating unique resources, you can go back to each one and edit the title and description if you wish.
3. Edit Appointment Types (Only for Unique Resource Groups)
After creating the Resource Groups, there is one last step: only if you’ve created a Unique Resource Group.
Since it does matter which Resource is assigned when using a Unique Resource Group, we need to decide how we want to allocate each resource to a booking.
Go to the Appointment Type editor for which you’ve assigned the Unique Resource Group > Resources Tab > Select your Resource Booking Preference.
- User Preference: User has the option to select which resource they want while booking
- Any: Randomly assign one resource to appointments of this type
- Assigned: Assign one specific resource to appointments of this type
This group is empty?
If you’re seeing, “This group is empty. This will result in no available appointments.” Go ahead and select the Add resources to this group link. This will take you back to the Unique Resource Group detail screen, where you’ll need to enter each Unique Resource.
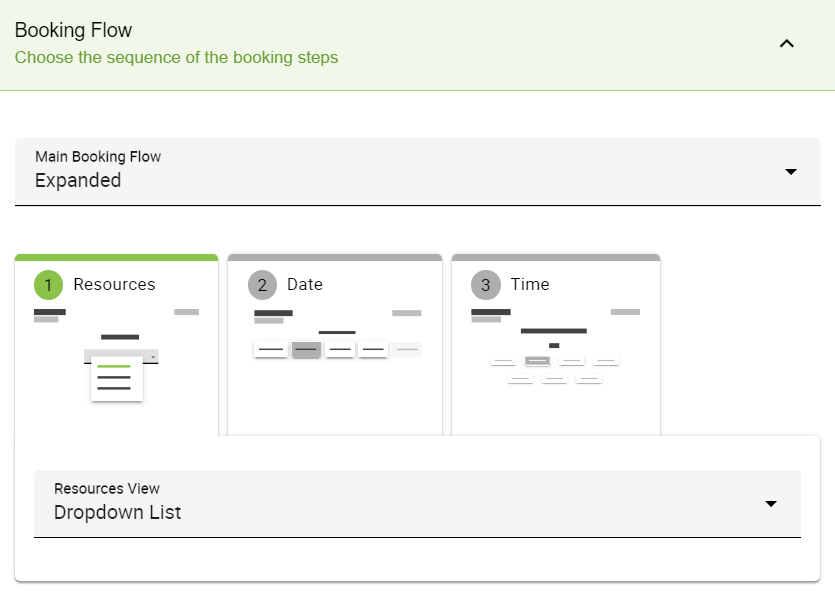
Booking Flows with User Preference
If you select the User Preference option for your Unique Resource Group, you enable a new View or Step in the Booking Flow settings. This allows you to choose whether your Unique Resources are presented using a Dropdown field or with Radio Buttons.
4. Configure Notifications
Lastly, you’ll need to update your notifications so that you or your customers can receive information about the Resources via SMS or Email.
Resource Group Title
Returns the Resource Group Title for Identical and Unique resources.
{{ resource_group_title }}Unique Resource Title
Returns the specific name of the Unique resource assigned to the appointment. If used with an Identical resource, it’ll simply return the Resource Group Title.
{{ resource_title }}Resource Quantity
Returns the number of resources booked from each resource; currently, it will always be 1 for each resource.
{{ resource_quantity }}Related Guides
-

MemberPress Appointments for Memberships
-
Appointments Tab for Member Dashboards
-
ssa/appointments/customer_information/get_defaults Filter
-
ssa/templates/get_template_vars Filter