In this document:
Introduction
Use Gravity Forms to create complex appointment booking forms with Simply Schedule Appointments (SSA). With Gravity Forms, you can make booking forms that include conditional logic and many more advanced fields.
Potential Use Cases:
- Direct visitors to specific appointment types based on their information
- Custom confirmation pages after booking
- Robust Payment options
What You Need First
- Gravity Forms installed and activated, including their Basic, Pro, Elite, or Developer plan.
- Go through the Setup Wizard in SSA and finish setting up your Booking Calendar rules and styling.
If you plan on taking payments through Gravity Forms, make sure you’re using a Gravity Forms Edition that accepts payments – not all of their plugin tiers do.
Video Walkthrough

Using the Appointment Form Field in Gravity Forms
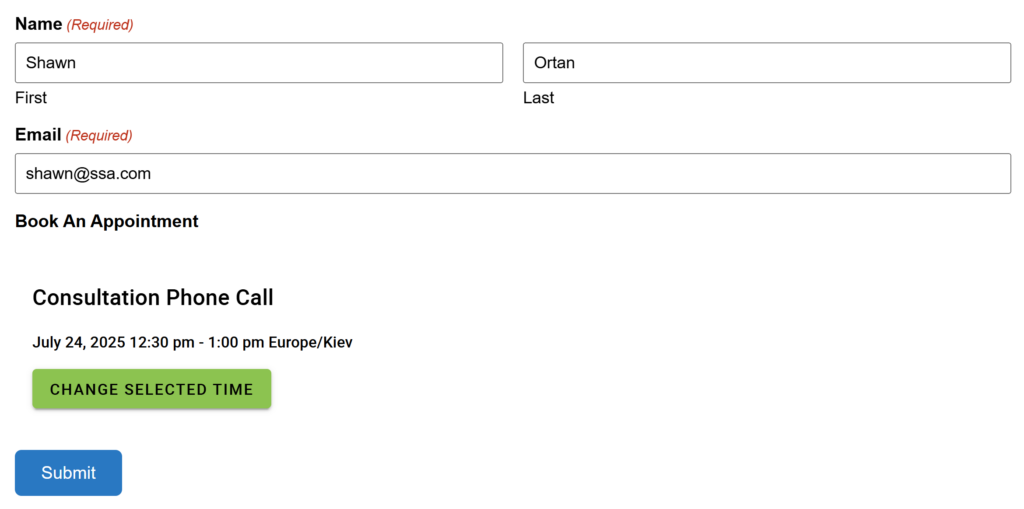
Go to your WordPress Dashboard > Forms > Add New to create a new form for booking appointments within Gravity Forms.
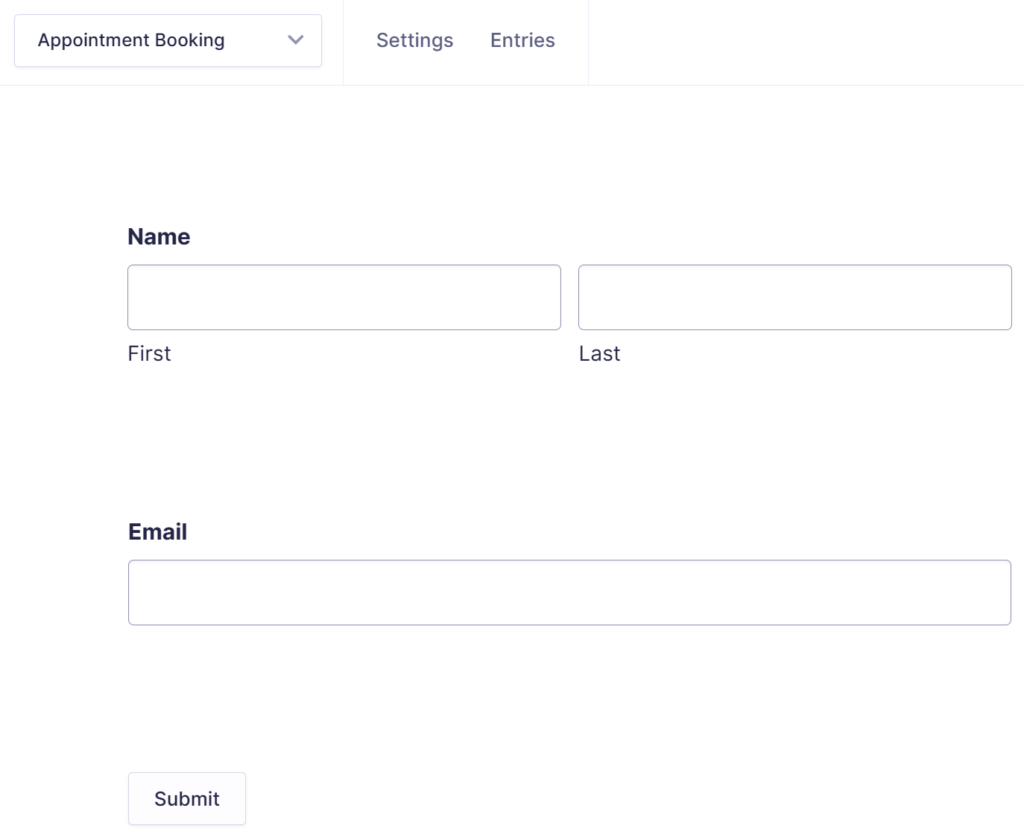
First, make sure to include the basic fields that SSA requires to log appointments:
- Name
Add the Appointment field to your form to let people choose a time slot. Find it under Advanced Fields > Appointment.
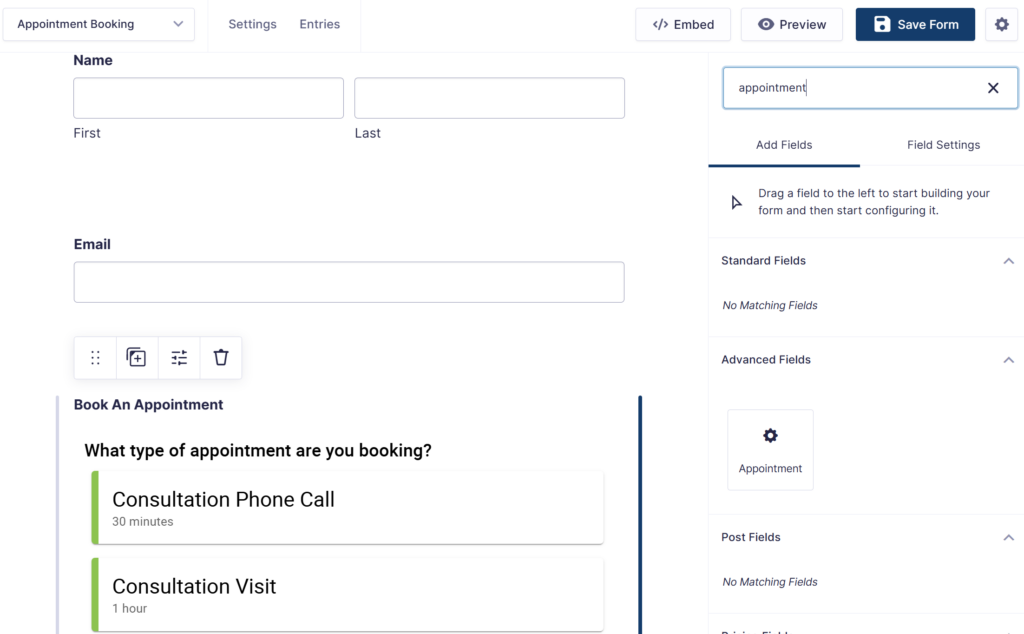
Appointment field
The Appointment field settings let you choose whether you’d like to display All the Appointment Types, a single Appointment Type, Appointment Types belonging to a Label, or a subset of Appointment Types (assuming you’ve created multiple Types in the SSA dashboard).
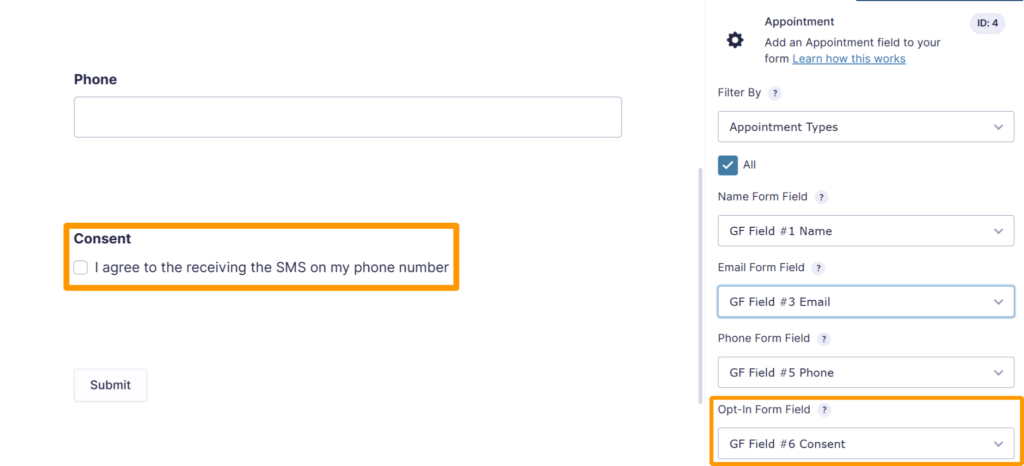
You’ll also need to tie the Name and Email fields to SSA using the Form Field dropdowns. By default, Gravity Forms will automatically tie the Name, Email, and Phone fields.
To improve page load performance when the calendar appears below the fold, enable the Defer Loading toggle in the module settings. Learn more!
SMS Opt-In Field
To make sure the SMS notification feature in SSA works with Gravity Forms, you’ll need to add a Consent field from the Advanced Fields section and map it to the Opt-In Form Field Dropdown on the Appointments field.
If the user selects the checkbox, SSA will continue with the SMS-sending process set up through the booking plugin.
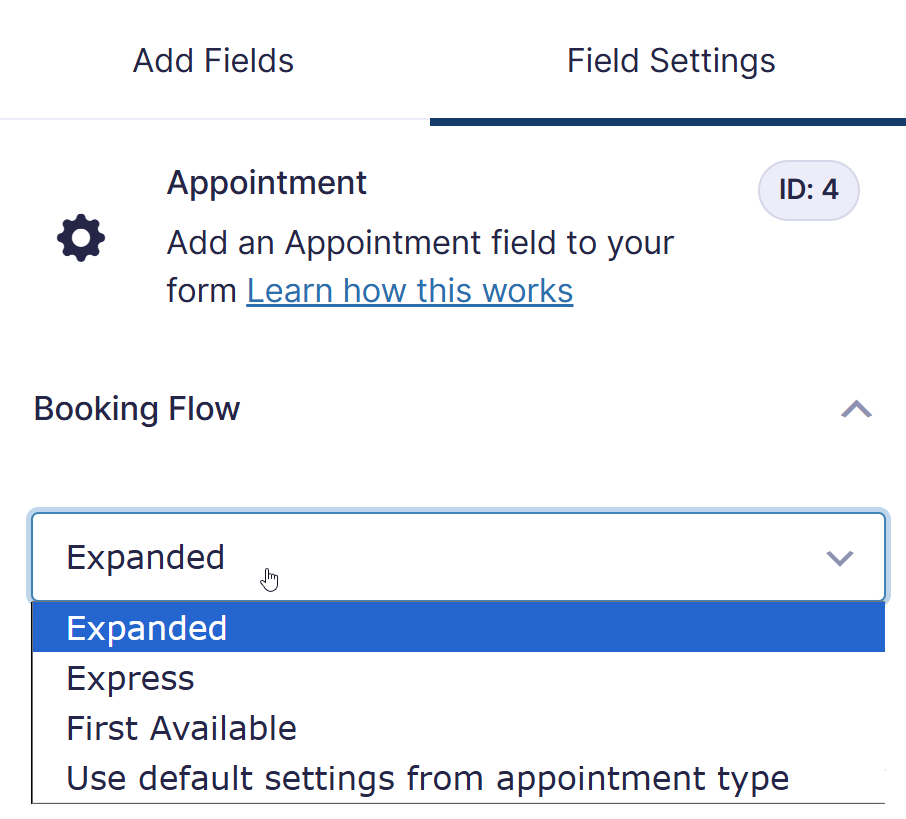
Booking Flow
Professional or Business edition users can also select to display their appointment types via any Booking Flow view or opt for the standard selection set within the Booking Flow option in the appointment type settings for each appointment type to display within Gravity Forms.
Resources and Team Booking within Gravity Forms
For Business Edition users, the Appointment field in Gravity Forms automatically integrates with your Team and Resource settings, as long as you assign them under the selected Appointment Types within the SSA plugin. No additional setup is required on the Gravity Forms side.
For example, if you’ve enabled the User Preference option in your Appointment Type settings (for either Team Members or Unique Resources), clients will see a radio button or dropdown choice after selecting an appointment type, allowing them to select their preferred team member or resource before they select a date and time for their appointment.
The Appointment field in Gravity Forms shows options based on SSA availability rules, and SSA fully handles all scheduling logic, including team and resource availability. Once the form is submitted, the assigned Team Member or Resource can be viewed in the appointment details within the Appointment section on the Admin Dashboard for Simply Schedule Appointments.
Conditional Logic Based on the Appointment Field
The Appointment Field can be used as a rule in other fields’ conditional logic. The only accepted values to compare with the Appointment field are to evaluate whether the field is empty or not.
- The appointment field is filled in: Field is not (empty)
- The appointment field is empty: Field is (empty)
Leave the value field in the conditional logic rule blank/empty. Learn more about Gravity Forms’ conditional logic based on Empty fields.

Add the booking form to your website
After that, you should be able to add your form to any WordPress page or post. Use the Gravity Forms’ shortcode or block.
You could also create other fields to collect customer information for the appointment.
All the information collected in Gravity Forms will be passed to SSA except for admin and hidden fields.
Booking a Time Slot with Gravity Forms
Visitors will use your form to enter their information and choose an Appointment Time Slot.
When they choose a time slot, they’ll see a confirmation of their time. After they’ve filled in the required details and selected a time, they can submit the form.
Pending Form Submission Status
When a time slot is selected in a booking form created through Gravity Forms, an appointment is immediately recorded and marked as Pending Form Submission.
SSA will give the user 60 minutes to fill out their form if SSA still needs feedback from Gravity Forms on form submission. SSA marks this appointment as Abandoned.
Additionally, if the form submission happens within those 60 minutes, the appointment is marked as Booked.
When an appointment is selected with this Pending Form Submission status, you can mark the appointment as Abandoned, or keep the Appointment.
Learn more about the Booking Status and how to extend the 60-minute pending period, and how to manage pending bookings.
Managing Booked Gravity Forms Appointments
When you view the entry in the Gravity Forms, you’ll see a summary of the details and a link to manage the appointment in SSA.
In SSA, you should see all the Gravity Forms field details along with a link to view the entry in Gravity Forms.
As a security measure, any hidden or admin fields are not collected for display on the SSA Appointments pages. This is to ensure sensitive information like admin notes or passwords is not displayed to users through the Google Invite feature or the notifications.
If you’d like to bypass this functionality, read our guide on how to pass hidden fields to SSA.
Canceling Gravity Form Appointments
Firstly, to cancel an appointment, go to WordPress Dashboard > Appointments > Click on the Appointment you’d like to cancel > Click Cancel this Appointment > Confirm Cancellation.
The entry in Gravity Forms will need to be deleted separately as well. Canceling in SSA doesn’t affect those entries.
Canceling an appointment through SSA ensures that the time slot is opened again on the Booking Calendar.
Appointments can’t be canceled or deleted from the Gravity Forms entries page. If you delete an entry, SSA will still hold the record of the appointment.
Overhead Calendar View of Booked Gravity Forms Appointments
At this time, the Appointments fields are not yet compatible with the GravityView add-on.
If you’d like to have a Calendar View of your booked appointments, you could sync SSA with Google Calendar.
Sending Customer and Admin Notifications
You could use either Gravity Forms or SSA to send your clients notifications and reminders.
We recommend using SSA to send text messages or email notifications. Since this will make sure that you can send the following:
- Client’s unique cancelation/rescheduling link
- Tailored emails depending on the Appointment Types booked
- You and your clients get cancelation emails
Please remember that if you use Gravity Forms for the notifications, you must disable the default email notifications in SSA. They are set up to automatically send once you finish the Setup Wizard.
Gravity From Notifications
We also support merge tags in Gravity Forms. We have a guide to go over all of the merge tags.
And here are some guides to setting up email notifications with Gravity Forms.
Conditional Logic and Varying Prices
To learn more about using Gravity Forms to create robust and complex booking forms, we’ve put together the following guides:
Gravity Wiz Perks
Finally, you can check out our guide on Gravity Perks that we recommend using along with the Simply Schedule Appointments & Gravity Forms integration.
Related Guides
-

Admin Dashboard Walkthrough
-
Cancel, Reschedule, Edit or Delete Bookings
-
Conditional Logic with Gravity Forms
-
Email Notifications