In this document:
Introduction
Use Gravity Forms to create complex booking forms to display varying prices based on user selection and quantity.
Potential Use Cases
- Charge prices based on the number of people in a group. (Does not affect capacity)
- Sell add-ons for the appointment
What You Need First
- Gravity Forms is installed and activated.
- Go through the Setup Wizard in SSA and finish setting up your Booking Calendar rules and styling.
- To get started on how to set up a basic Gravity Forms form, please refer to our guide on the initial form setup.
- Learn how to create Conditional Logic on Gravity Forms.
- Activated one of the Gravity Forms eCommerce plugins to take payments
Make sure you’re using a Gravity Forms Edition that accepts payments – not all of their plugin tiers do.
Gravity Forms Stripe Add-On
The Gravity Forms Stripe Add-On provides two payment collection methods:
- Stripe Credit Card Field (Elements, SCA-ready)
- Stripe Payment Form (Stripe Checkout, SCA-ready)
Simply Schedule Appointments is compatible with both payment methods.
Pricing Fields Options
Gravity Forms has a variety of different Pricing Fields, such as Product, Quantity, Option, Shipping, and Total to help you charge varying prices for your appointments.

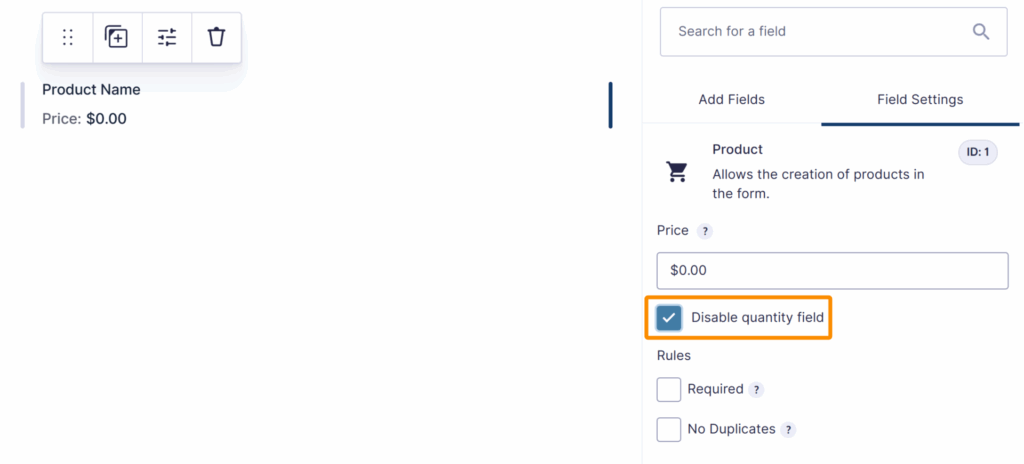
- Product: Create a set price and allow users to enter a quantity amount. There is an option to disable the quantity field.
- Quantity: Set a range limit that links to a Product field.
- Option: Create additional fees or gather more information linked to a Product field.
- Shipping: Create different shipping options for users to choose from.
- Total: Automatically calculates all the pricing fields on the form and displays the total amount.
Quantity Field and Capacity Feature
The Quantity field in Gravity Forms does not affect the Capacity feature in SSA because when the form is submitted, it is considered as one booking.
You can use the Quantity field and the Capacity feature together in the following situations:
- Limit the number of groups (group capacity) with a maximum number of people per group (quantity) at a single time slot.
- Allow overlapping bookings (individual capacity) with a maximum number of people per group (quantity).
Please refer to our guide on Capacity for Groups or Overlapping Bookings to learn more about how the Capacity feature works.
Setting up Pricing Fields
By following our guide on the initial form setup, there should be the Name, Email, and Appointment fields ready in the form builder.
Basic Set-Up
First, add the Product field to the form. Change the Field Label to the name of the product or service.

By default, the Product field comes with a quantity field. It is recommended to disable the quantity field since a limit cannot be set with this method.
Then add the Total field so that it will automatically calculate the total.

To link different Products to certain Appointment Types, please follow our guide on Creating Conditional Logic.
Using the Quantity Field
This method is used when you want to charge a price per person.
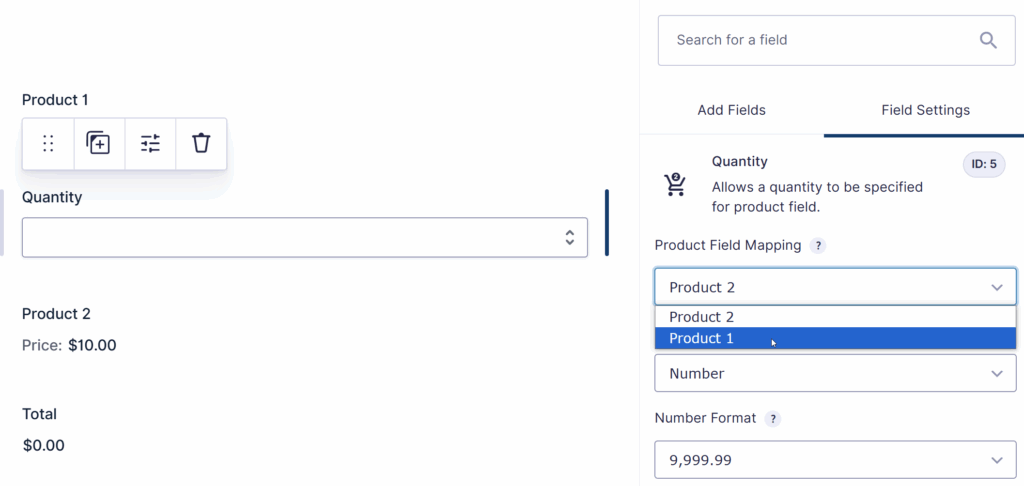
When adding the Quantity field to the form, it automatically links to the Product field. If there is more than one Product, you can easily change the Product Field Mapping to match the correct Product field.
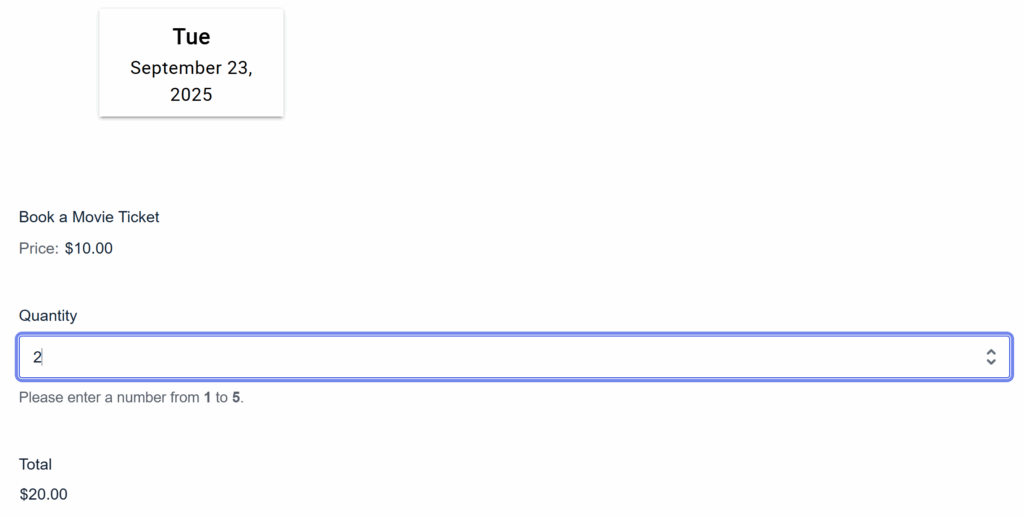
After setting the correct Product Field Mapping, a Range can be set. For example, if you only want to allow up to 5 people per group, you would input “1” in the Min field and “5” in the Max field.
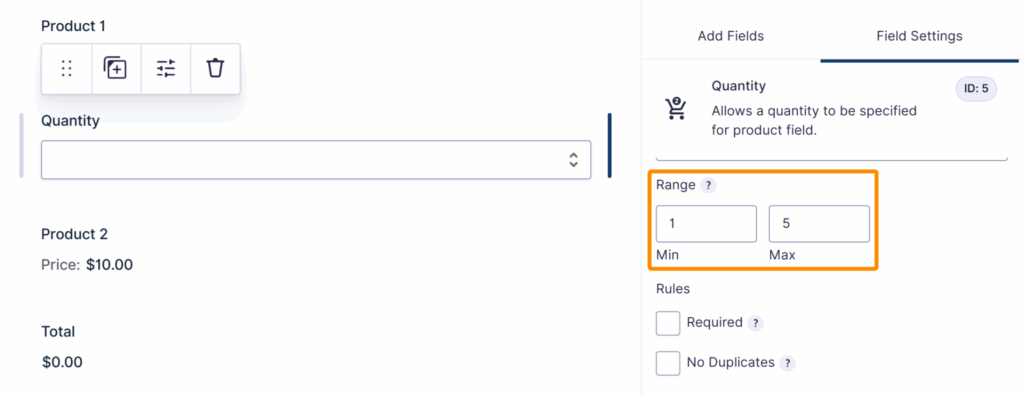
When defining the range, Gravity Forms will provide the instructions “Please enter a number from x to x.” This is visible after previewing the form, not while editing the form.
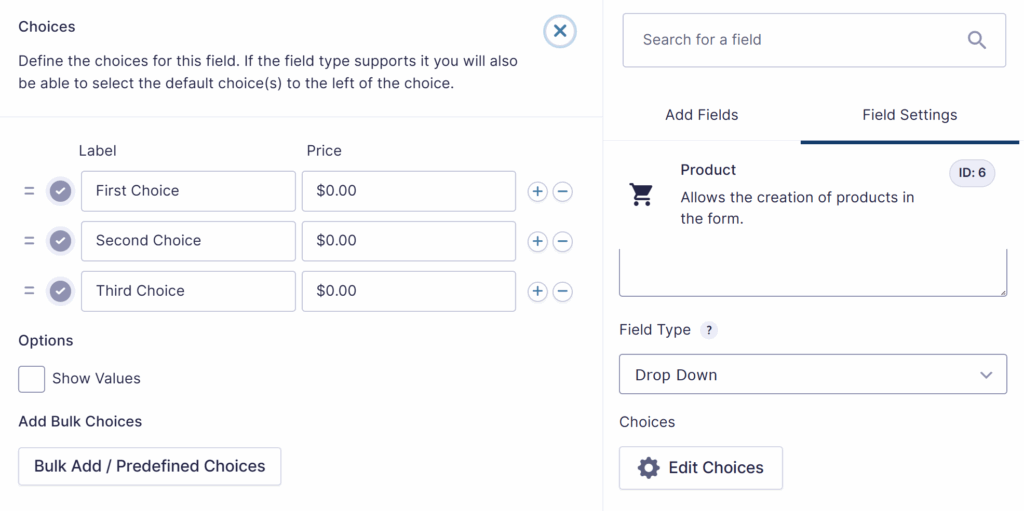
Using the Option Field
This method is recommended when you want to charge different prices, such as add-ons.
When adding the Options field to the form, it automatically links to the Product field on your form. If there is more than one Product field, you can easily change the Product Field Mapping to match the correct Product field.
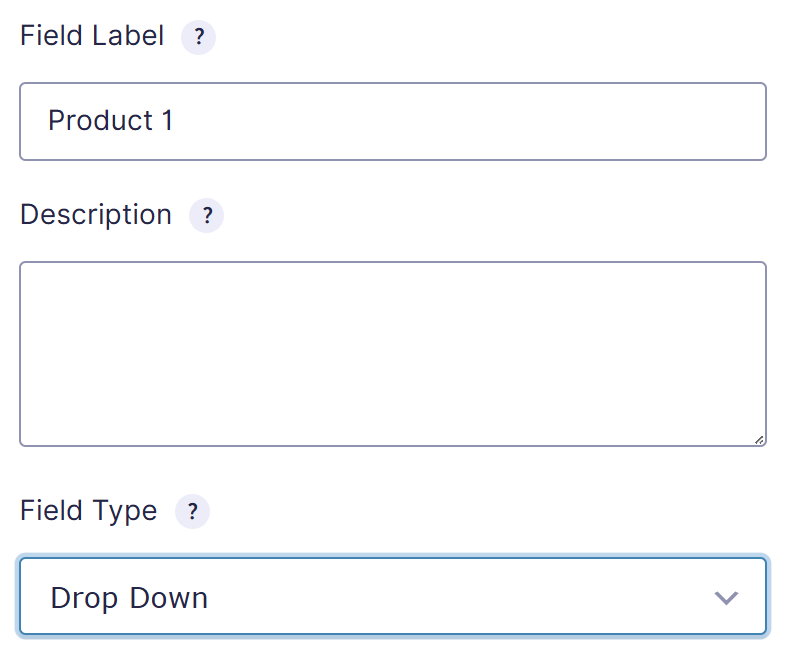
There are a few display options to choose from:
- Drop Down: This option is ideal if there are many different add-on options and you only want the user to select one from the list.
- Radio Buttons: This is similar to the Drop Down option, but will list all options on the form. This is best if you only have a short list of add-on options and only want your users to select one.
- Checkboxes: This option allows users to choose as many add-ons as they want.
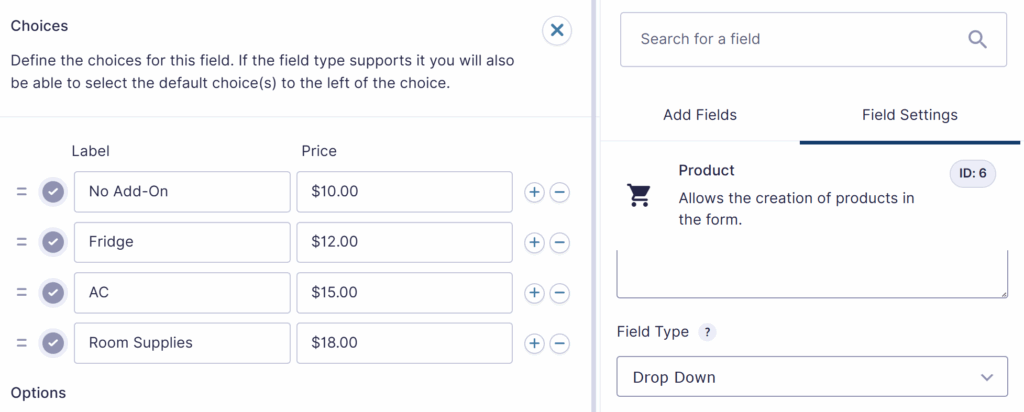
The Label field will be displayed to the users, and the Price field is the additional pricing to be charged.
The first option in the Options field will be selected by default and automatically added to the Total, so it is recommended that you create the first option with the product’s price.
Test the Form
Now that all of the pricing fields have been implemented, the only thing left is to test out the form! See how the Quantity and Options field included in Gravity Forms charges varying prices.
Quantity Field
This method is excellent for charging varying prices per person attending the appointment.
Options Field
This method is perfect for helping you charge for add-ons.

Related Guides
-

MemberPress Appointments for Memberships
-
Appointments Tab for Member Dashboards
-
MemberPress FAQ
-
Paid Bookings Marked as Abandoned