In this article, we’ll show you how to leverage Gravity Forms and Simply Schedule Appointments together to create a highly efficient booking system for your website. This robust combination will allow you to create a streamlined and user-friendly appointment scheduling system for your users.
A bit about the plugins
Gravity Forms
Gravity Forms is a form builder plugin specifically designed for WordPress. It has tons of features and integrations, so you can virtually build any kind of form you want. Some prominent features include
- Automated Payments
- Conditional Logic
- Multi-page forms
- Drag-and-Drop Builder
- 30+ Form Fields
- Merge Tags
- Multi-Language Support
Simply Schedule Appointments
Simply Schedule Appointments is the go-to WordPress booking plugin. It’s super easy to set up, and within a few steps, you can add a professional-looking booking calendar to your site. Plus, appointment management becomes a breeze with its range of features, an array of integrations, excellent plugin support, and documentation. Some prominent features include
- Email and SMS Notifications
- Merge Tags
- Advanced scheduling options
- Capacity Booking
- Team Booking
- Resource Booking
- Google Calendar integration
Integrating Gravity Forms with Simply Schedule Appointments
As a preliminary step, you must ensure that you have installed and activated both the Gravity Forms and Simply Schedule Appointments plugins on your website.
To integrate Simply Schedule Appointments with Gravity Forms, ensure you’ve activated a premium edition (Plus, Professional, or Business Editions) of Simply Schedule Appointments on your site. Additionally, you’ll need to purchase and activate a premium edition of Gravity Forms separately.
Setting up the Simply Schedule Appointments Plugin
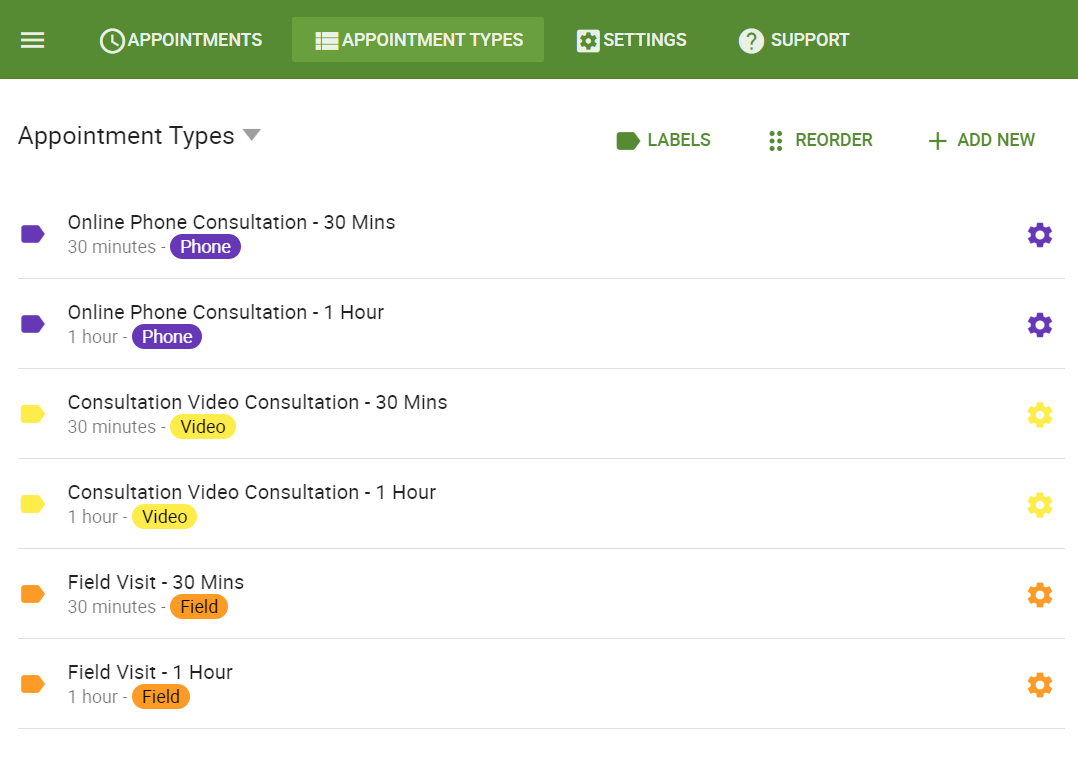
If you’re just starting out with the Simply Schedule Appointments (SSA) plugin, we highly recommend trying out our Setup Wizard. For example, as shown in the screenshot below, we have set up six different appointment types and adjusted each one according to our needs. Plus, we added labels to categorize the appointment types. Following are some critical settings for an appointment type.
- Basics: Adjust the name, duration, label, slug, booking view, and instructions for an appointment type.
- Availability: Define the availability type, appointment start times, available timeslots, and availability window.
- Team Members: Select whether you’d like team members for this type of appointment or not.
- Capacity: Do you want to allow a set amount of people to book overlapping time slots? If yes, set that up under the Capacity setting.
- Scheduling Options: Define Appointment timezone, buffers, notice required, advance, booking window, and per day limit.
- Resources: This setting allows you to choose whether a Resource is required for this type of appointment.
- Google Calendar: Select whether you want to sync appointments with your connected Google Calendar and select calendars to check for conflicts.
Feel free to review the full list of settings.
Setting up the Form with Gravity Forms
Head over to WP-Admin > Forms > Add New Form and choose to create a new form using a premade template or start from scratch with a blank template.
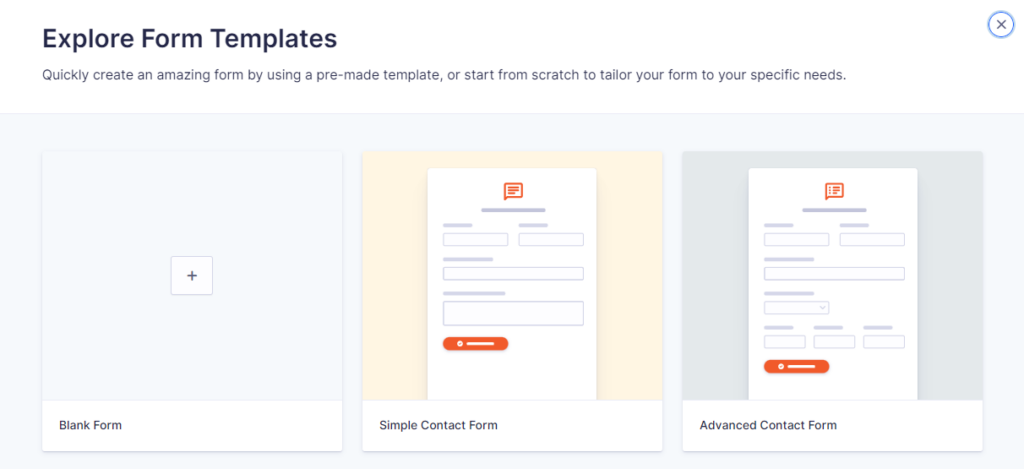
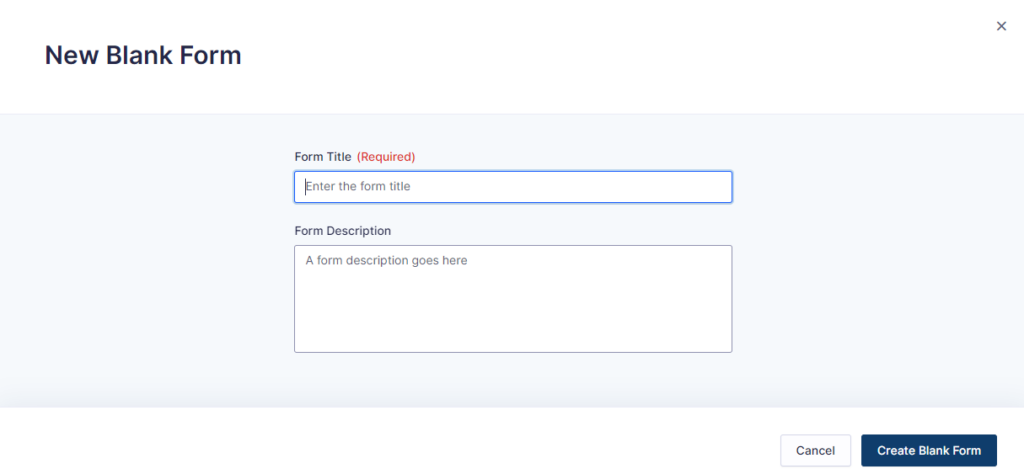
Add a form title and description in the next step and hit Create Blank Form.
On the next page, you can customize your form fields based on your specific needs. Options include adding fields like Name, Email, Phone Number, Address, Checkboxes, Radio Buttons, Simply Schedule Appointments Appointment Field, and a variety of other field types.
As a note, the Name and Email fields must be added as required fields when integrating Gravity Forms with SSA within the form.
Customizations within the form
Conditional Logic
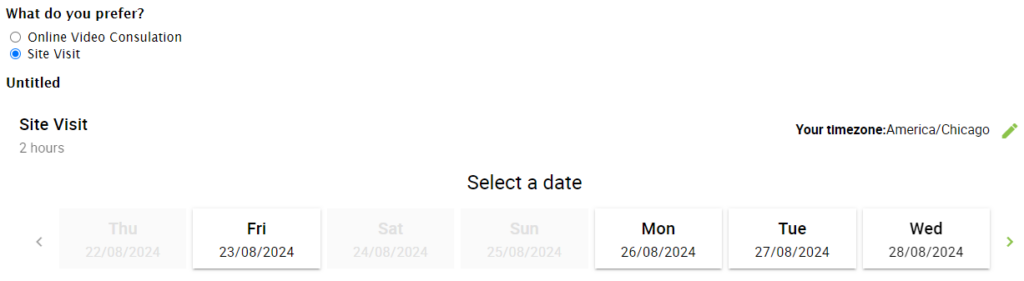
Conditional logic is a great way to customize what will be displayed to users based on previous selections in the form. For example, our sample form has six appointment types. If we want users to see only specific appointment types based on certain selections and not all appointment types, we can set up conditional logic for that purpose.
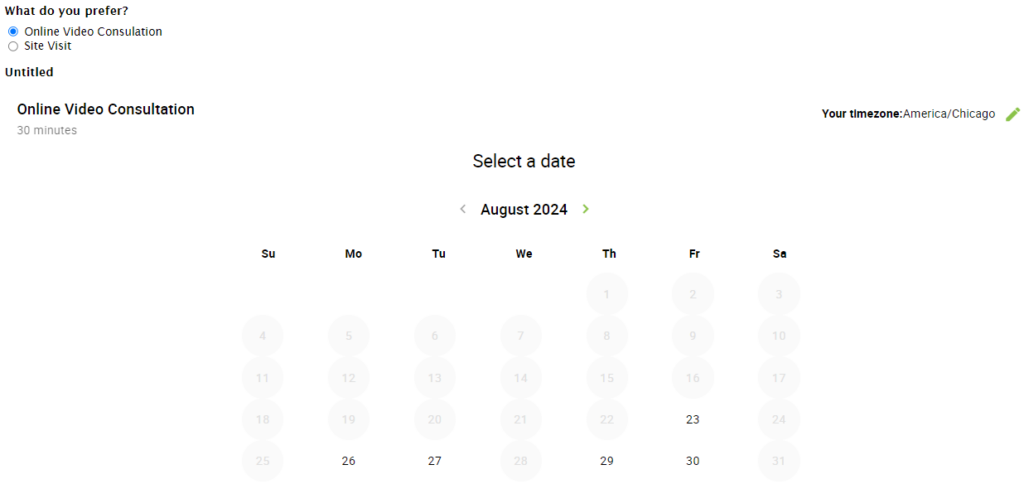
For that, you’ll need to activate conditional logic and include conditions to display one or more appointment types. In our form, if the customer selects either their preferred way of meeting (Online Phone Consultation, Online Video Consultation, or Field Visit) or duration (30 Minutes or 1 Hour), they can see the appointment type based on their selection. Our blog post on Conditional Logic will help you set it up from scratch.
Setting up pricing fields in Gravity Forms
If you wish to charge your customers, you can include a variety of pricing fields, such as Product, Quantity, Option, Shipping, and Total, within the form so that your customers can pay you before they submit the form. You’ll also need to set up payments within Gravity Forms to accept payments.
If a product is priced at $5, you have allowed the user to select the quantity of the product. Based on the user selection, they will be charged a price accordingly. For example, if a user selects the quantity as “2,” the total would be $10 under the Total field.
You can also allow the user-defined price along with various other pricing options.
Feel free to review how you can charge variable prices with Gravity Forms.
Populate Anything perk by Gravity Wiz
You can also choose to utilize the Populate Anything perk via Gravity Viz. Interested to learn what else can you achieve with Gravity Wiz and Gravity Forms together? Take a peek.
Simply Schedule Appointments is also compatible with various other Gravity Viz perks.
Enable Notifications
You can configure and send out notifications via both Gravity Forms and Simply Schedule Appointments. Within SSA, you can also set up booking reminders and follow-up emails and SMS within a few steps.
You can view the list of all of the supported Gravity Forms merge tags that can used to access SSA appointment information for the form if you choose to send notifications via Gravity Forms.
It’s important to add all relevant merge tags and customer information fields in the notification template if you want to receive those details in notifications.
Now that you have set up the form with Gravity Forms and included the SSA appointments module, you can save the form and embed it on any post or page on your site.
Book an Appointment via Gravity Forms
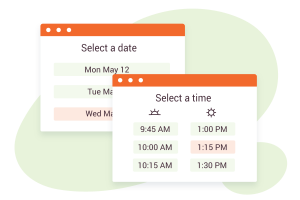
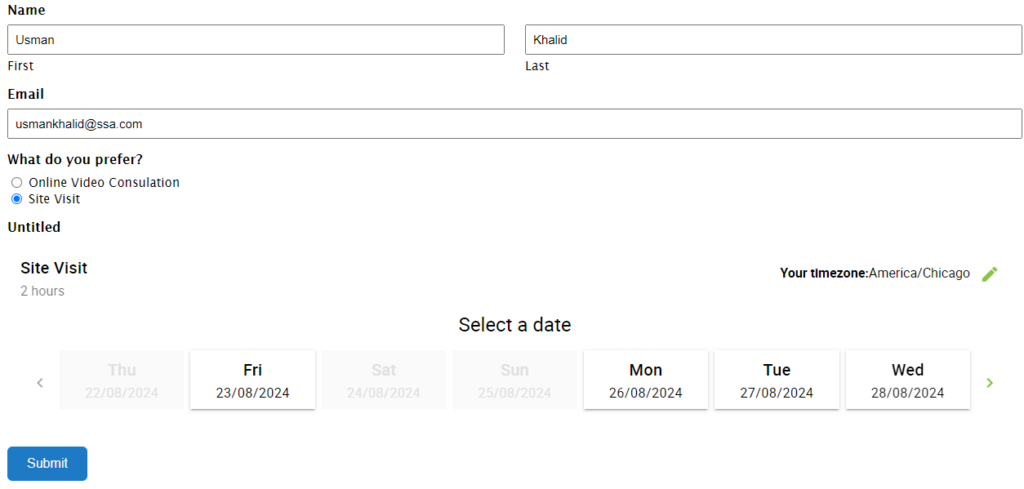
A user can visit the post/page on the site where you have embedded the form. Fill in the customer information fields, select an appointment type, date, and time, and submit the booking.
A new entry would be received in Gravity Forms that can viewed via WP-Admin > Gravity Forms > Entries.
Also, an appointment would be added that can viewed on the SSA Dashboard via WP-Admin > Appointments > Appointments.
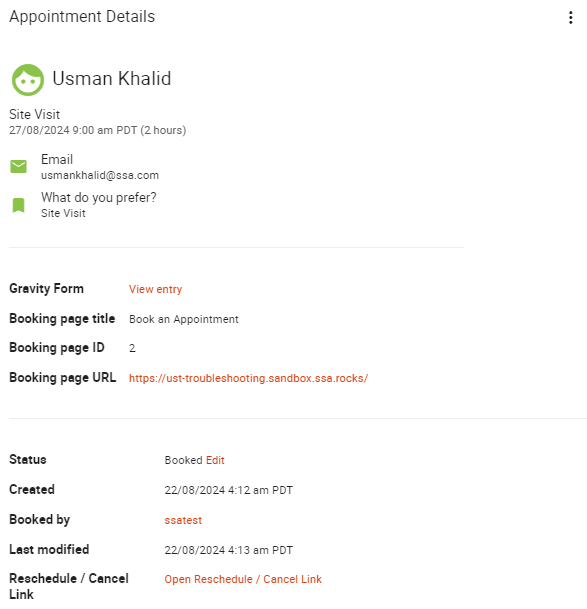
Notifications would be sent out to both Admin and customer regarding the booking, including details regarding the booking and all the fields we selected in the Gravity Forms.
Conclusion
To wrap up, integrating Gravity Forms and Simply Schedule Appointments enhances your WordPress site with a powerful booking system. This integration simplifies appointment scheduling, improves user interaction through customizable forms, and offers efficient appointment management features.