In this document:
Introduction
Simply Schedule Appointments can be used on multi-language sites; in this guide, we’ll go over some of the setup steps to get this done.
- Make a duplicate and translate Appointment Types and Notifications.
- Display the calendars using our specialized translation shortcode.
Translate Appointment Types and Notifications
The Appointment Types and notifications use fields that follow a “what you see is what you get” convention because they’re customizable. This means that our WordPress translation system can’t translate them, so we have to translate them manually.
Cloning Appointment Types
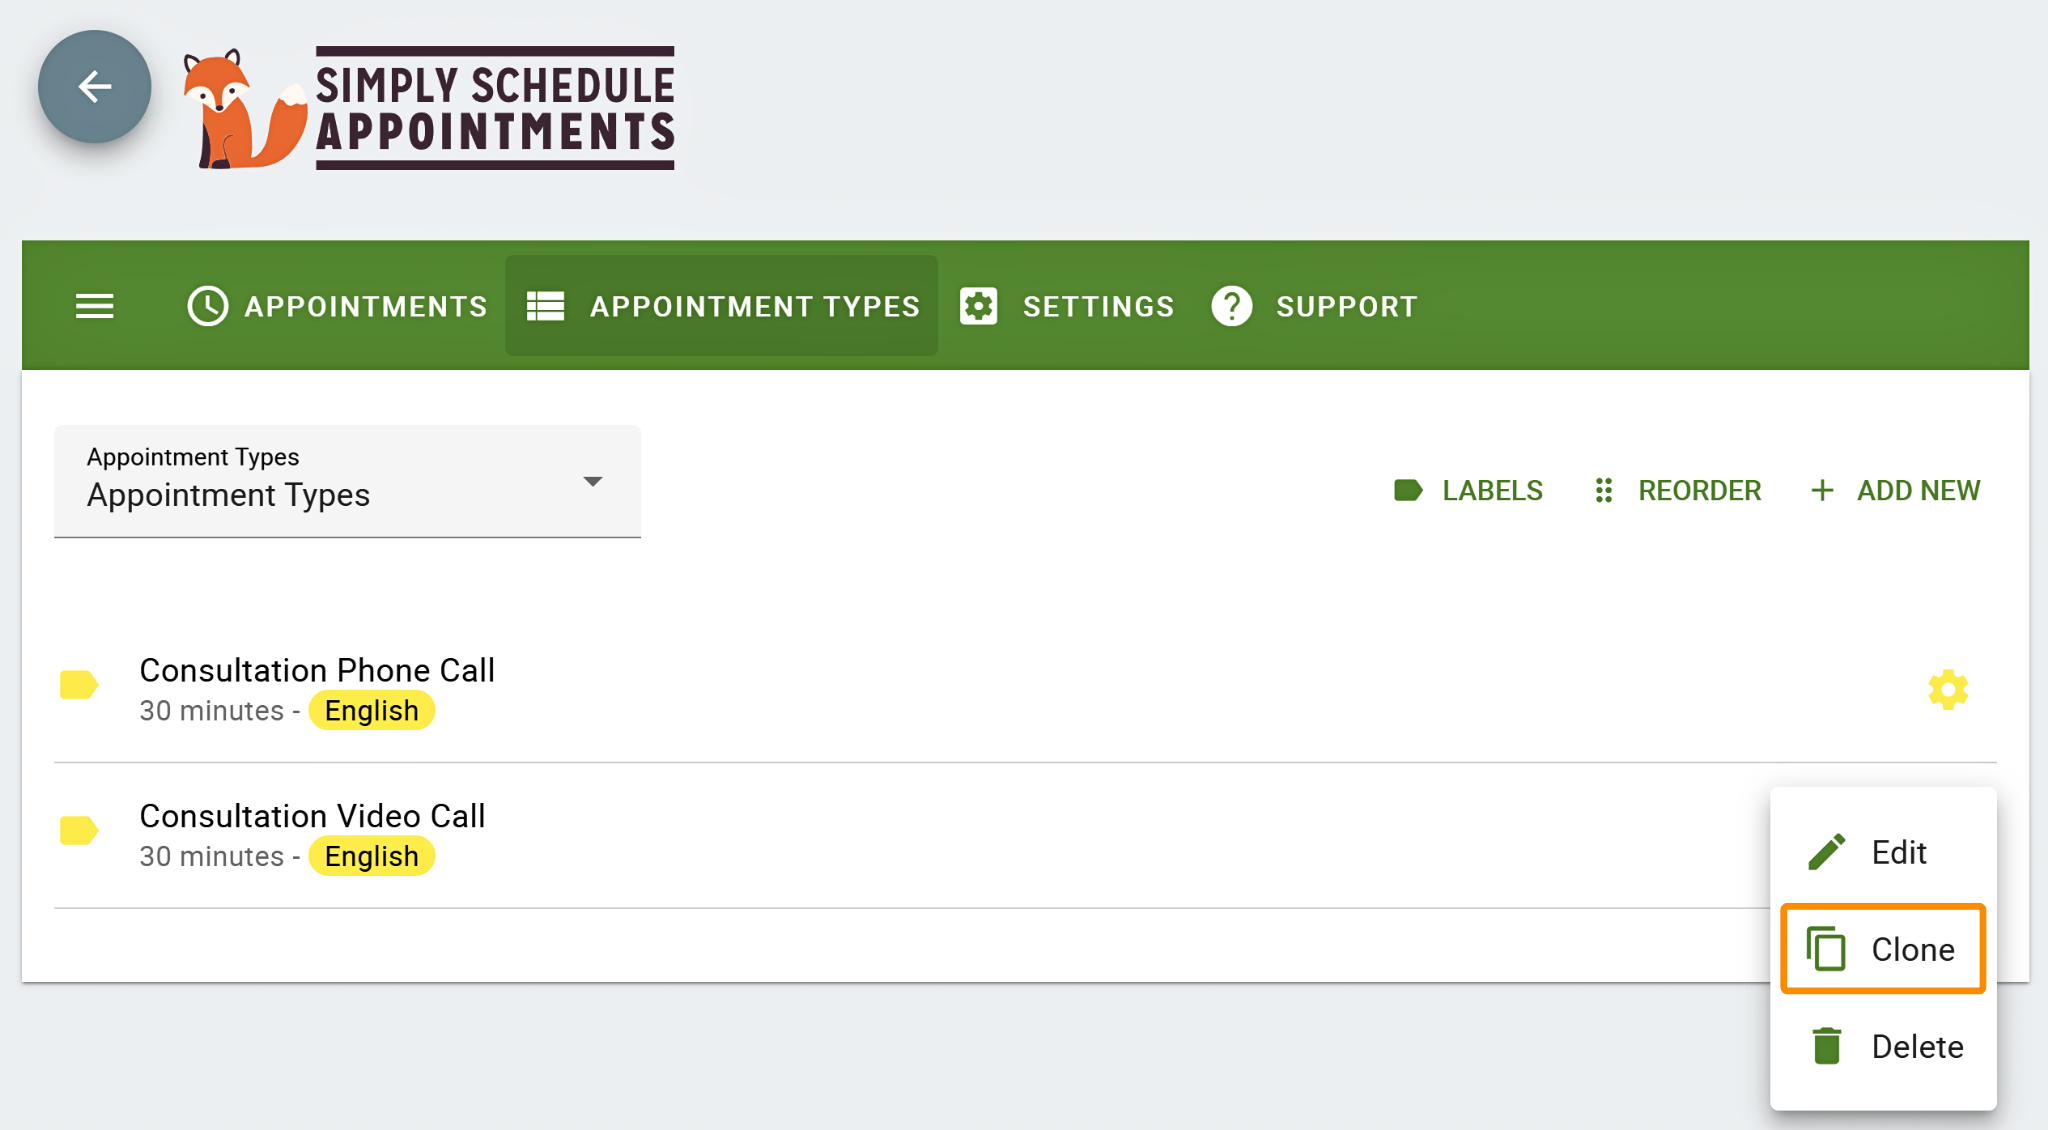
To begin, we’ll need to clone each Appointment Type. For that, using the cog on the right-hand side of the Appointment Type listings, select the Clone action.
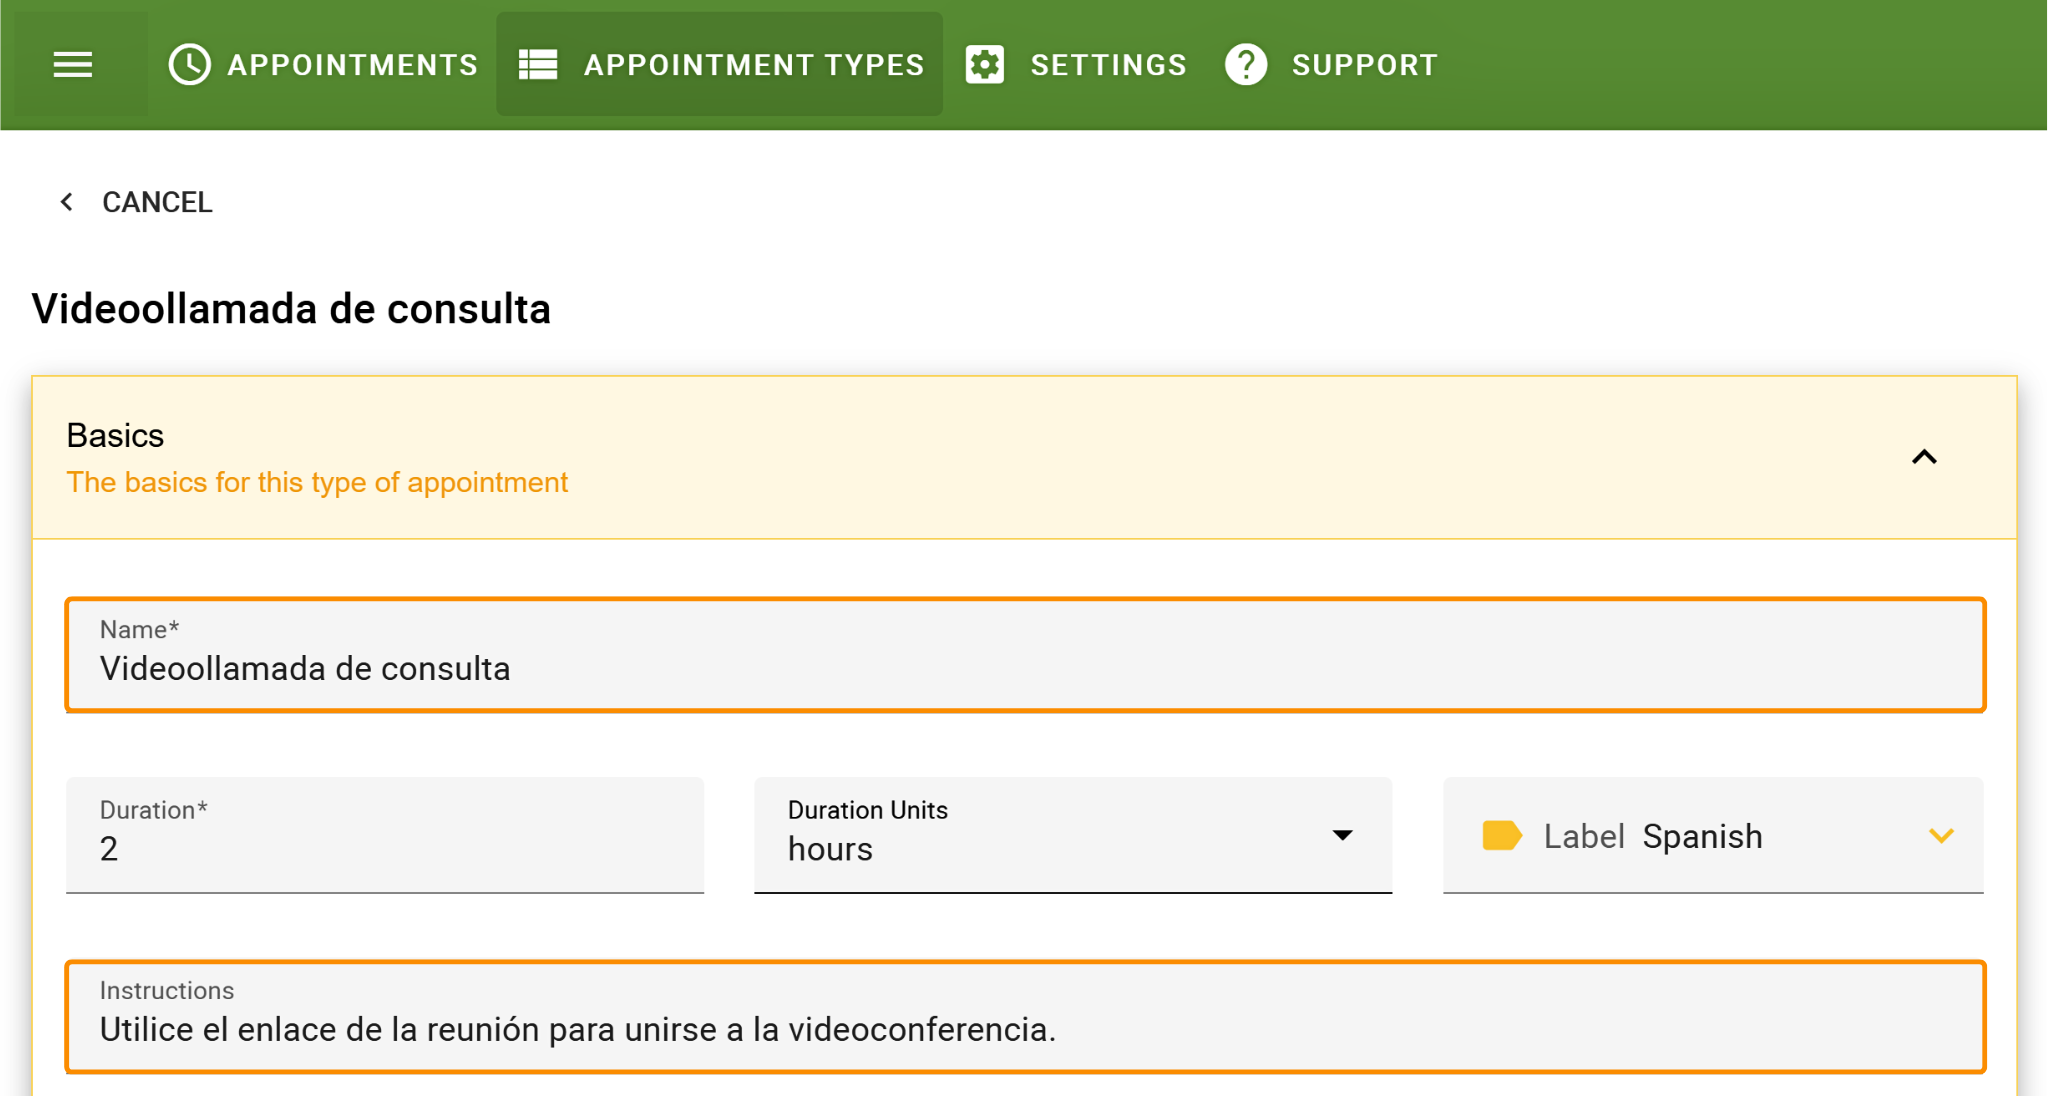
This will open a new Appointment Type editor for the clone; you’ll need to translate the following fields:
- Appointment Type Name
- Instructions
- Payments Return Policy
- MailChimp Opt-in message
- Customer Information Fields (if you’re using custom ones)
Once you’re done, go ahead and Save the newly translated Appointment Type.
Cloning Notifications
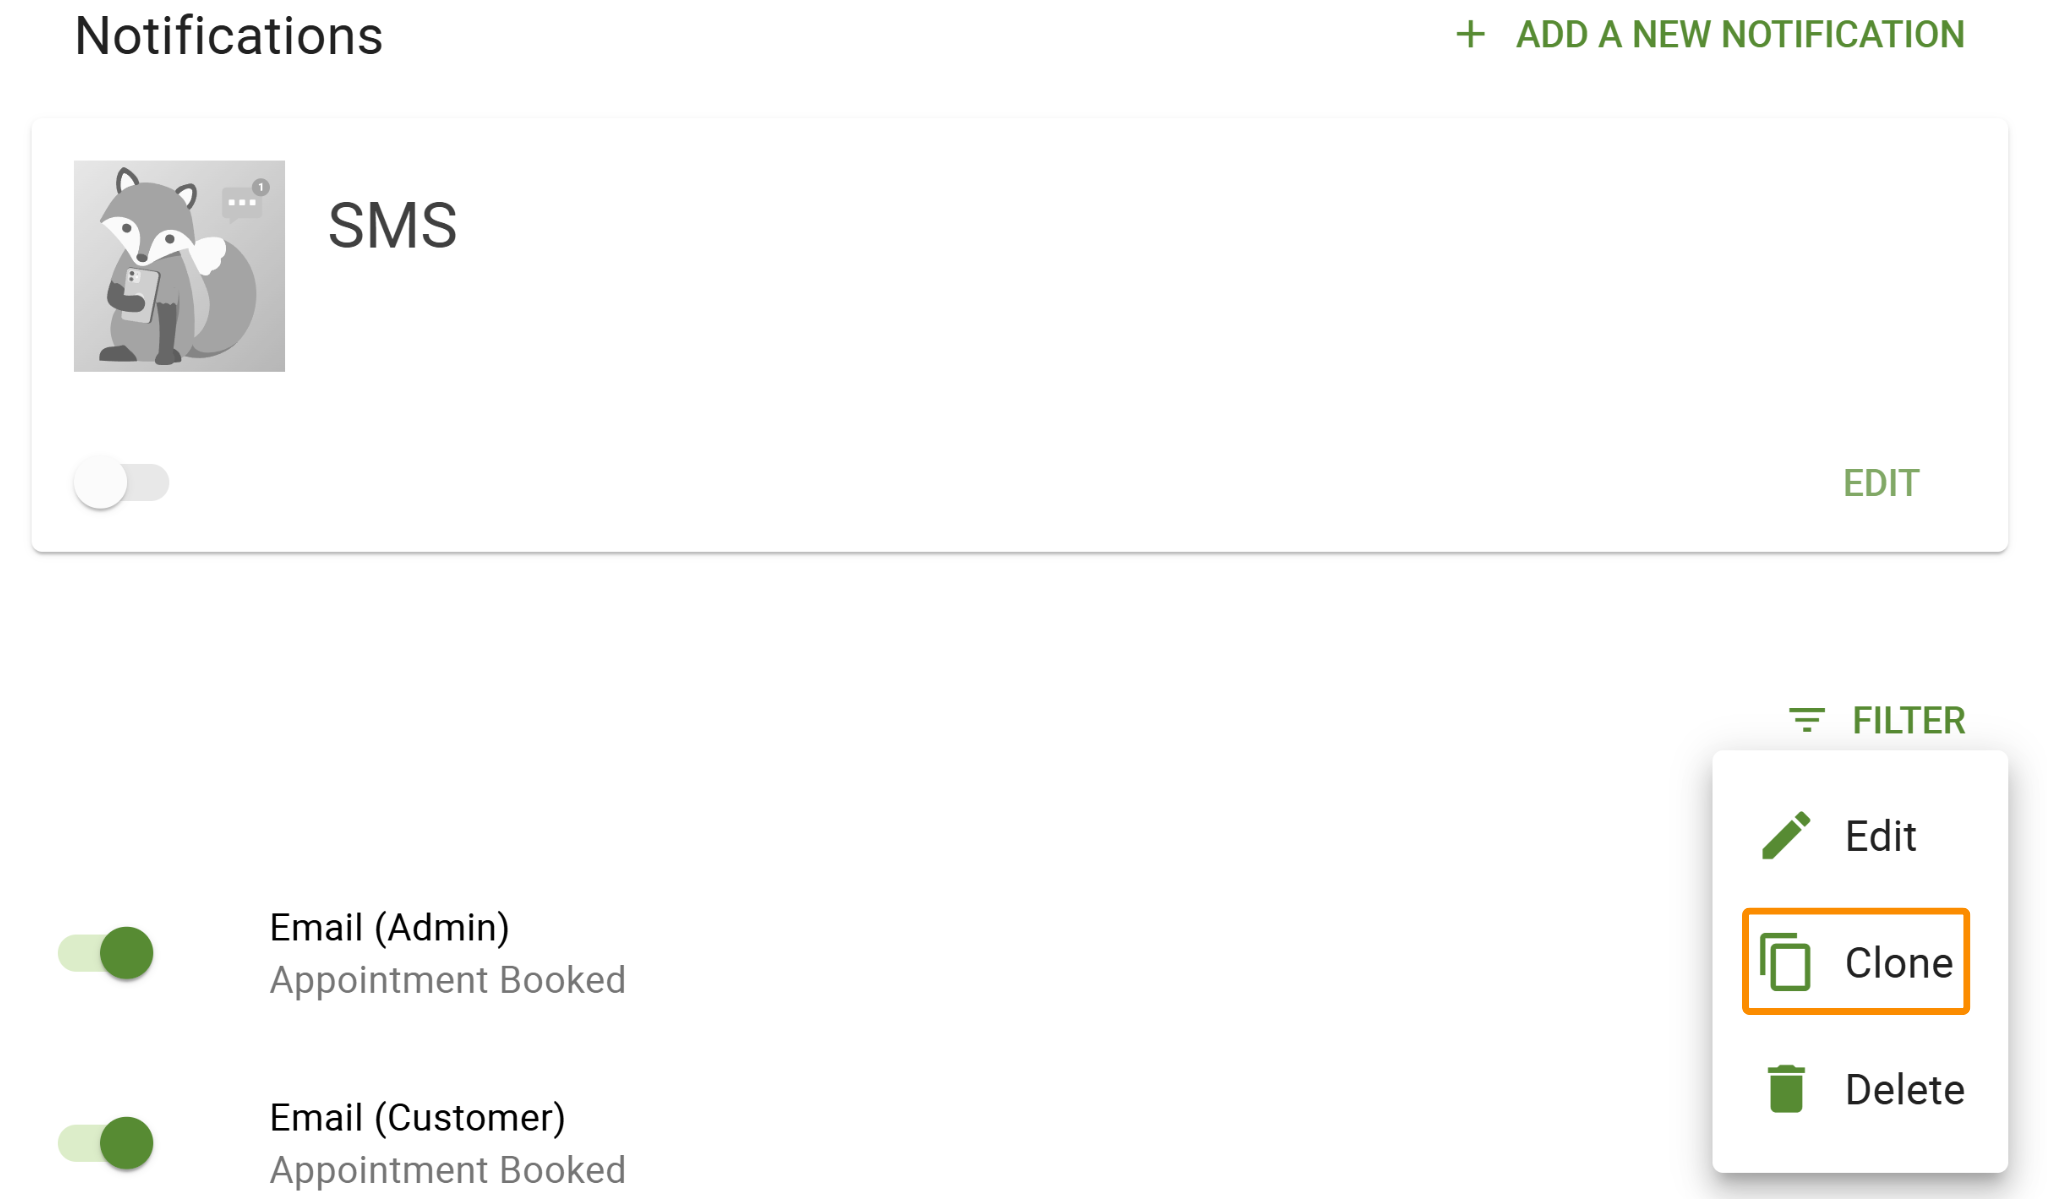
Next, we’ll need to also duplicate the notifications and tie them to our new translated appointment types. Using the cog on the right-hand side of the notification listings, select the Clone action.
This will open a new Notification Editor for the clone; you’ll need to complete the following steps.
- Change the Notification Name to keep yourself organized (maybe add the language to the end of the existing title)
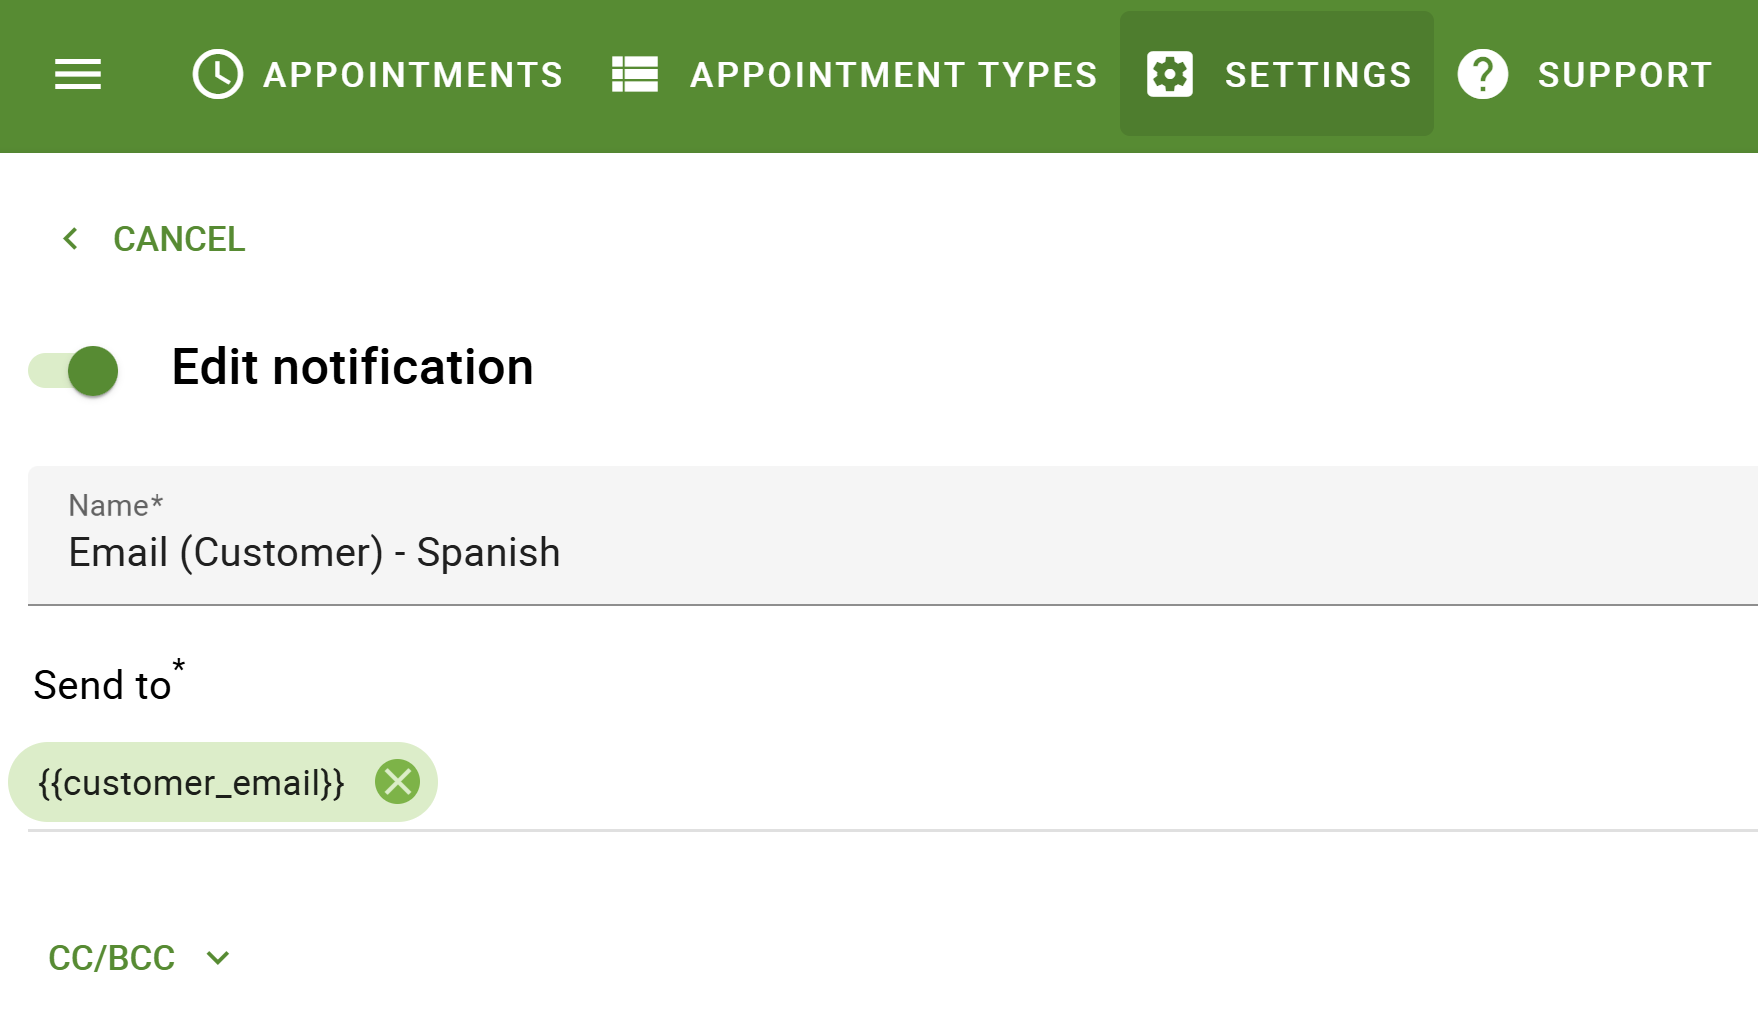
- Tie the notification to the translated appointment type
- Translate the Subject and Message
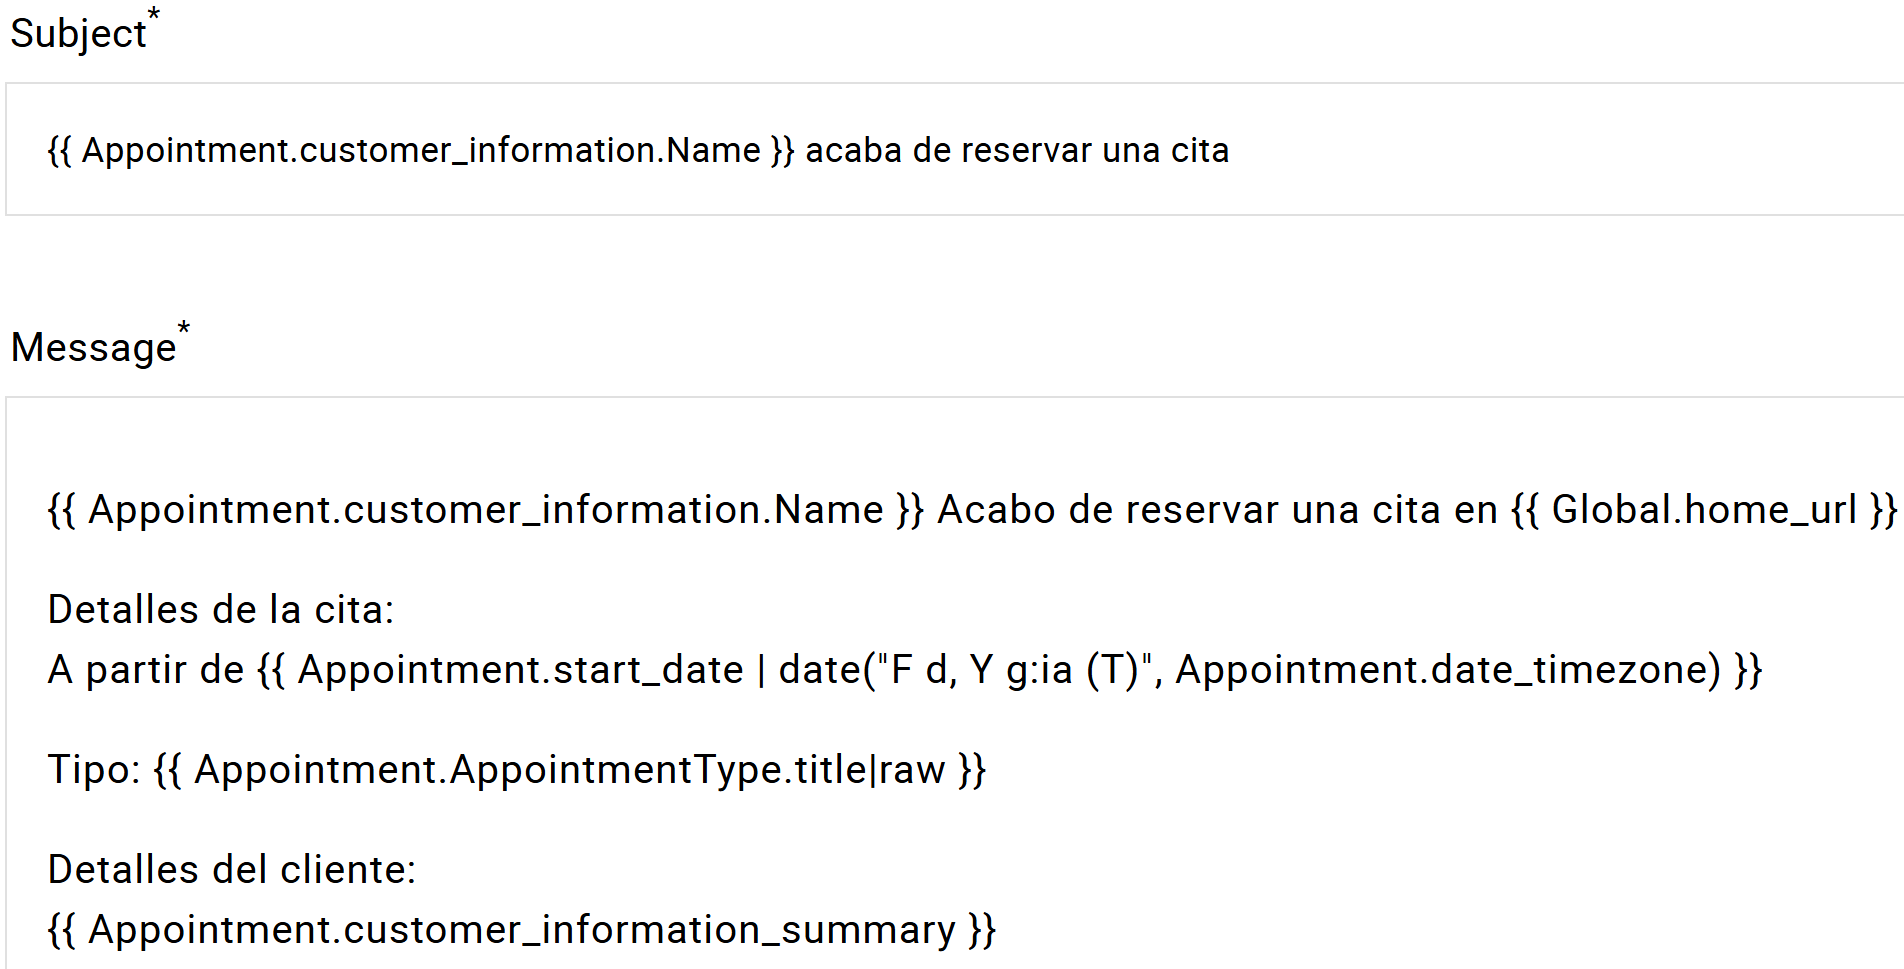
OR, instead, use the following workaround using Advanced Twig to switch out the content depending on which language the user booked in.
Display the Calendars with the Specialized Shortcode
When embedding a translated booking calendar on your site, you’ll need to work with the following two shortcode attributes.
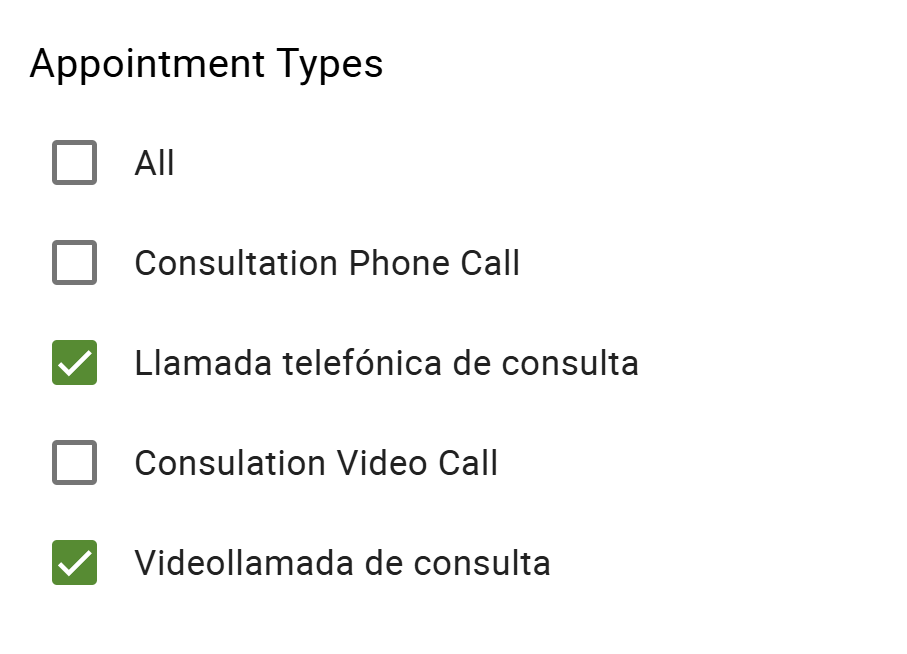
- Label: This will help you list only the appointment types under a certain label. You can create a label for each language and tag all the appointment types to the correct label as per the language.
- ssa_locale: This will force SSA to display in your selected language.
In our shortcodes guide, we give you even more details on how to use these attributes.
The shortcode would look something like this:
[ssa_booking ssa_locale="language-pack-code" label="Label 1"]In my example, I’m going to use:
[ssa_booking ssa_locale="es_ES" label="Spanish"]Make sure to have the language pack installed in SSA!
Resources Feature To Limit Availability (Optional)
To limit the availability across translated appointment types, you can use the Resources feature. For example, if you want only one appointment at a time across the English and Spanish versions of an appointment type, you can create a single resource under a Resource Group and assign that resource to both appointment types.
That way, only a single appointment can be received at a time across both the English and Spanish versions of the same appointment type.
If you don’t want your calendars to block off each other’s time slots, you’ll need to turn on the Independent Availability setting.