In this document:
Introduction
In this guide, we’ll be going over how to edit the Resource Groups to your liking. Editing the resource group will allow you to assign resources to your appointment types as needed, add new resources or auto-generate them, and rename them.
Modifying Resource Groups
After you have created your resource group, you can make changes to the overall group and what they’re assigned to.
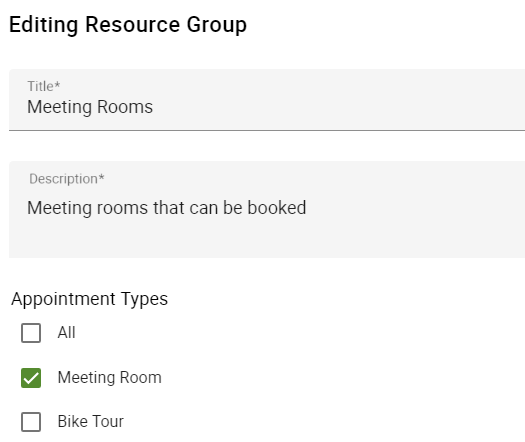
Unique Resource Groups
The Title and Description can be modified for the Unique Resources, as well as which appointment type(s) the Resource group is assigned to.
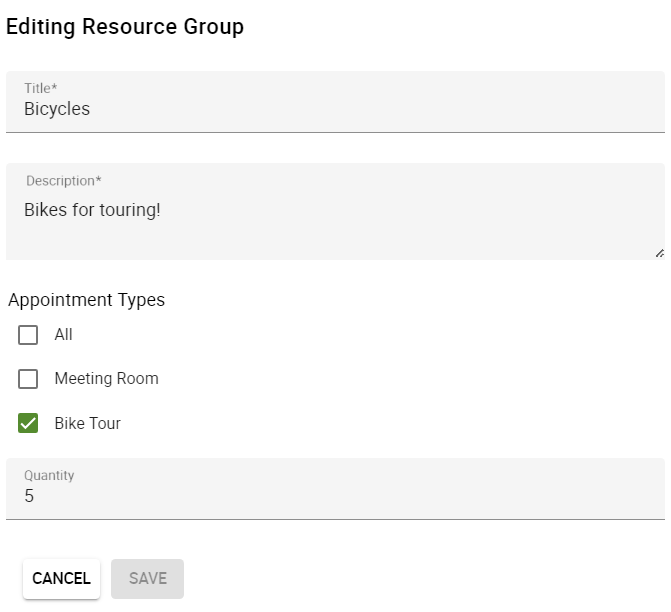
Identical Resource Groups
The Title and Description can be modified for the Identical Resource group, as well as which appointment type(s) the Resource group is assigned to.
You can also modify the quantity of the resources here. Since the items are identical and the same, this is easily controlled via this method. You can reduce or increase the resources to your liking.
Editing Resources
Modifying individual resources varies for each type. Let’s go over what can be edited for each item.
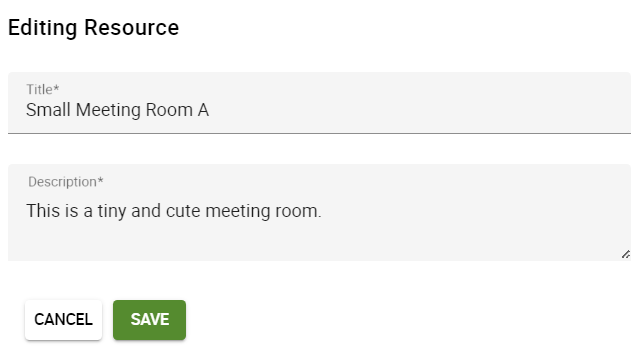
Editing Unique Resources
Each resource can have its own name and description. This is great for when you have a variety of resources that are just not similar. To edit an item, simply click the gear icon to modify the title and description of the resource.
To add more resources, you can click + Add New Resource to the group.
If you add more resources when appointments are already assigned to a completely booked time slot, then that time slot will open up accordingly based on the added resources.
Learn more about creating unique resources.
Deleting Unique Resources
If you need to remove a resource from the group, you can click the gear icon and Make it Inactive.
If you change your mind or must ensure its deletion, click the Resources dropdown and select Resources – Inactive. Once you’re here, you can restore the resource or delete it.
Do note that if you delete a resource that has already been assigned to a booked appointment, it will still be assigned to that resource and won’t be changed.
Identical Resources cannot be individually altered as unique resources can be. Only the quantity can be changed or the resource removed.