
In this document:
Introduction
Get to the General Settings screen by going to Appointments > Settings > General Settings from the WordPress dashboard.
These settings are set up for you after the Setup Wizard, and you can go back to change them afterward, too.
General Settings
Timezone for the Booking Calendar and Admin App
This is the timezone that you or your business is located in. The timezone you choose indeed affects the times that you see on your Admin view of appointments.
Visit our guide on Picking a Timezone for help in choosing the right one for your business.

Booking Calendar Timezone
The timezones that your customers see on the Booking Calendar undeniably depend on the Appointment timezone setting within each Appointment Type.
Visit the Appointment Type Settings guide to learn more about how to manage the Booking Calendar Timezones.
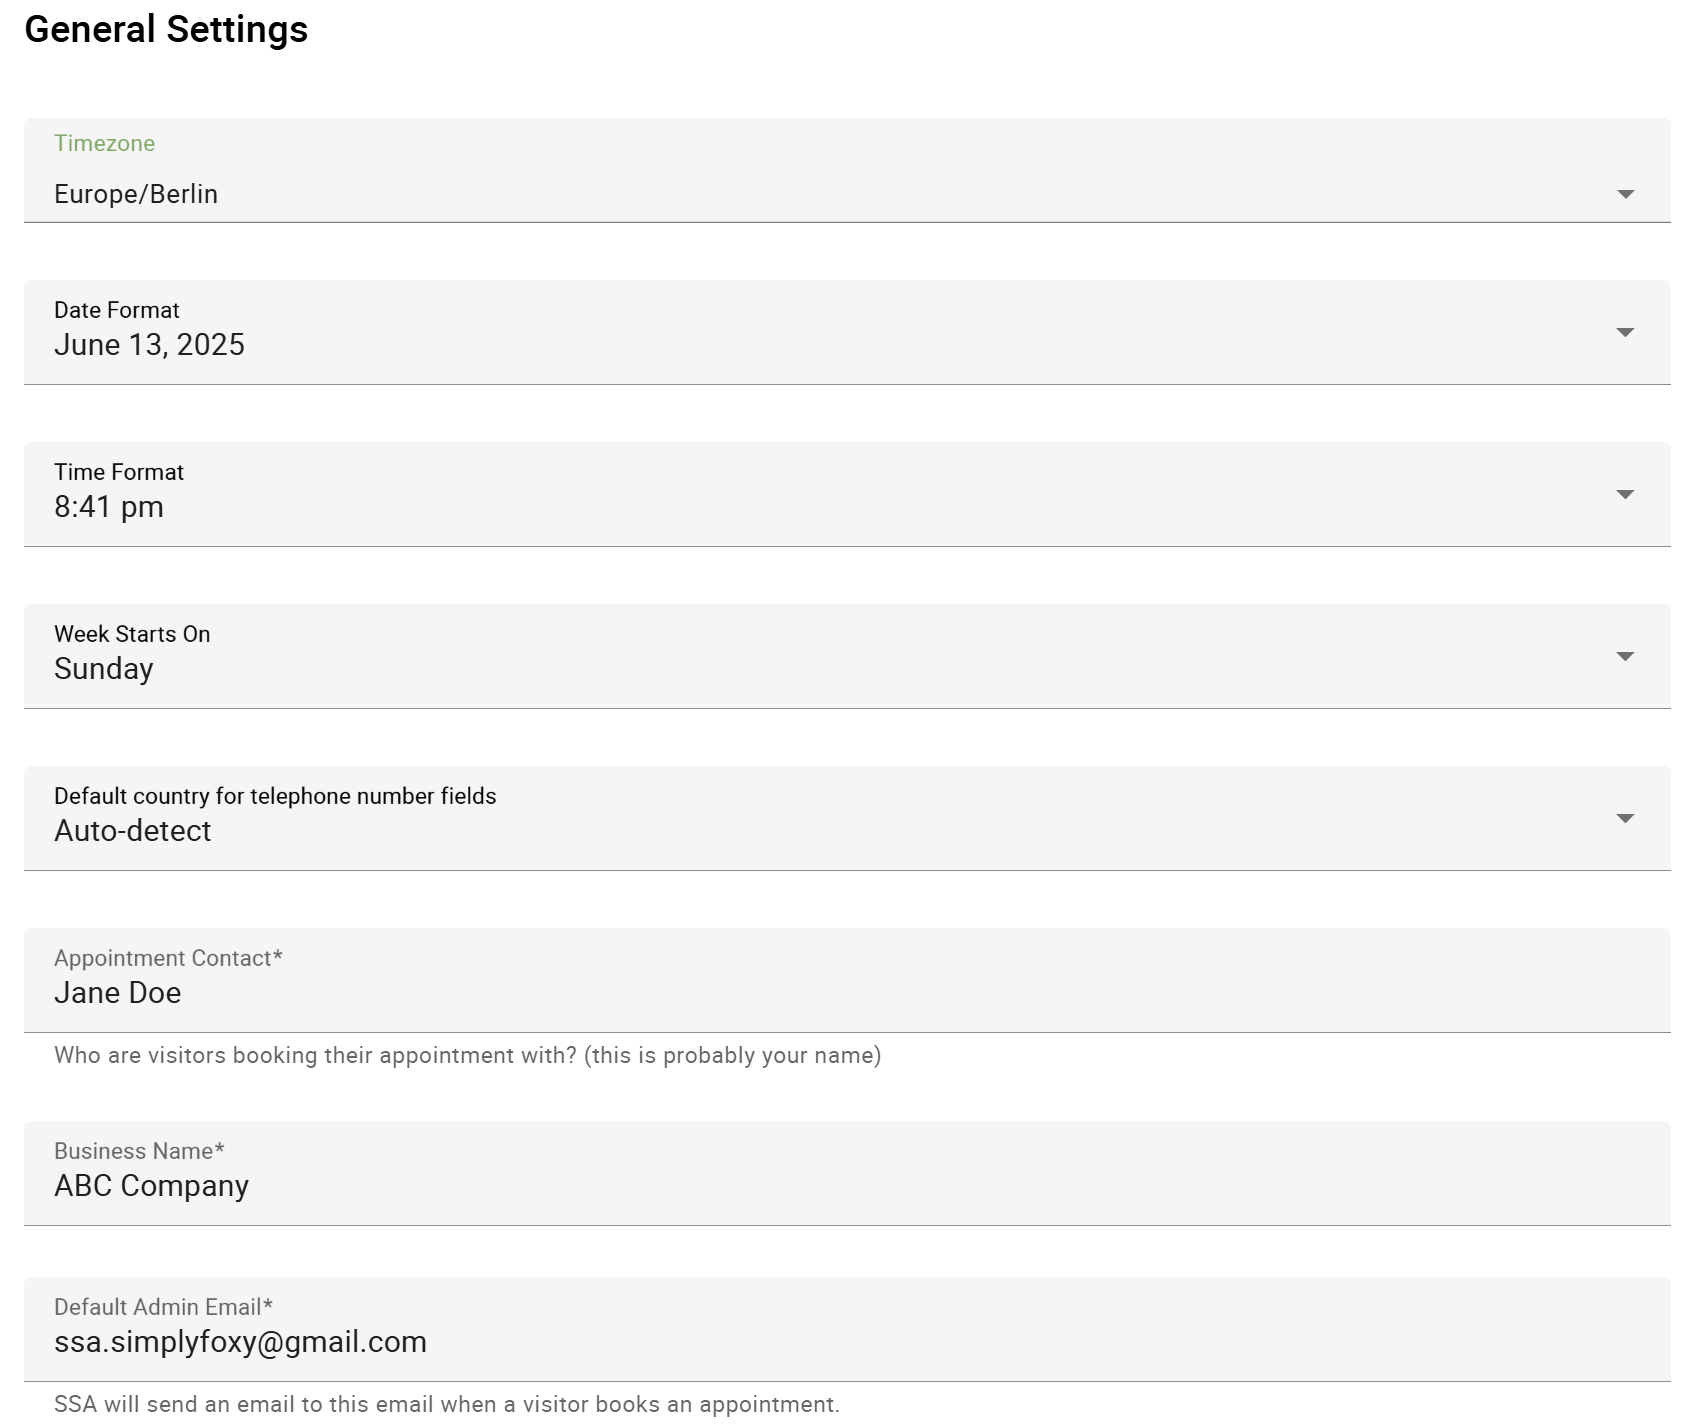
Date Format
When your customers are booking appointments, they’ll also see all dates displayed in the selected format.
When you’re viewing appointments, you’ll also see the date shown in your selected format.
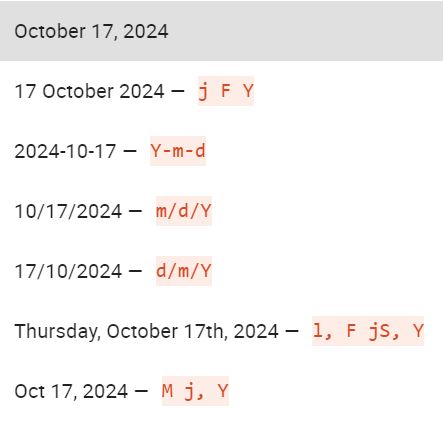
Time Format
When you’re viewing appointments, you’ll see the time shown in your selected format.
When your customers are booking appointments, they’ll also see all times displayed in the selected format.
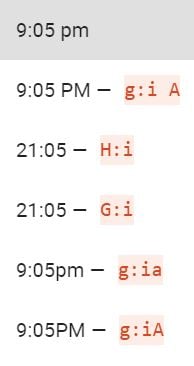
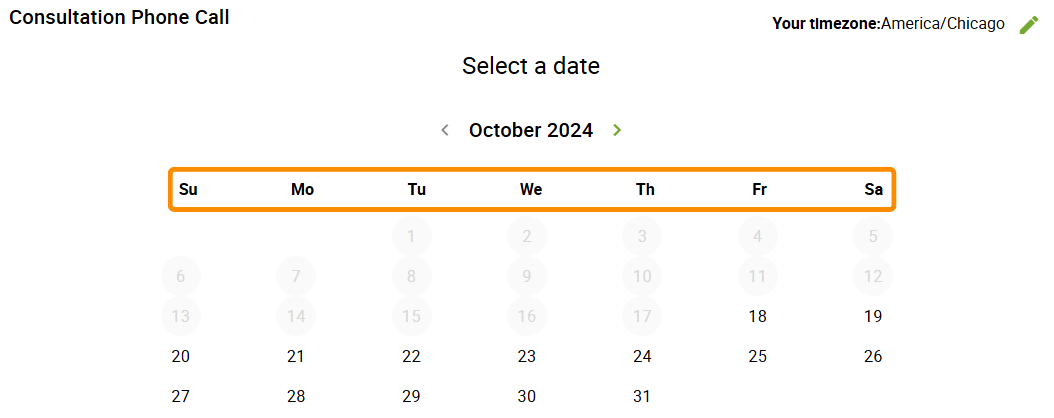
Week starts on for the Monthly View
You can set any day you’d like as the first day of the week. In conclusion, appointment Types set to Monthly View have the week start on the day you choose.
If you’re using the Weekly View, then the week will automatically start on either today’s date or the next day with availability.
By default, Simply Schedule Appointments uses WordPress settings in most cases.
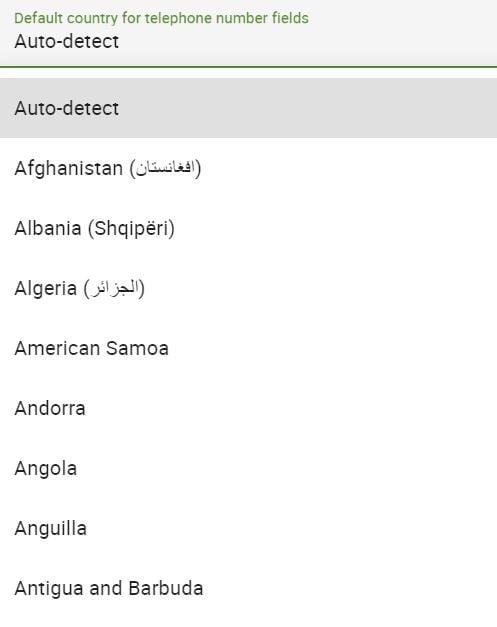
Default Country for Telephone Number Fields
Choose a default country for your phone number field. This is especially useful if you’re noticing a slight lag in the country code detection in the booking form.
Open the dropdown and then choose your preferred country. Otherwise, you can leave it as Auto-detect.
Your customers will still have the option to choose a different country code. Additionally, this will only set the initial country code.
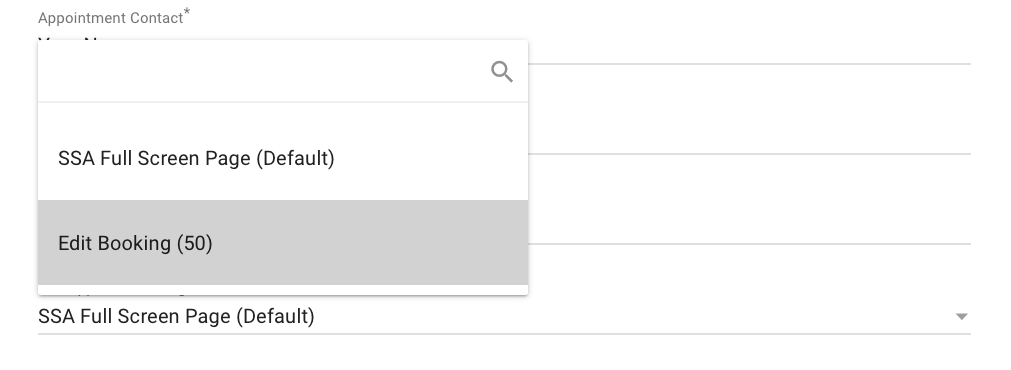
Appointment Contact
This is the person with whom people are booking. This name can show up as the contact person in notifications and also reminders to your customers.

Business name
This is the business name that people are booking with. Furthermore, the business name can show up in notifications and reminders sent to your customers.
By default, Simply Schedule Appointments uses the name of the site.

Default Admin Email
This is the email address where you’d like to receive email notifications for your bookings.
By default, Simply Schedule Appointments uses the site’s admin email address.

Admin Phone Number
If you have the SMS feature enabled and activated, then enter the Phone Number where you’d like to receive SMS notifications for your bookings.

Edit Appointment Page
By default, we provide a blank page to host the Edit Appointments module. You can change the page this is hosted on by creating a custom Edit Appointments page.
Related Guides
-

Appointment Type Settings
-
Display the Booking Calendars
-
Admin Dashboard Walkthrough
-
Booking Appointments