Introduction
This guide will show you how to create a custom page to host the SSA rescheduling, cancellation, and field editing screen – also known as the Edit Appointments module. This is an excellent option if you’d prefer to have more control over how the Edit Appointments page looks instead of using our blank default page.
You can only specify a single custom page to edit appointments.
Create an Edit Appointments Page
Embed the following shortcode on your new Edit Appointments page; this can be added to a new page or added to an existing page on your website:
[ssa_confirmation]By default, this shortcode says, “Simply Schedule Appointments Booking Confirmation.” You’re welcome to change the text here, but remember that this converts into the Edit Appointments module when accessed through an Edit Appointments link.

Update the Edit Appointment Page Field
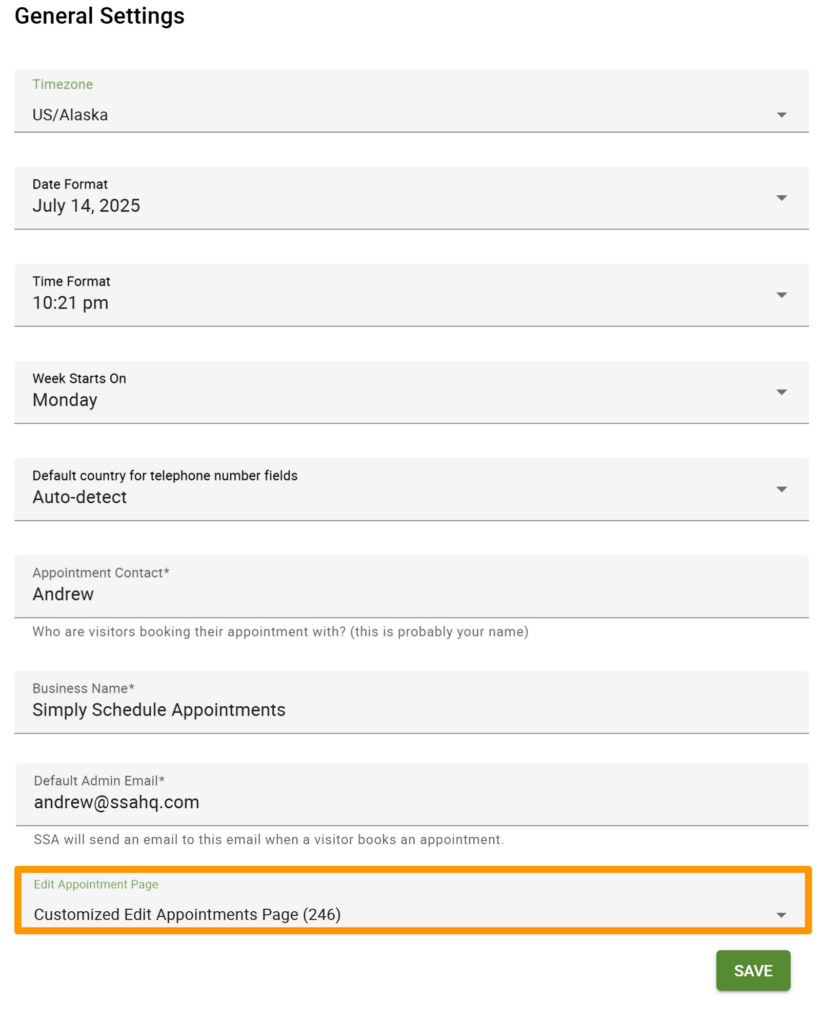
Now that you have a page set up to host the Edit Appointments module, we have one last step to ensure that Simply Schedule Appointments redirects to this page when someone uses a link to Edit Appointments.
Go to the SSA Settings tab > General Settings > use the Edit Appointment Page dropdown to select your new Edit Appointments page.
Related Guides
-

Which Simply Schedule Appointments Edition Is Right for You?
-
Recurring Appointments and Booking Multiple Appointment Types
-
How to Fix “There Are No Available Appointments”
-
Reschedule/Cancel Link 404 Error