As businesses grow, managing appointments and scheduling can become a cumbersome task. Fortunately, technology has made it easier than ever to streamline this process with appointment scheduling software. In this blog post, we will explore how to set up Simply Schedule Appointments and the Starter Templates plugin along with the free Astra themes as a booking website builder.
Step 1: Install Astra and Starter Templates Plugin as your Booking Website Builder
The first step is to install Astra, a popular WordPress theme by Brainstorm Force, and the Starter Templates plugin. Astra is lightweight and customizable, and Starter Templates gives you access to a library of pre-designed website templates to choose from.
To install Astra, go to Appearance > Themes in your WordPress dashboard, click on “Add New,” and search for “Astra.” Click “Install” and “Activate” to activate the theme.
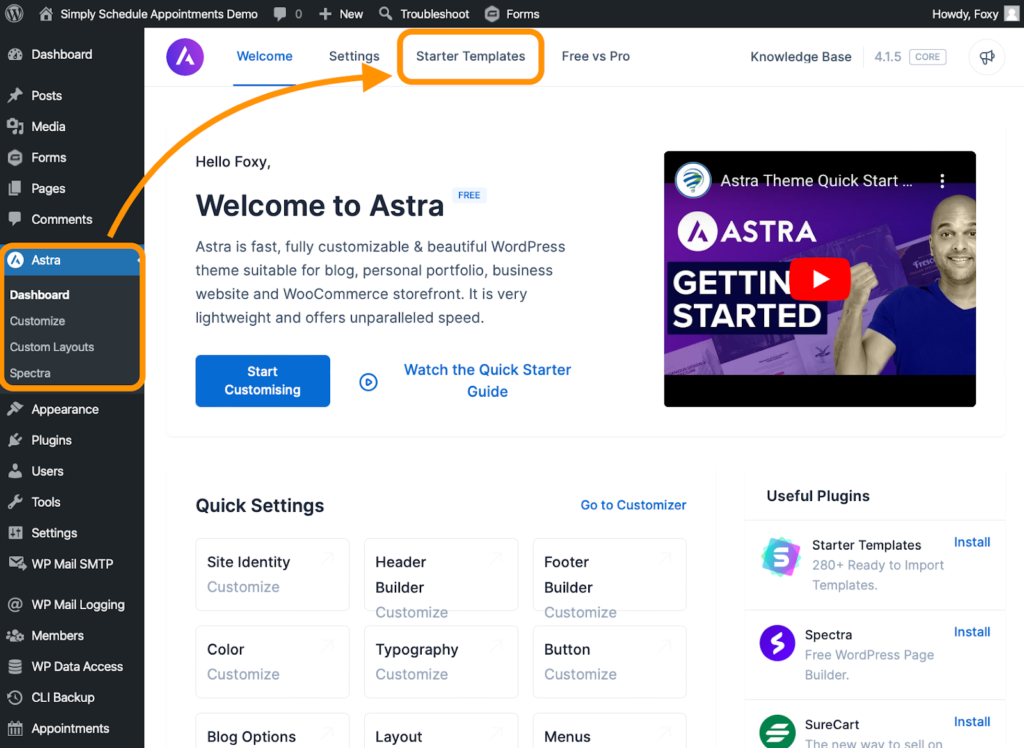
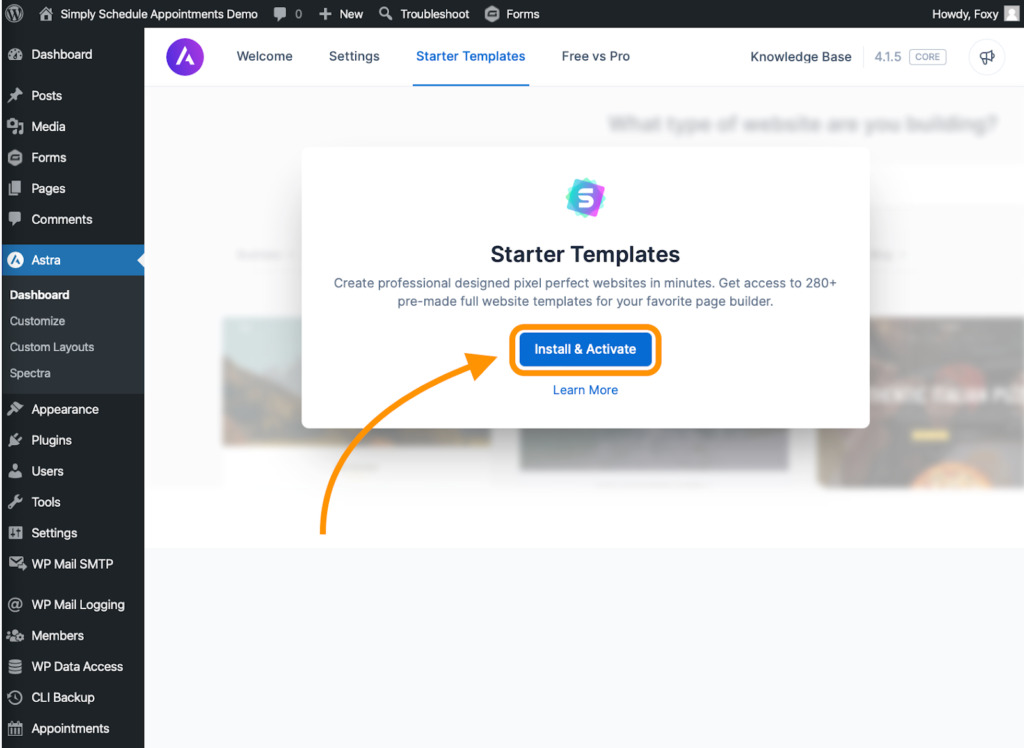
Next, install the Starter Templates plugin by going to the new Astra tab in the WordPress Dashboard > Starter Templates > Click “Install” and “Activate.”
This will instantly open the Starter Templates setup wizard.
Step 2: Choose a Starter Template for Your Booking Site
Now that you have Astra and Starter Templates installed, it’s time to choose a template for your website. With Starter Templates, you have access to a variety of pre-designed templates to choose from, including ones specifically designed for appointment scheduling.
If you’re not already in the setup wizard, go to Appearance > Starter Templates in your WordPress dashboard.
Before you get started, you’ll be asked to choose a page builder: WordPress Block Editor, Elementor, or Beaver Builder. In our tutorial we’ll be using the WordPress Block Editor.
You’ll see that Starter Templates has a wide variety of websites ranging in use cases from restaurants to agencies. While many of the templates are premium and require an active subscription, a lot of them are also completely free.
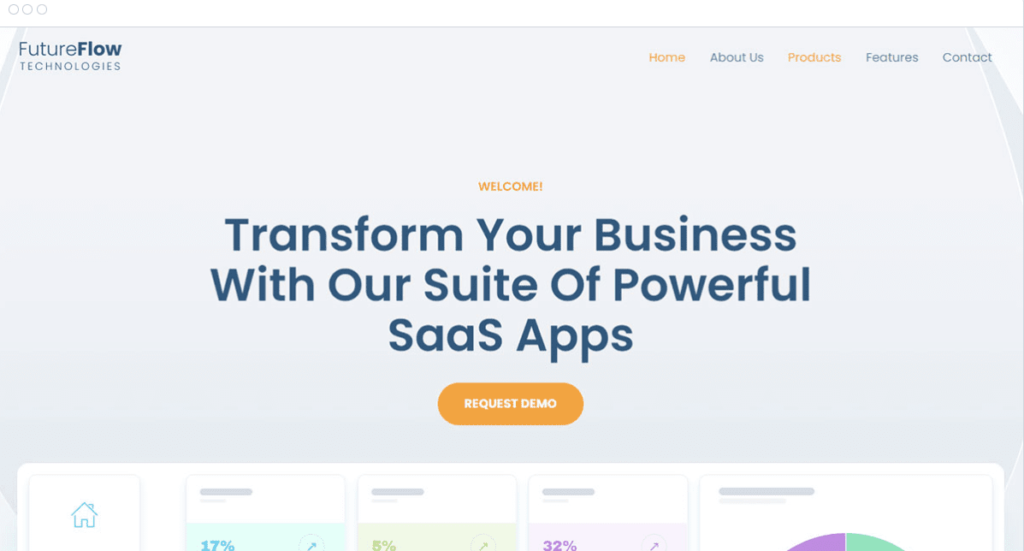
When selecting a template, just keep in mind that you’re not selecting a template based on its content. Rather, you’re selecting a template based on the style and structure. Find one that feels right for you.
Remember that you can make changes to images, sections, headers, text, and colors later. When you find one you’d like to use, click on it to continue with the setup walkthrough.
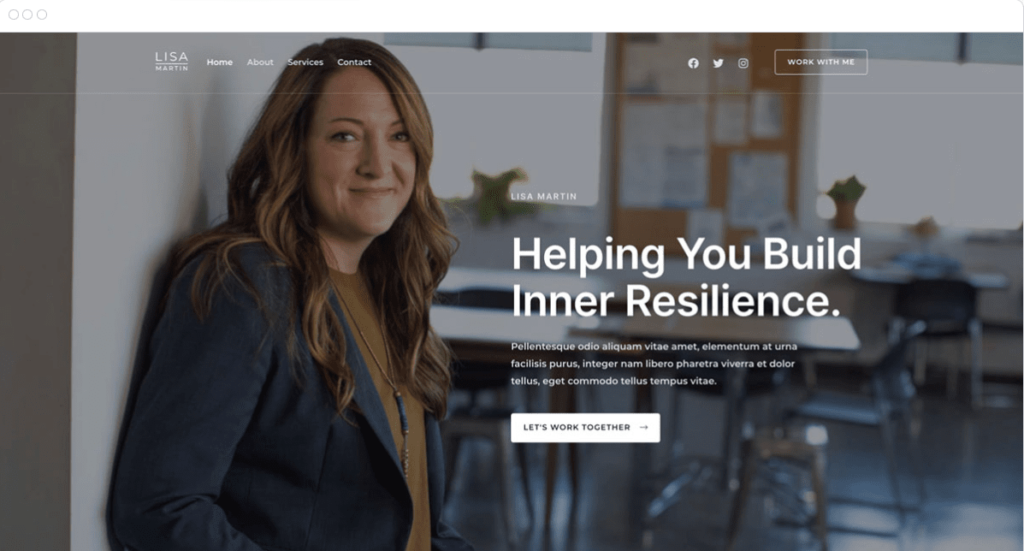
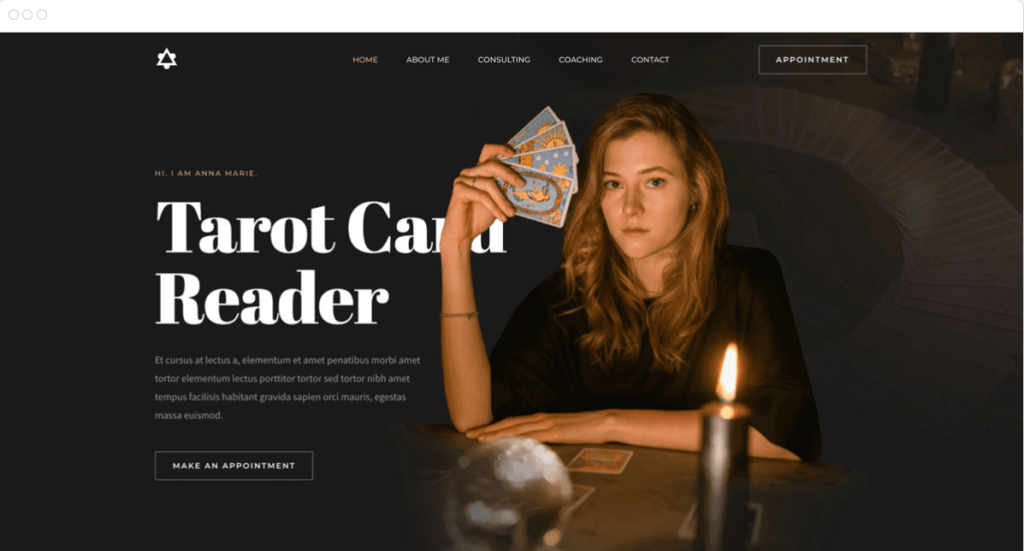
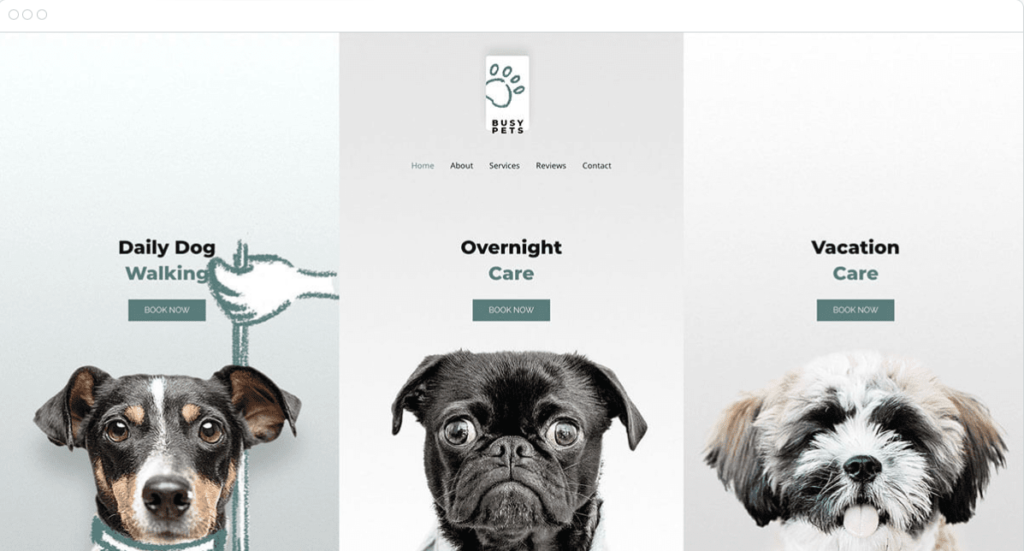
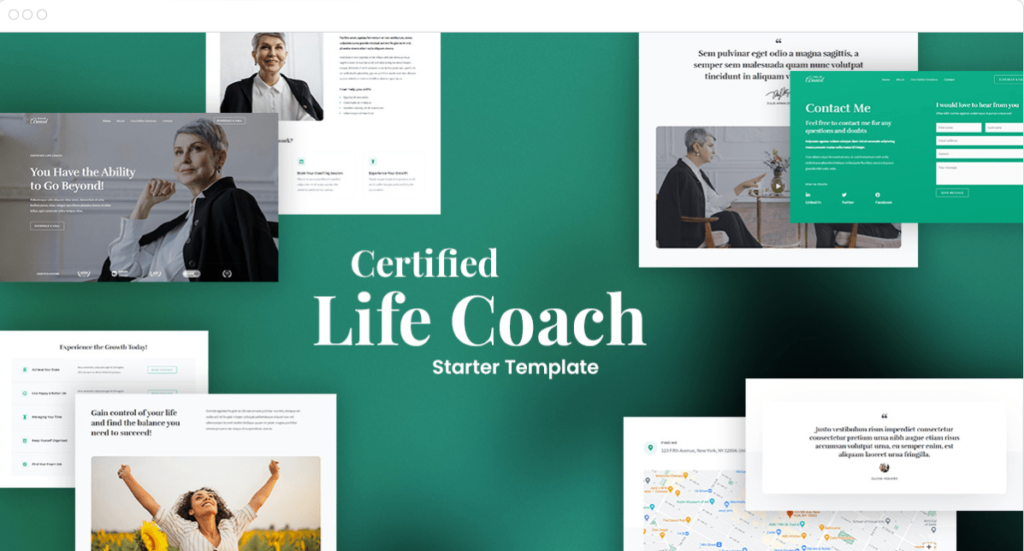
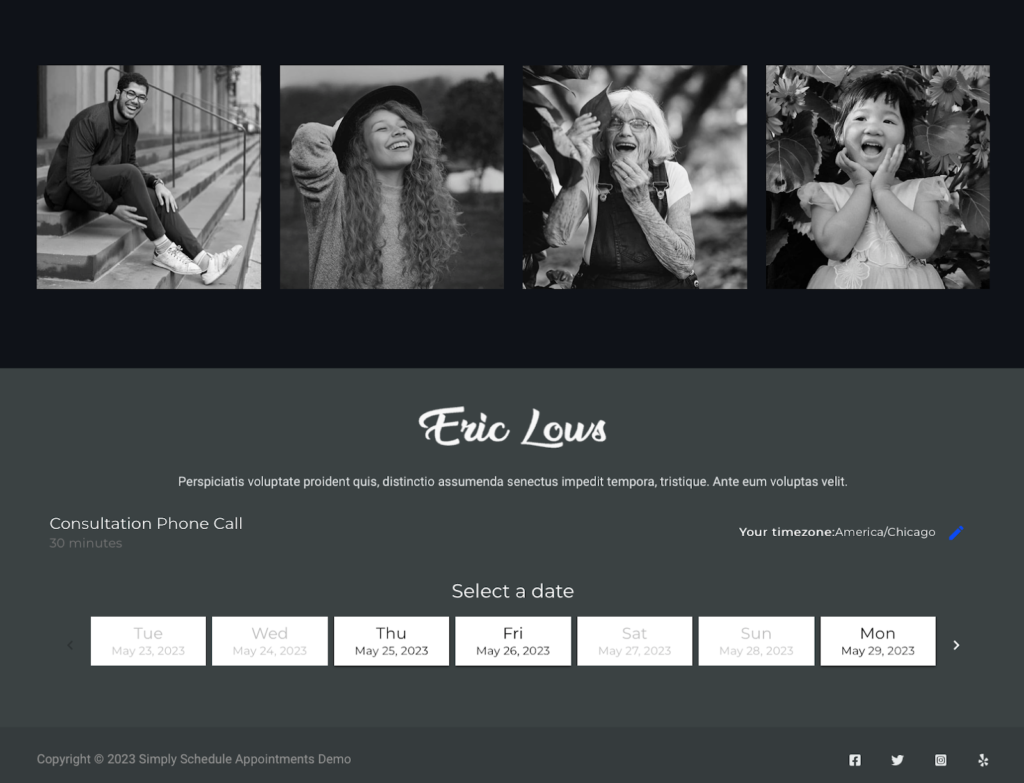
Here are a few examples of templates that go hand-in-hand with appointment scheduling:


Step 3: Set Up The Booking Site Template
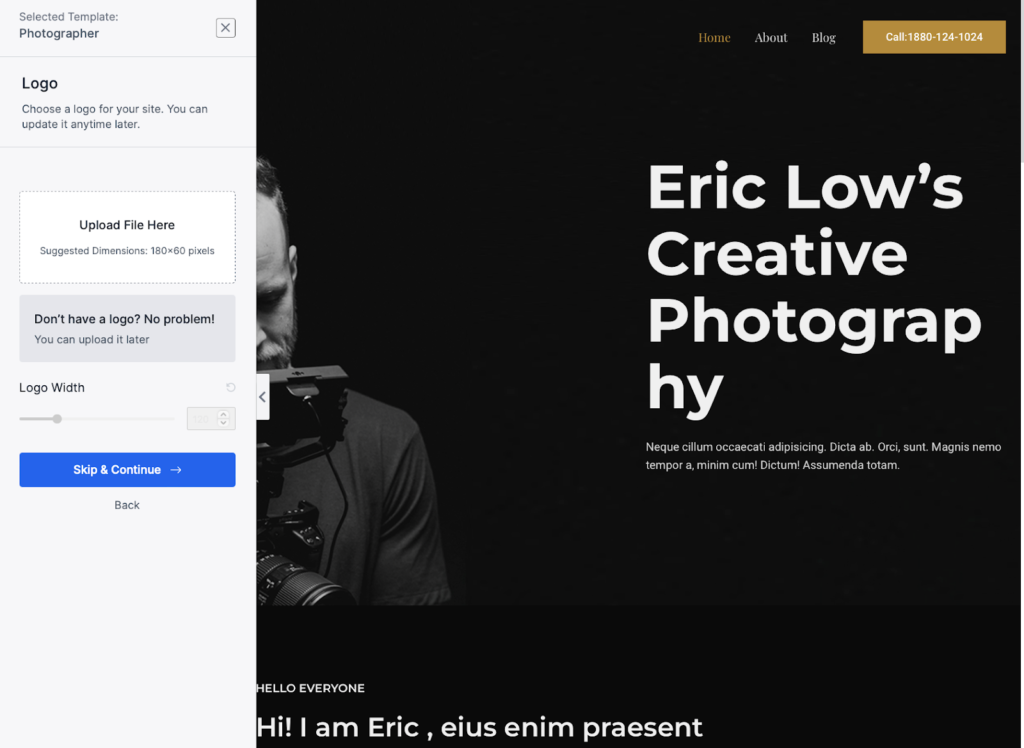
The next step in the setup process is to add your logo. Click on “Upload File Here” to select a logo from your desktop. Or, skip for now, you can always come back and add it back in later.
After adding your logo, select your Colors & Fonts. While free users can only select from pre-selected color palettes and fonts, premium users can create custom palettes and select custom fonts.
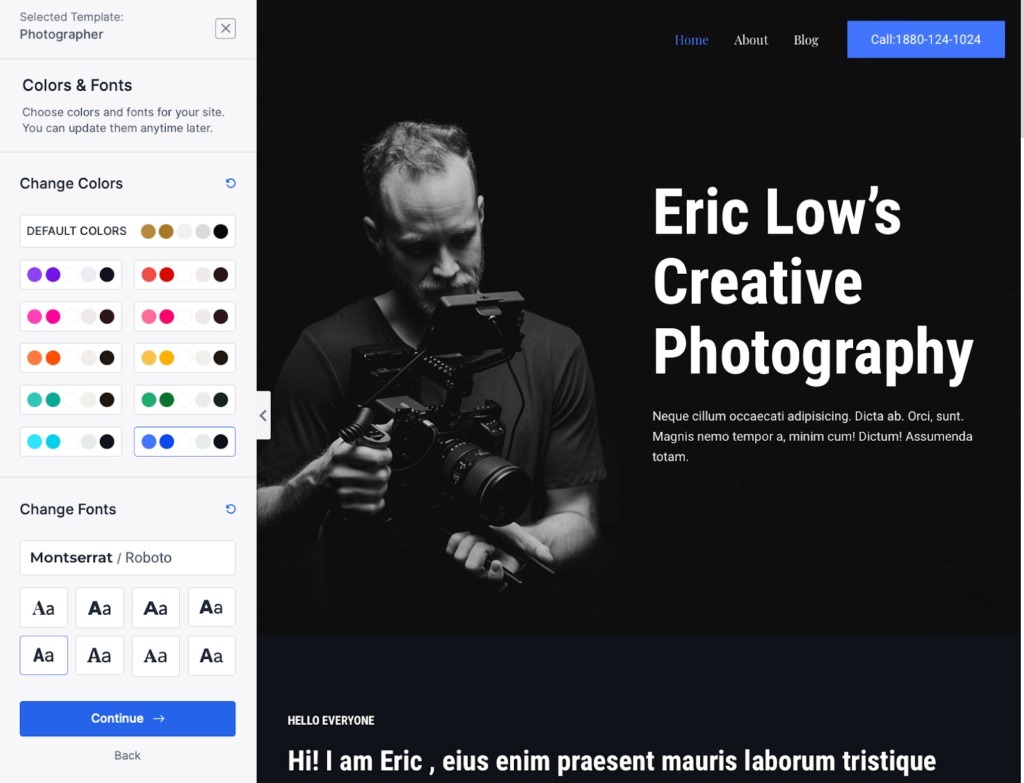
As you make your selection, you should see the preview of your new site change to accommodate your new selections right before your eyes.
Lastly, if you’re a free user, the next step will ask you to tell the plugin a bit more about yourself. This allows you to subscribe to the Astra newsletter to receive notifications and updates on new releases and features to the Astra and Starter Template suite.
Click “Create My Website” to finish setting up your website with the template you selected.
Step 4: Install Simply Schedule Appointments
Once you have your template installed, it’s time to install Simply Schedule Appointments. Simply Schedule Appointments is a popular appointment scheduling plugin for WordPress that allows you to create appointment forms, manage schedules, and more.
Simply Schedule Appointments offers a completely free edition as well. Though depending on the booking system you require, you may need to consider using one of their premium editions. Especially if you require any of the following features:
- Google Calendar sync and conflict-checking
- Payments with Stripe and PayPal
- Mailchimp opt-in checkbox
- Team booking and availability management
- Overlapping time slot capacity for group booking
- Webhook triggers for Zapier or Make automations
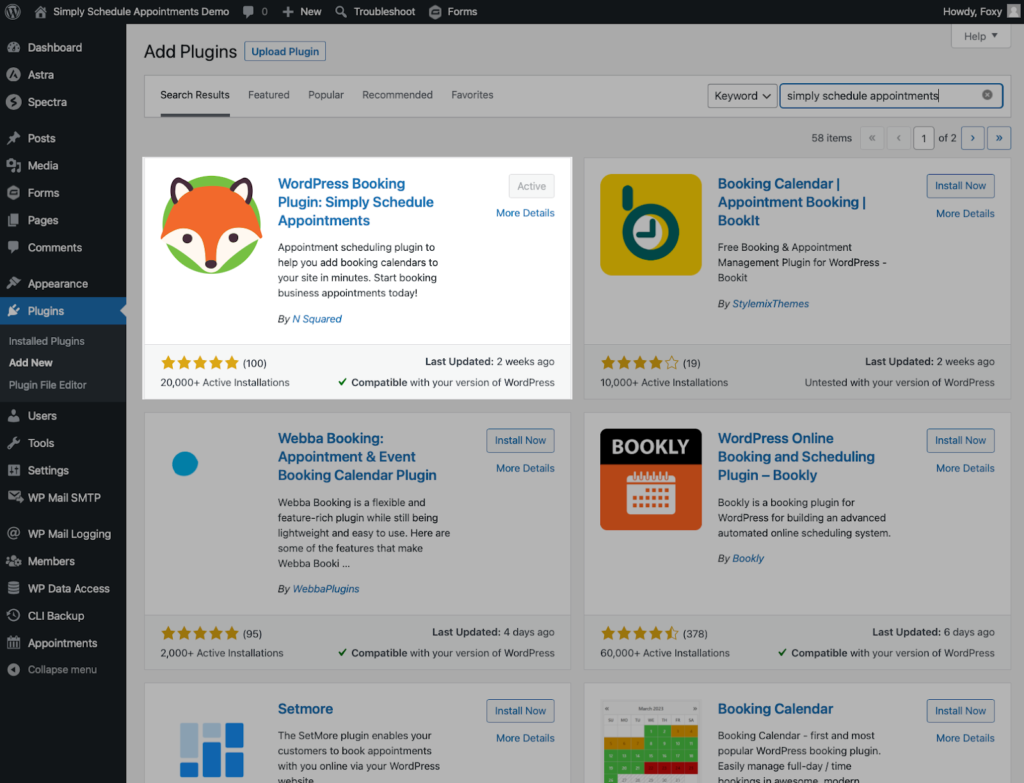
To install Simply Schedule Appointments, go to Plugins > Add New in your WordPress dashboard, search for “Simply Schedule Appointments,” then click “Install” and “Activate.”
Step 5: Configure Simply Schedule Appointments
Now that you have Simply Schedule Appointments installed, it’s time to configure the plugin to fit your needs. To do this, go to the Appointments tab in your WordPress dashboard.
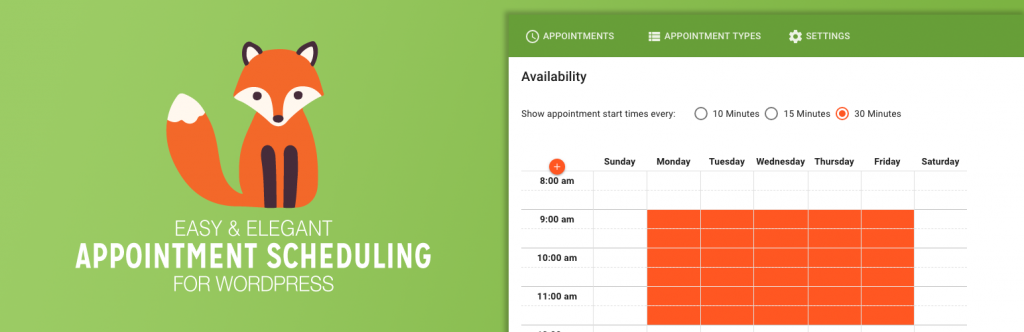
Since this is your first time opening the Appointments tab, you’ll be greeted with Foxy, the mascot. She’ll walk you through setting up your first booking calendar a.k.a Appointment Type.

Each step of the setup wizard helps you configure your general settings, appointment type settings, and more. For example, you can choose your time zone, admin email address, configure your scheduling availability, and select the customer information for your booking form.
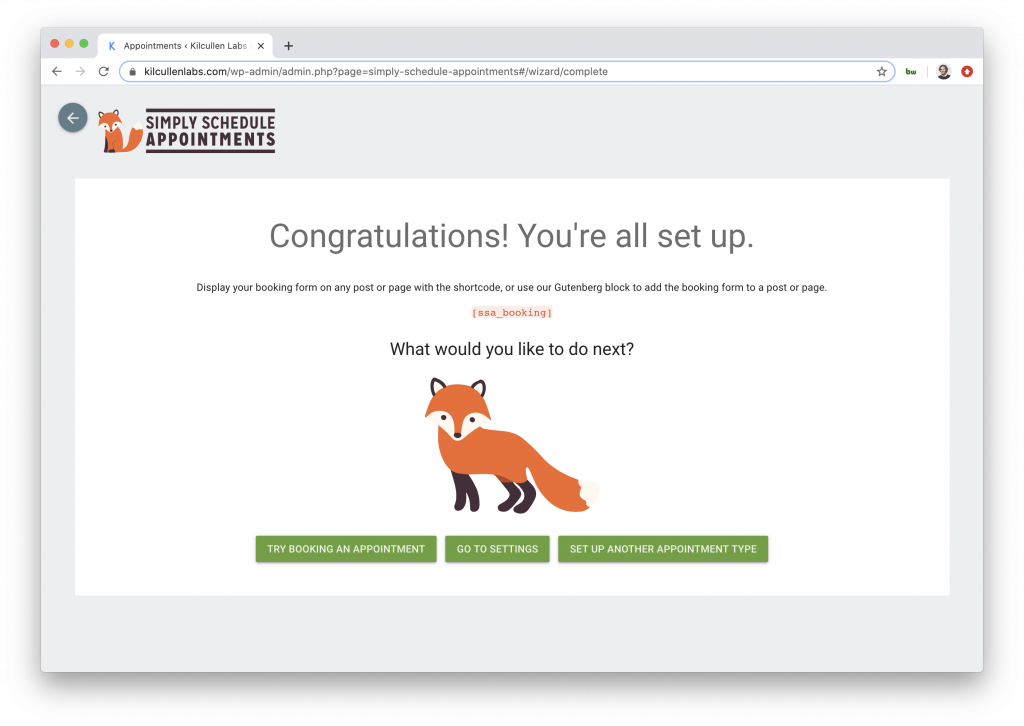
On the last step of the Setup Wizard, you’ll be asked whether you want to continue configuring the booking plugin settings or embed the booking calendar on your site.
If you’re interested in continuing the plugin setup, we recommend that you read through the Simply Schedule Appointments Help Center. They offer a lot of information to make sure the plugin is fully tailored to your scheduling needs.
Step 6: Add Appointment Booking Forms to Your Website
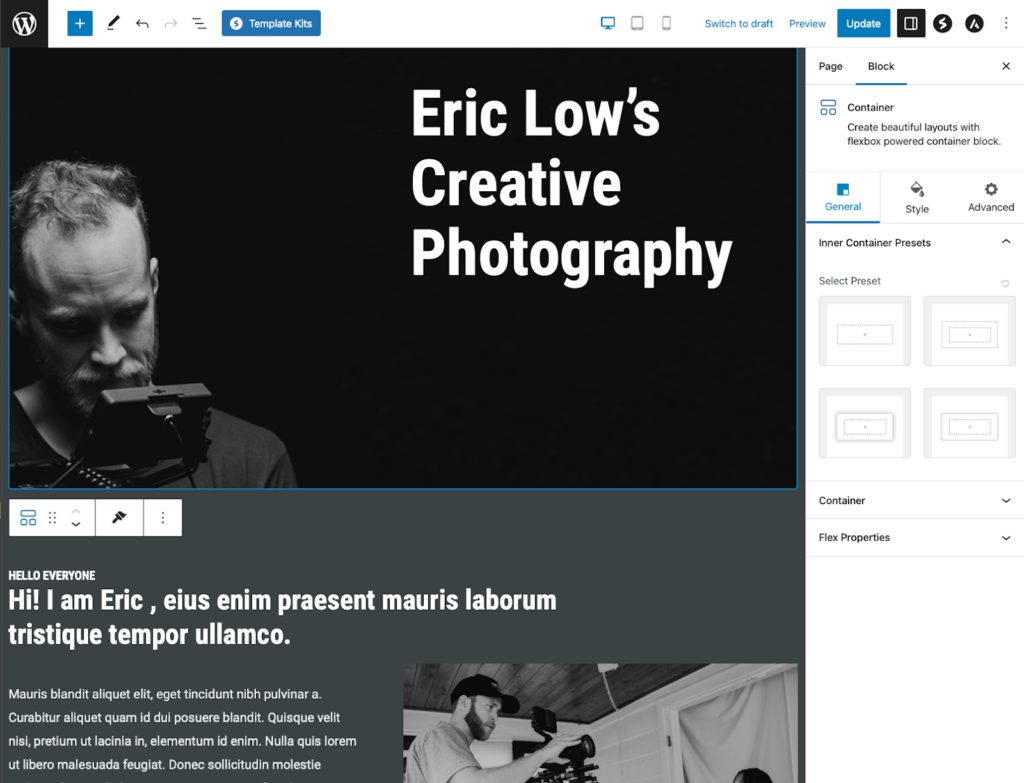
The final step is to add the appointment booking forms to your website so that visitors can easily schedule appointments with you. To do this, go to the page where you’d like the booking calendar to live.
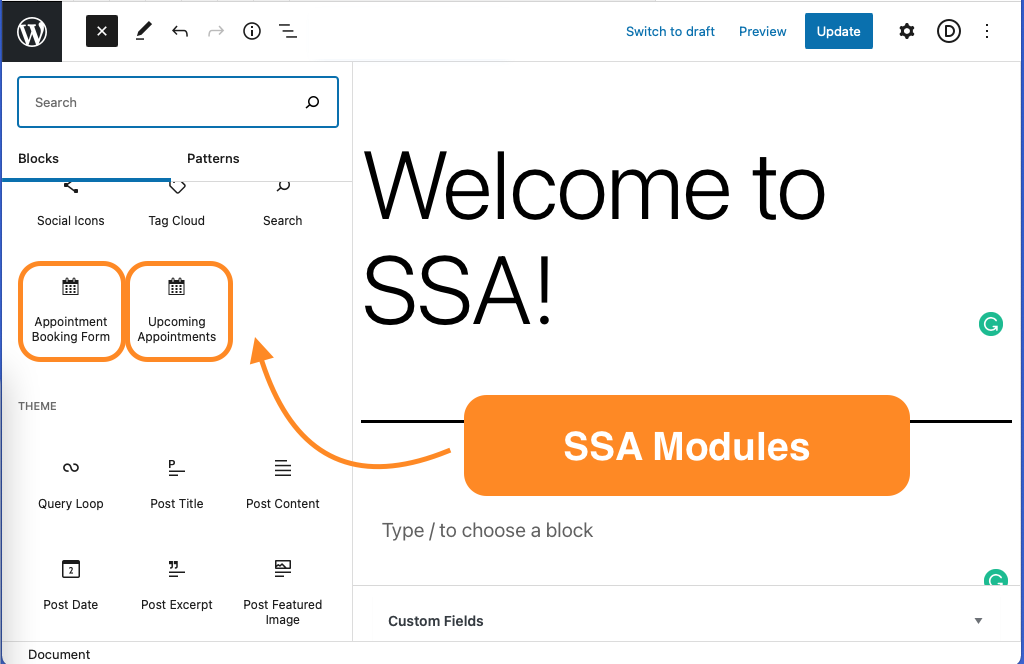
Here you’ll need to open the page builder editor, in this case we’ll open the Block Editor. Simply Schedule Appointments offers an Appointment Booking block that you can easily drag and drop into place.
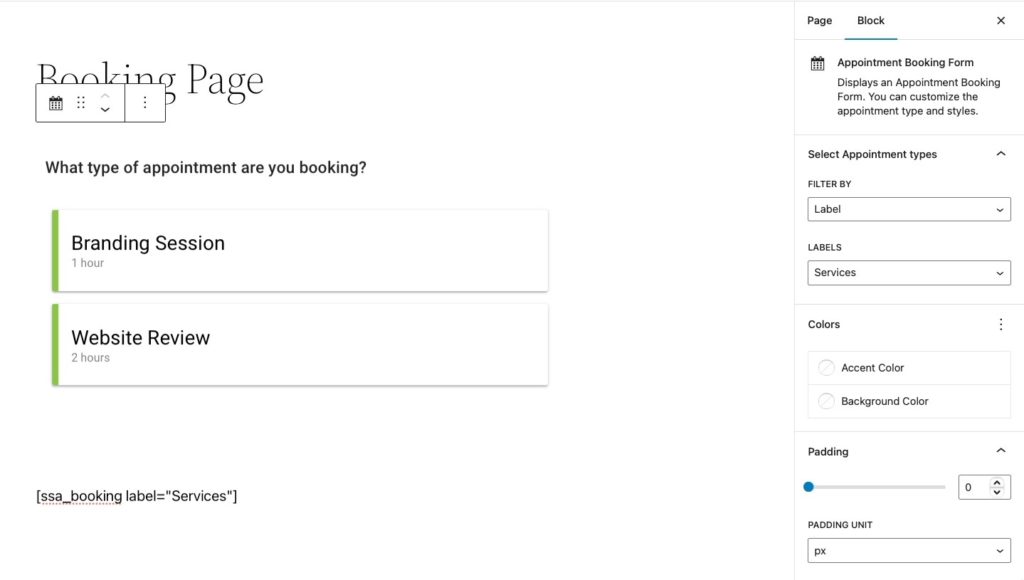
On the block settings, you’ll see a few options including the ability to change the calendar’s font, accent color, background color, and padding. Along with a few other options, including an Appointment Type selection box.
When you’re done, make sure to save the page!
Step 7 : Finish configuring your booking website and settings.
Now that you have the basic components in place for your site. The next steps are completely up to you! Whether you want to edit the content next, or add in new images, it’s up to you how you want to tackle your new website build.
How do I add images to my WordPress website?
To add new images, go to your WordPress Dashboard and select the Media tab. From here, you can drag and drop images from your desktop or select the “Add New” button.
How do I edit the pages on my new WordPress website?
To edit the pages, go to your WordPress Dashboard and open the Pages tab. From here, you can select the Edit button. This will open the WordPress block editor where you can easily update the page content, page title, images, links, featured image, slug, and also add more elements.
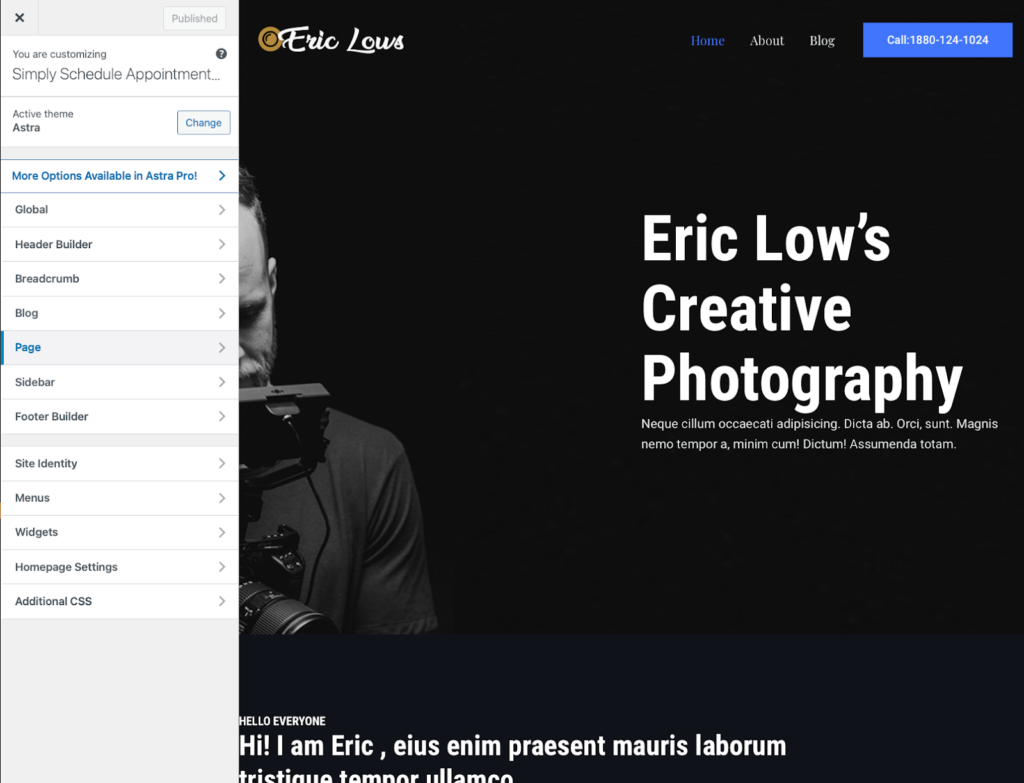
How do I access the Astra theme settings?
To edit the Astra and Starter Template settings, go to the WordPress Dashboard and select the Customize tab under the Astra menu.
This will give you options to adjust Global colors, fonts, buttons, etc. Edit the Header and Footer sections. Select the Blog, Page and Post layouts. Adjust the Site Identity, Menus, Widgets, and apply Additional CSS.
Astra offers a thorough knowledge base as well in case you’re looking for instructions on a specific feature or setting.
Conclusion
Setting up a website for taking appointments with Simply Schedule Appointments and the Astra + Starter Templates plugin is easy and straightforward. By following these steps, you can have a professional-looking appointment scheduling website up and running in no time. Whether you’re a solo entrepreneur or running a large business, appointment scheduling software can help you save time and streamline your operations.