In this document:
Introduction
SSA works best for recurring weekly availabilities, but if you need to offer a single Event, we recommend you use our integrations with The Events Calendar.
We’re going to set up a simple Appointment Type that we’ll be able to reuse for many events. We’ll let The Events Calendar take care of the Availability Window and display the one-off events.
For that, we’ll need to pay attention to the following Appointment Type settings:
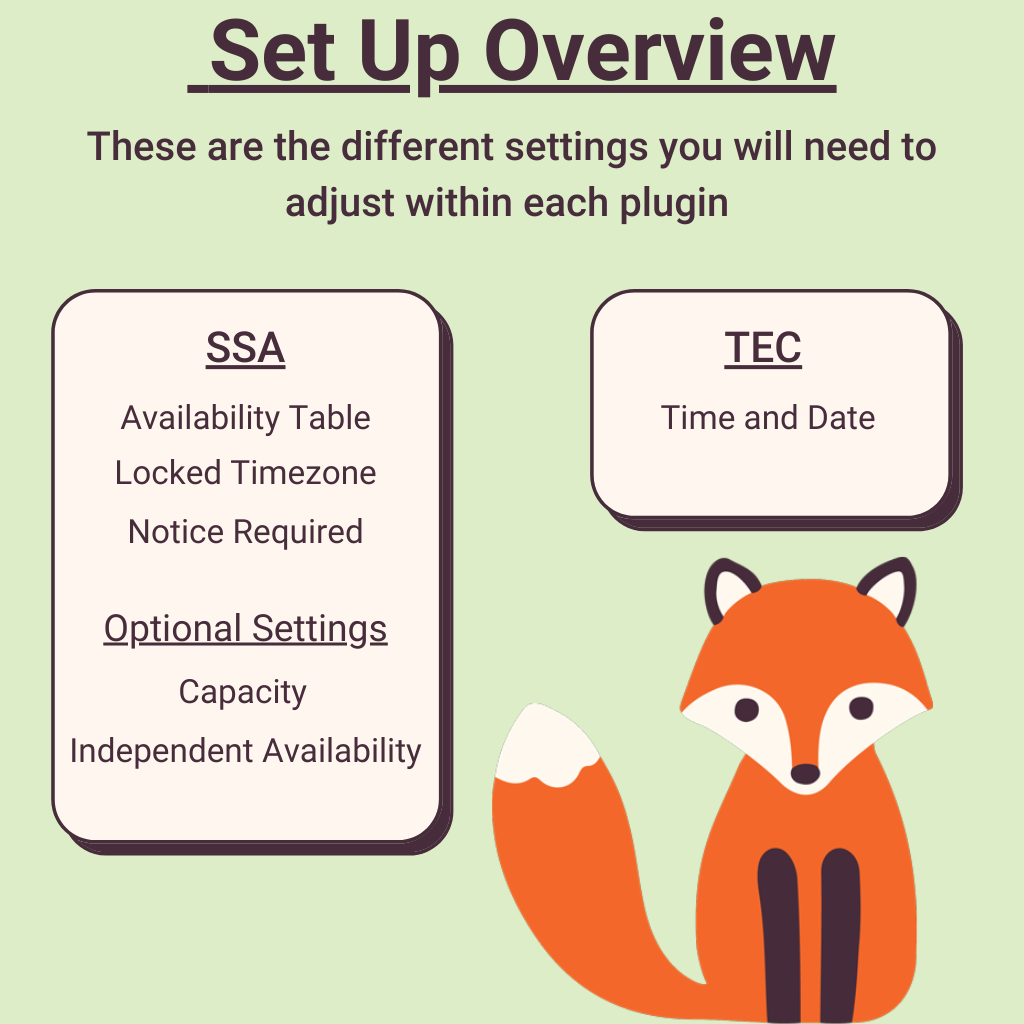
- Availability Table
- Locked Timezone
- Notice Required
- (Optional) Capacity
Learn more about The Events Calendar integration.
SSA + Event Booking in Action
Using The Events Calendar (TEC) integration, you’ll be able to list your events in beautiful dedicated pages to which you can attach images and descriptions.
The Free Edition of TEC creates an /events page where all your events are listed, and the Pro Edition lets you embed an events module into any page and section.
Setting Up the SSA Appointment Type
We want to set up a general Appointment Type that we can continue to reuse for our events. This means it should have open Availability and Scheduling Options.
Availability Table
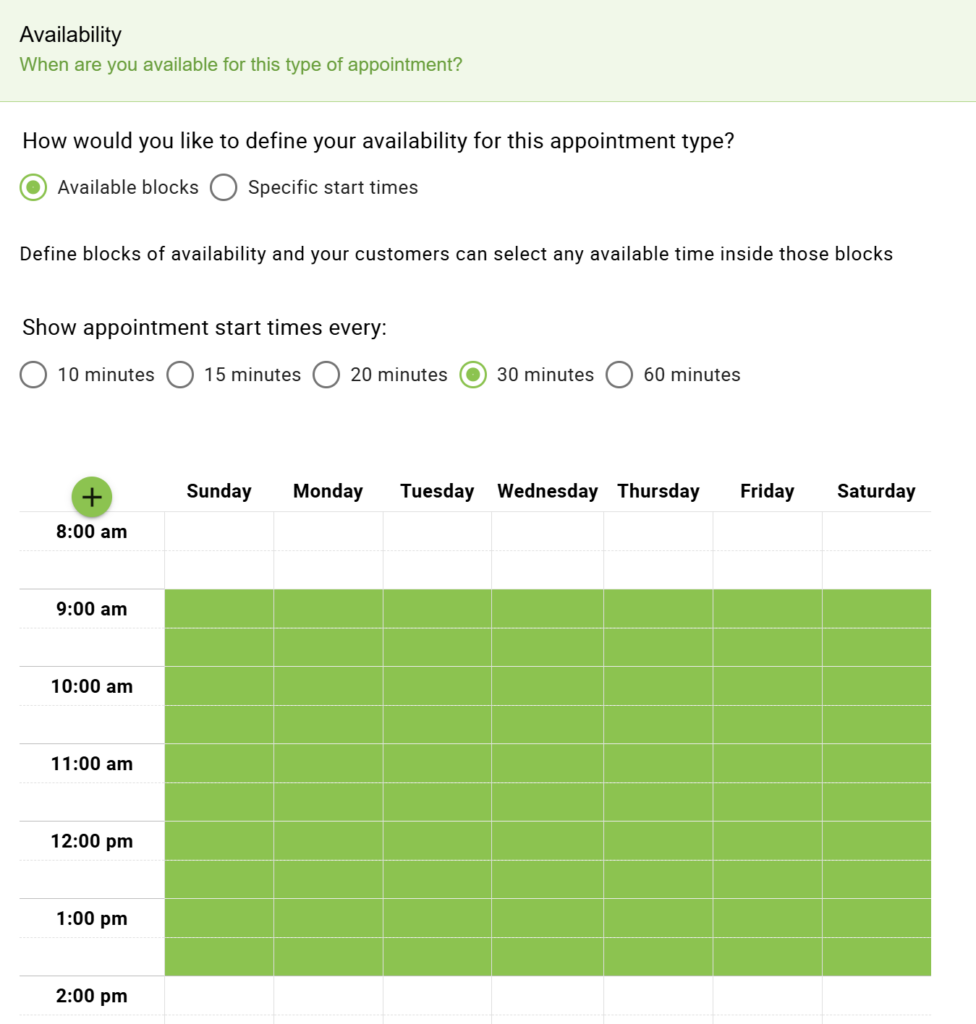
Since we’ll be using The Events Calendar to work as our Availability Window, we don’t have to be specific about the hours we set for the availability table.
This will allow us to offer a general Appointment Type, like a Yoga Class, and let the Events Calendar get specific with dates, times, and Event descriptions.
For example, I can highlight the maximum amount of hours for my Availability Table:
Locked Timezone
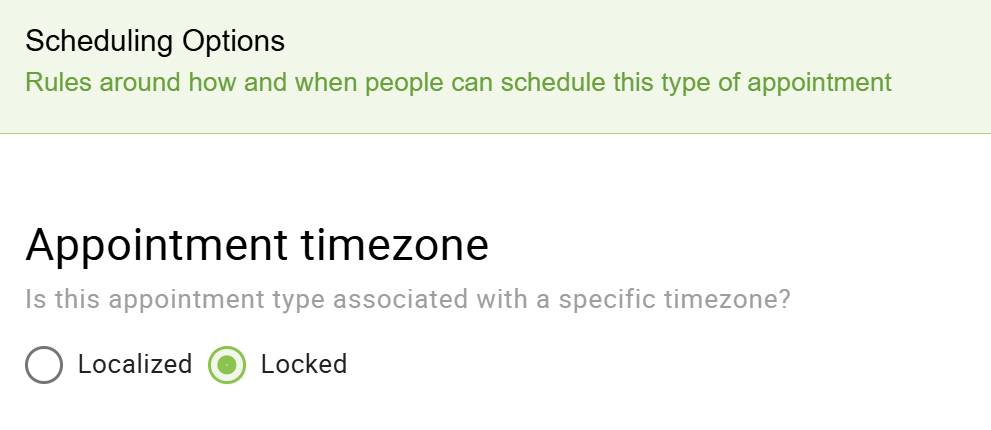
If the Events Calendar timezone doesn’t match the user’s timezone, it might not be very clear. To avoid any confusion, we recommend you:
- Switch to the Locked Timezone under Scheduling Options in the Appointment Type settings within the SSA plugin
- Set the same timezone in the TEC event settings.
Notice Required
By default, we set this to 1-day, meaning that you require 24 hours’ notice for someone to book an appointment. So when you’re viewing the booking calendar, no one can book between now and the next 24 hours.
Please adjust this to fit your scheduling needs! See this guide for more information on the Notice Required setting.
(Optional) Capacity
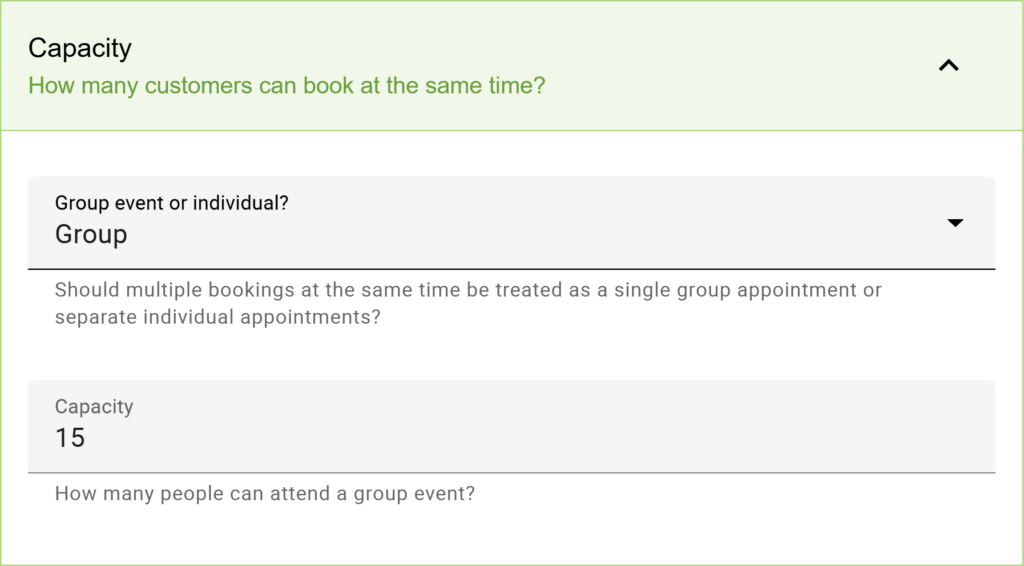
If you’re planning a class or meeting where you’d like multiple people to sign up for your event, you’ll need to use the Capacity feature.
You’ll want to open the Capacity tab in your Appointment Type and set it to Group, along with the maximum number of people you’d like to sign up. Find more information on how Capacity works in this guide.
The Events Calendar Set Up
Learn more about The Events Calendar integration.
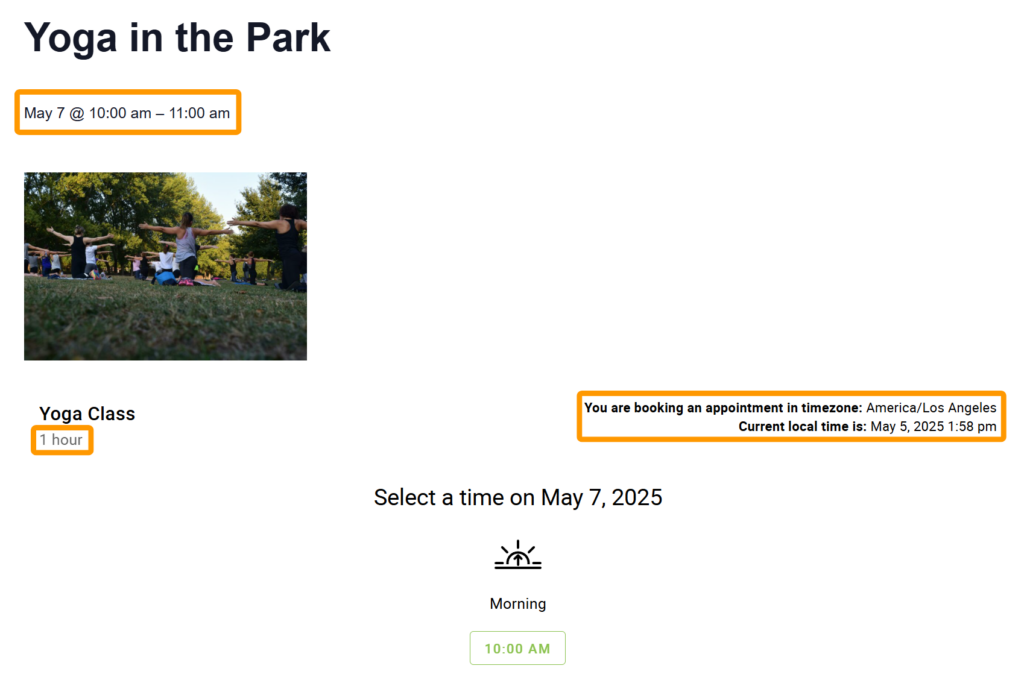
Finally, in this step, we will add a Start and End date to our New Event in The Events Calendar plugin. This is to make sure that this single event is the only one shown to our customers.
In this step, getting as close as possible to your event time frame when choosing the start and end dates is essential.
For example, if I want to show a single 60-minute class using my general Yoga Class appointment type. Then, I would set my Start and End Times here to be precisely 60 minutes long.

Note that The Events Calendar doesn’t handle 15 or 20-minute intervals.
Adding the Shortcode
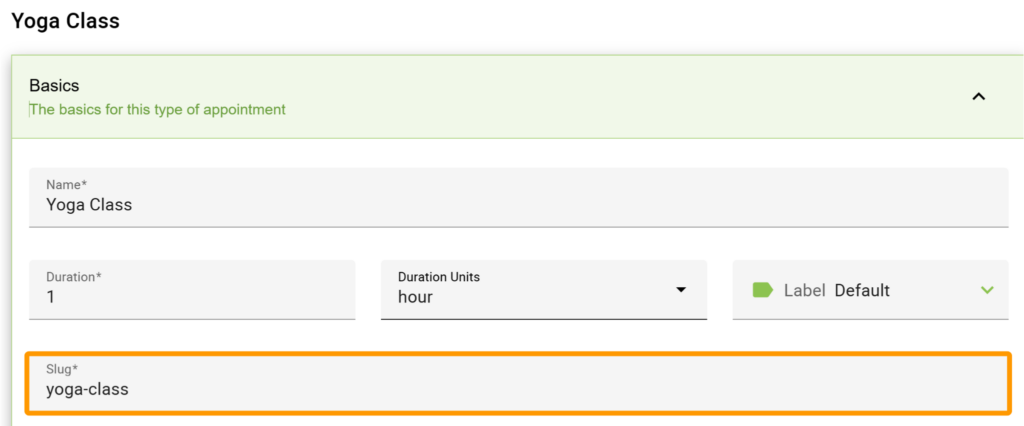
You’ll need to use the dedicated TEC shortcode on the page. Please use the following shortcode:
[tec_ssa_booking type="appointment-type-slug-here"]You’ll need to replace the appointment-type-slug-here with the Slug from your appointment type.
Related Guides
-

How to Fix “There Are No Available Appointments”
-

Reschedule/Cancel Link 404 Error
-

Admin App or Booking App Never Loads
-

Date and Time Slots Long Loading Times
