If your business revolves around date-specific events and schedules, adding a calendar to your WordPress website should be at the top of your to-do list. What’s more, choosing the right calendar—whether for displaying or booking events—is critical.
In this post, we’re going to talk about adding a calendar to your WordPress website. First though, we’ll discuss some situations in which you’d want to do so.
Why You’d Want to Add a Calendar to Your WordPress Website
You’ll find calendars on many sites. They’re a great way to give your visitors and users a way to see your availability fast. They can also slot into your events management system – vital regardless of whether you run lots of events or only a few.
Adding a calendar to your WordPress website has lots of benefits, for you and your visitors:
- At its core, you offer a way to view dates over a wide range.
- You can share date-based information in a familiar format.
- A calendar can become a key Search Engine Optimization (SEO) tool if you set it up in the right way.
- It can become a form of advertising. For example, if you offer a link through social media, it’s a direct way to engage for the end user.
- With the right solution in place, you can gain valuable insight into how customers engage with your calendar.
On the whole, a calendar could become a central part of your website. You can often integrate it with email marketing platforms, your site’s forms, and much more. As we’ll note later, you can even use a calendar as an e-commerce platform and payment gateway.
Use Cases for Adding a Calendar to Your WordPress Website
Throughout the rest of this article, we’ll teach you about adding a calendar to your WordPress website. Before this, let’s give you some real-world scenarios that a calendar would work great in.
A simple approach would be to offer a calendar to show your availability. If your business has dynamic opening hours, a calendar is ideal. This way, you can show your operating hours week-by-week.
For more complex applications, consider how you can showcase your upcoming availability. If you work in fields such as law, coaching, or catering, showing your booking availability will help potential customers find the right booking without involving you.
An events-based business will of course have great need for a calendar. This will let you showcase your events in the most logical format. Again, you could include ticketing information, maps, payment gateways, and more.
There are myriad ways to add a calendar to your site, and next we’ll show you a few different ones.
Main Types of Calendars and How to Add Them to Your WordPress Website
We’ll group the ways into four different categories. For each one, we’ll offer a solution, and show you how to use it. Where the process takes a lot of steps, we’ll give you a link or two for further reading.
Here are the four ways:
- Add an events calendar, using a leading WordPress plugin.
- Use Simply Schedule Appointments to add a booking or scheduling calendar to your site.
- Embed a Google Calendar.
- Integrate a posting or content calendar into your site.
We haven’t listed these in any order, so feel free to jump around the article to the ways you’re most interested in. Though, it’s a good idea to take a glance at the others. You may find a new tip or two to help you with your own calendar.
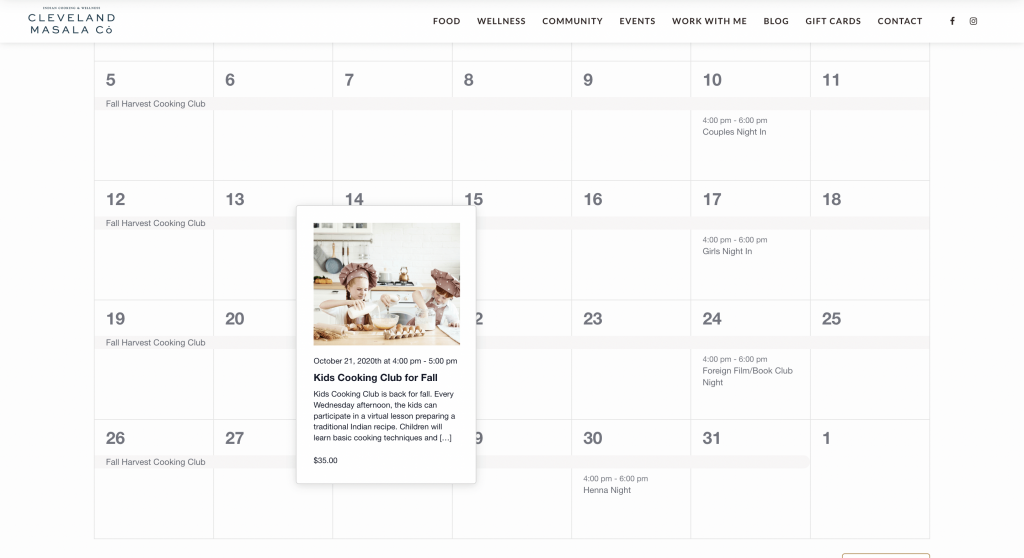
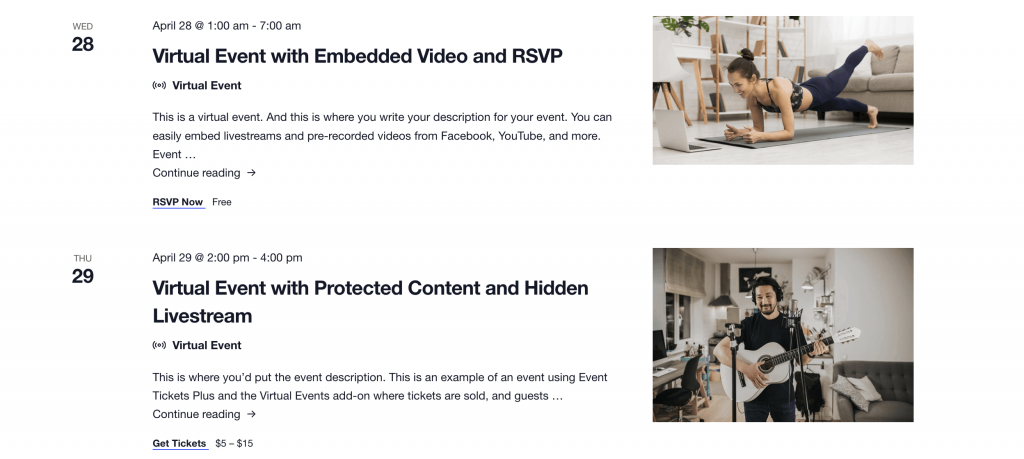
1. Adding an Events Calendar
First off, we’ll discuss the most popular reason for adding a calendar to your WordPress website. Events are (of course) date-specific, so a calendar makes sense here.
With a solution in place, you can create, edit, and manage all of your events from a central dashboard – often within WordPress.
There are a few ways to get this done within the platform. While you could use a dedicated theme to add your calendar, we think a plugin is a better option.
Plugins give you more flexibility than a theme, and you get more scope to create a site and calendar that matches your exact requirements. While there are a few solutions you could use, there’s one we recommend. Let’s introduce you to it next.
Introducing The Events Calendar
We’re big fans of The Events Calendar plugin, and so are thousands of other WordPress users.

It’s a solution that’s been around since 2009, and has an ardent following. Here are the key features of The Events Manager:
- You have immense flexibility and customization options to choose from.
- There are a bunch of different ways to display your calendar, so it can match your needs.
- It supports different time zones, so you and your customers are always in sync.
- You can set up recurring events, for when you have a residency or regular gig.
- You could highlight specific events as ‘featured’. This means they’ll be more prominent to users. It’s good if you have a leading event lined up, yet still need to promote others.
The price is also right when it comes to The Events Calendar. There’s a free version of the plugin that packs in a lot of features and functionality. The premium edition starts at $99 per site, and comes with the full gamut of features we’ve outlined here.
How to Begin Using The Events Calendar
Adding a calendar to your WordPress website using The Events Calendar is straightforward – as you’d expect from a stellar and popular solution.

Installing the free plugin is like any other, and we’d recommend this approach to test the functionality out. Once you’re ready, you can upgrade from within the plugin itself.
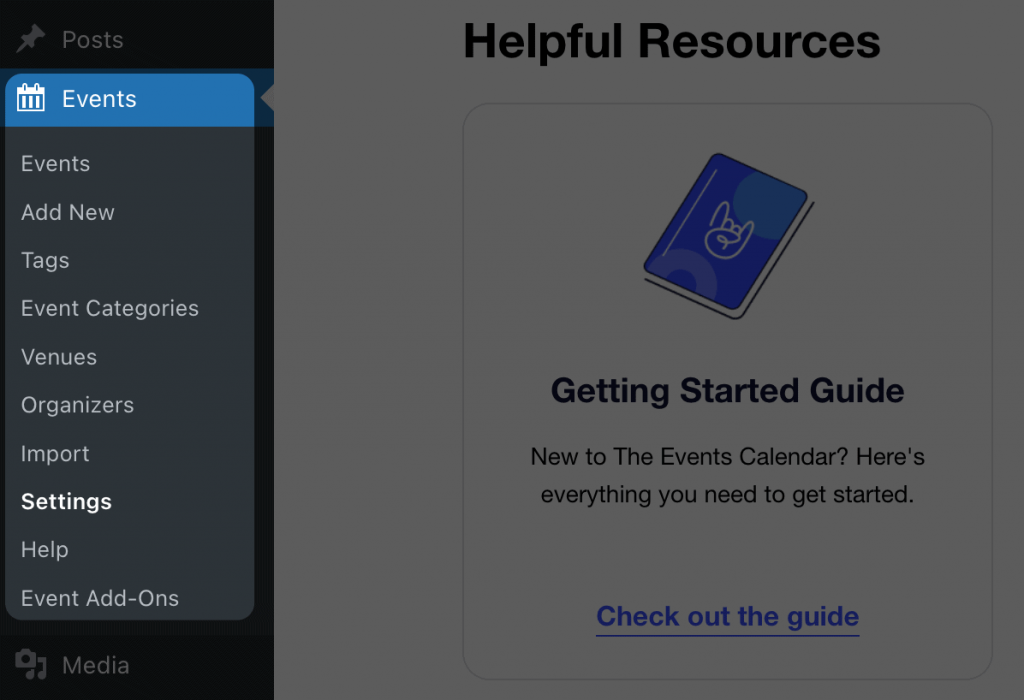
After the installation process, you’ll come to a welcome screen:

You’ll see links to resources on setting up the plugin, as well as a knowledge base, and articles with tips to create virtual events.
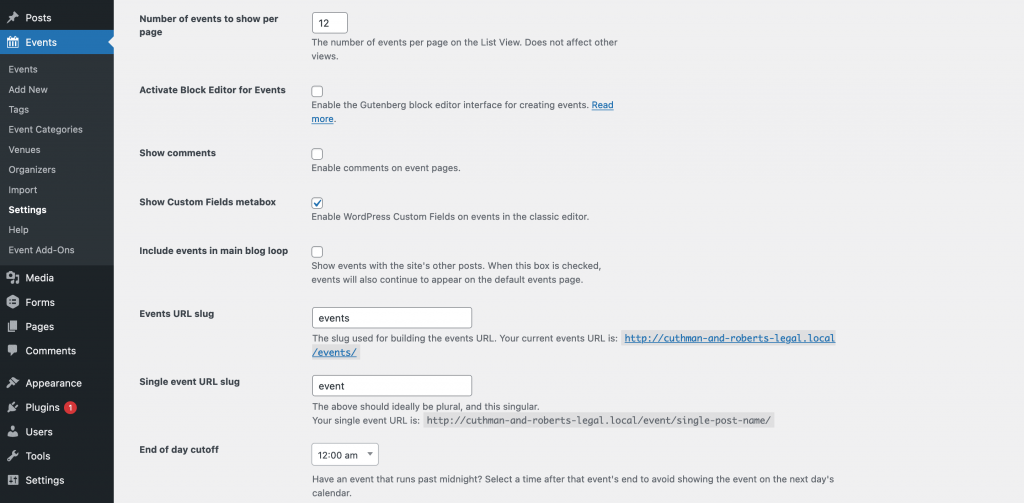
There will also be a new admin panel within WordPress, with all of the functionality you need to create and display your events:
There are a raft of available settings to work with too. Detailing every one here is beyond the scope of the article. Though, we encourage you to look through them to tailor the experience to your requirements.
To create an event, head to Events > Add New within WordPress. This will bring you to a new edit screen, where you’ll create your event:
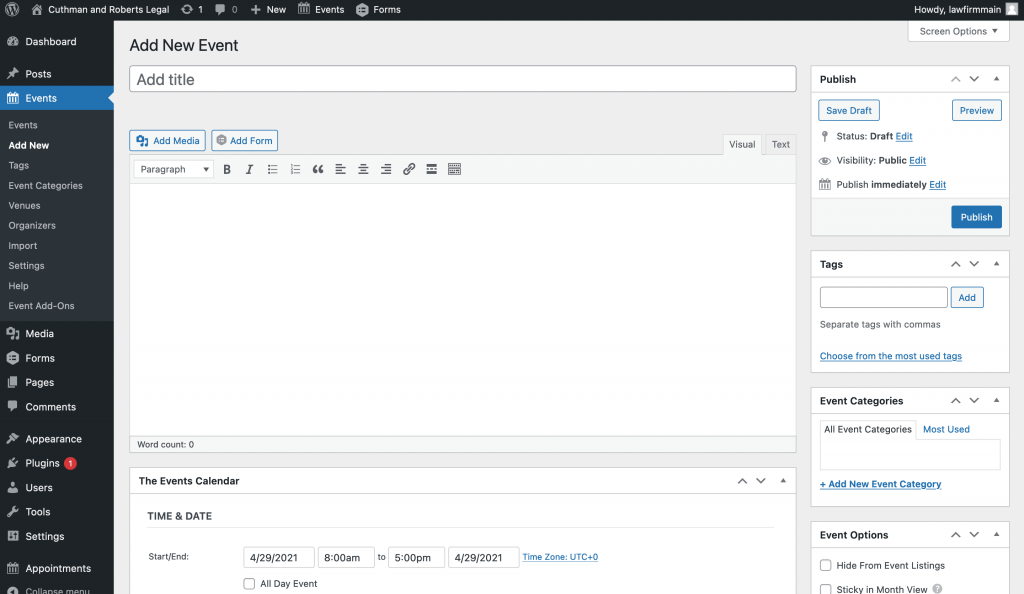
The options here are all intuitive – add a title and description, set the time and date of the event, add a location, and publish the event. If you want to use the Block Editor to create your events instead, there’s an option to do so in the settings.
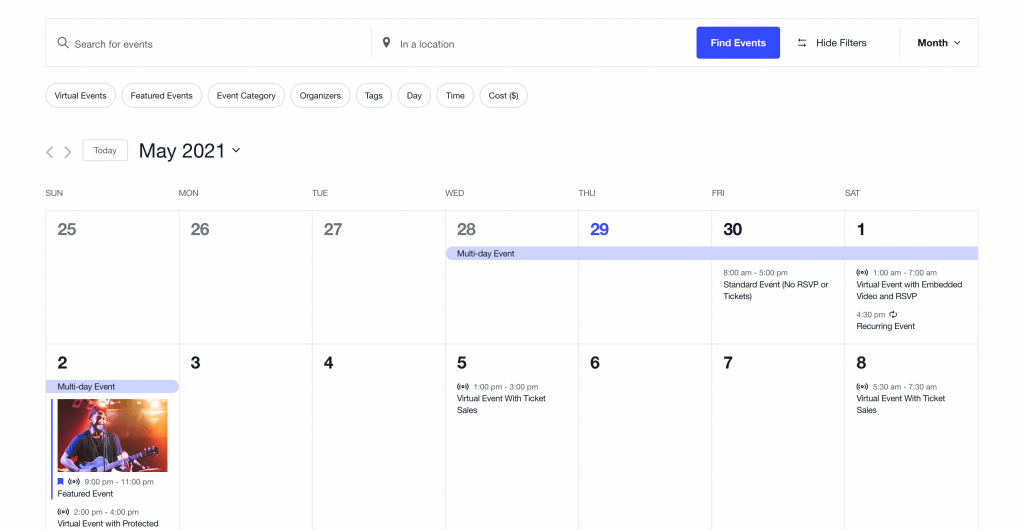
To view your calendar, you’ll need to head to the Events option in the WordPress toolbar, and click View Calendar:
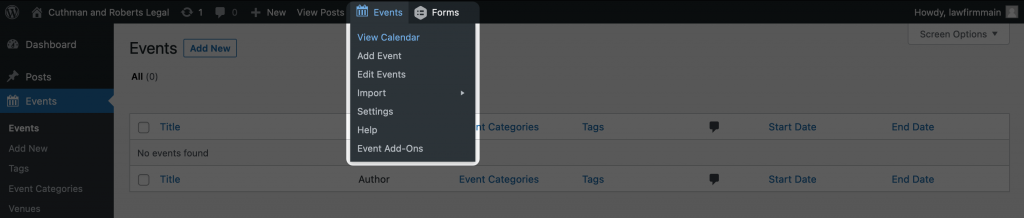
The URL for the page will append /events to your domain. If you wish to change this, again, you’ll find the right option in the Settings:

When you’re ready, the calendar will be visible on the front end, at the domain you set earlier:
There’s lots more to discover with The Events Calendar, and we’d need an entire series of posts to show you all of the plugin’s aspects. Even so, we have one additional way of using The Events Calendar that we’ll touch on next.
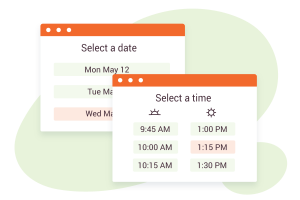
2. Implementing a Booking or Scheduling Calendar
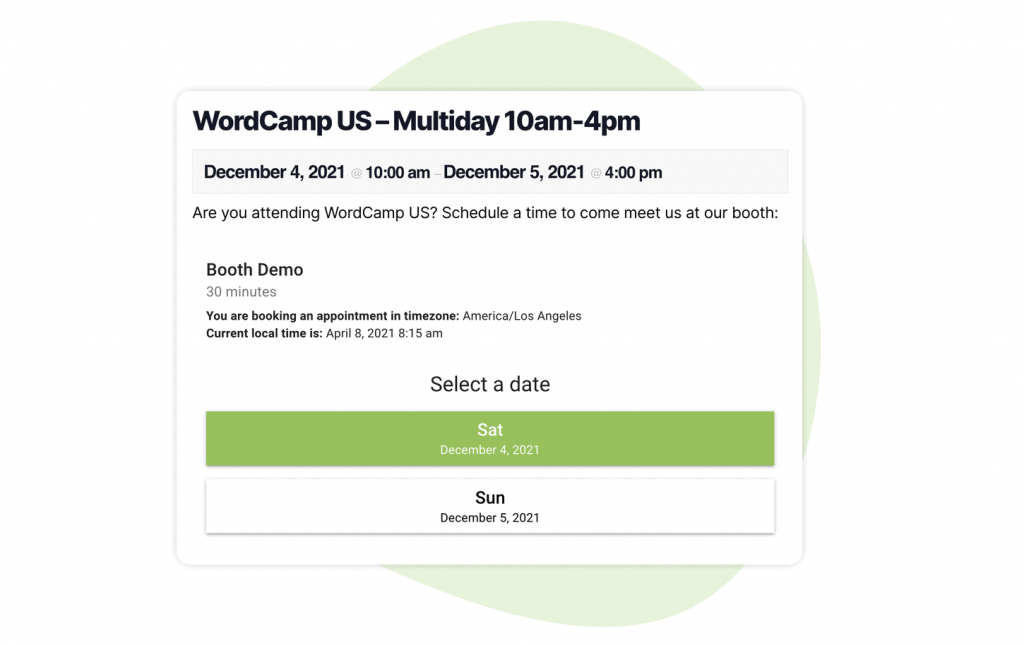
A booking calendar is another popular choice, because you’re able to see all of your available times and dates in one place. This gives users a solid way to find the right appointment slot for them.
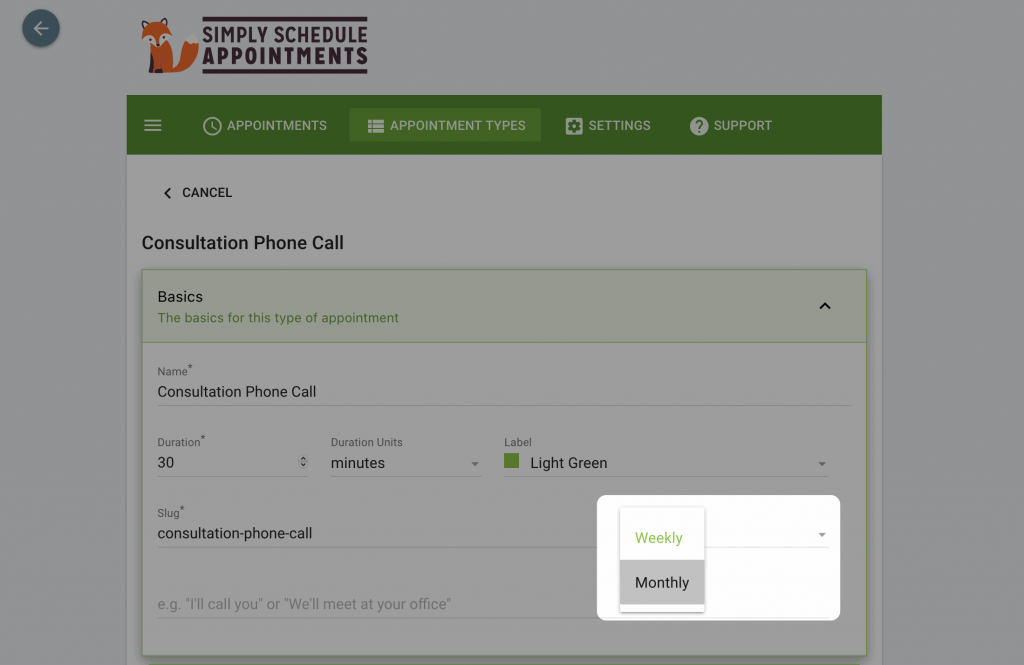
Of course, Simply Schedule Appointments lets you implement a solid calendar that matches your site’s branding and styling. You’ll do this through the Appointment Types screen, either when setting a new type, or editing an existing one:
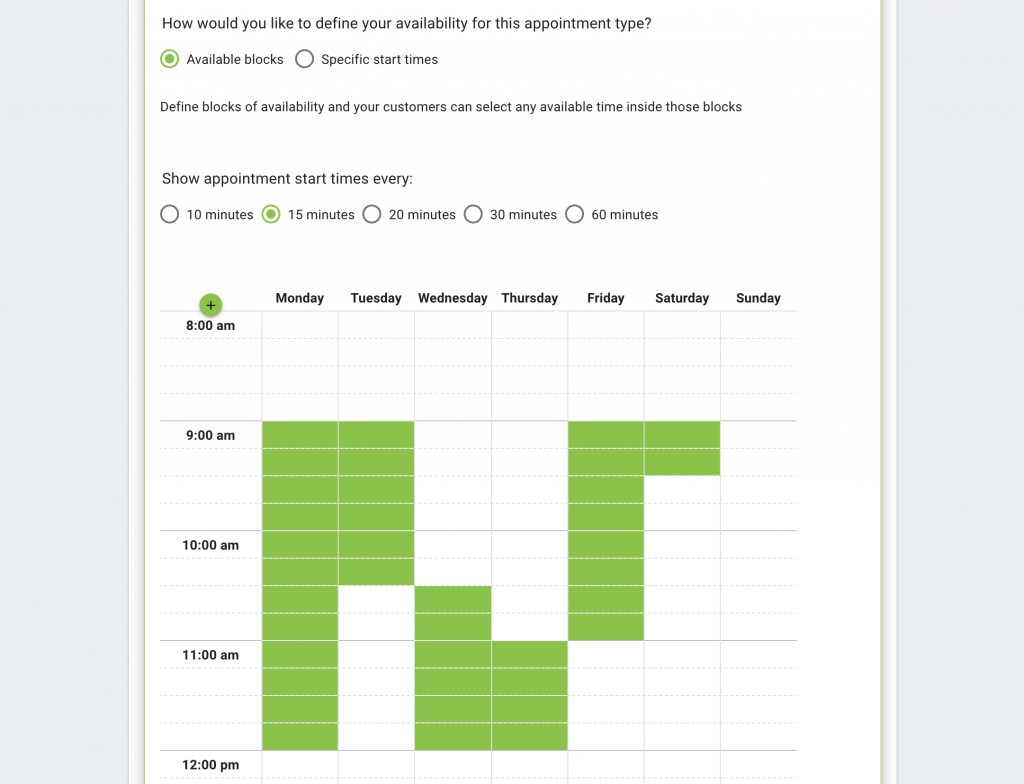
As an aside, you can go further and adjust your available appointment slots using the Availability tab:
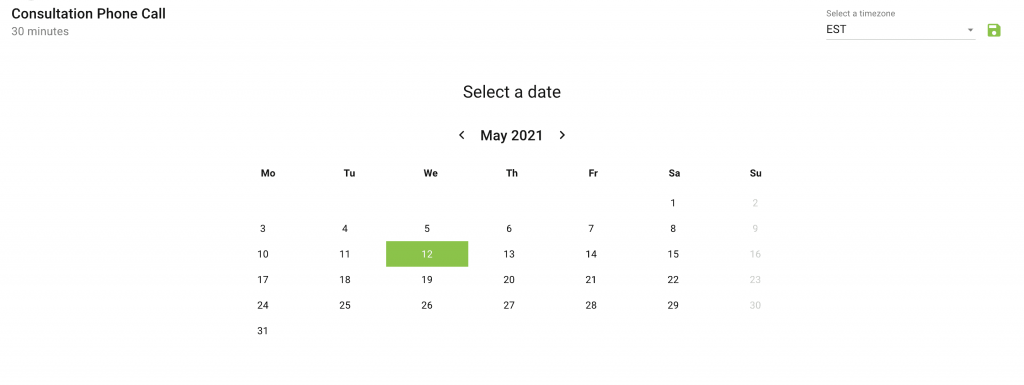
Once you’ve made all of your changes, you’ll be able to view the calendar at your domain appended with /appointments.
Though, as we teased, this isn’t all. For the unaware, Simply Schedule Appointments and The Events Calendar integrate with each other. This lets you grab the benefits of both solutions to run a full-featured events or booking management system.
We can see this being a boon for events where you’d book on a session-by-session basis, such as conferences and seminars. You could also use this if you run regular ‘office hours’ across the month with multiple team members, and even locations.
In short, using The Events Calendar and Simply Schedule Appointments together gives you almost all of the power you need to develop complex booking and events calendars. Though, we have a little bit more up our sleeve.
3. Embedding a Google Calendar
If you don’t have a need for using various plugins to build events management systems, we’ve got your back. Sometimes, embedding a calendar is a great of adding a calendar to your WordPress website.
This will be ideal if you need to give users a quick glancing look at your schedule, without the bells and whistles associated with more advanced systems.
The good news is that Simply Schedule Appointments can help you out in a few ways. For starters, we have Google Calendar syncing, which helps potential customers book with you direct.
This is something we’ve looked at in a previous blog post, so we’d encourage you to check that post out, pronto!
What’s more, you can also display private Google Calendars, and enable users to display those bookings on pages or posts.
While it’s not a native solution – and requires a third-party plugin – it’s a solid way to display bookings. Regardless of how you want to use Simply Schedule Appointments, we have you covered!
4. Integrating an Editorial Calendar
There’s also another use for adding a calendar to your WordPress website – for editorial, content, or post schedules. It’s an oft-forgotten aspect of managing a WordPress website, but you’ll often have a team of writers working on various aspect of site content.
A dedicated system for getting everyone on the same page is important, especially if you’re in WordPress a lot. There used to be a few solutions for this, but now there are two major players:
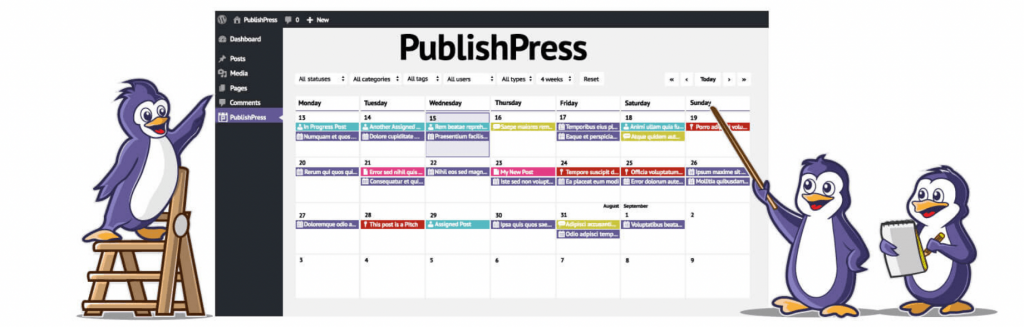
- PublishPress. This is based on an older plugin called EditFlow. It was popular a few years ago, and PublishPress has taken the ball and ran with it.
- CoSchedule. This is a full-featured premium solution, but comes with a high cost. Though, it’s a stellar tool for managing an editorial calendar.
If we had to pick a solution, PublishPress has less active installs, but better reviews, and gets regular updates.
What’s more, there’s a free version of PublishPress, whereas CoSchedule starts at $29 per month without offering a free tier.
Once you’ve installed PublishPress, you can head to the PublishPress > Calendar screen and click on any date to create a new event:
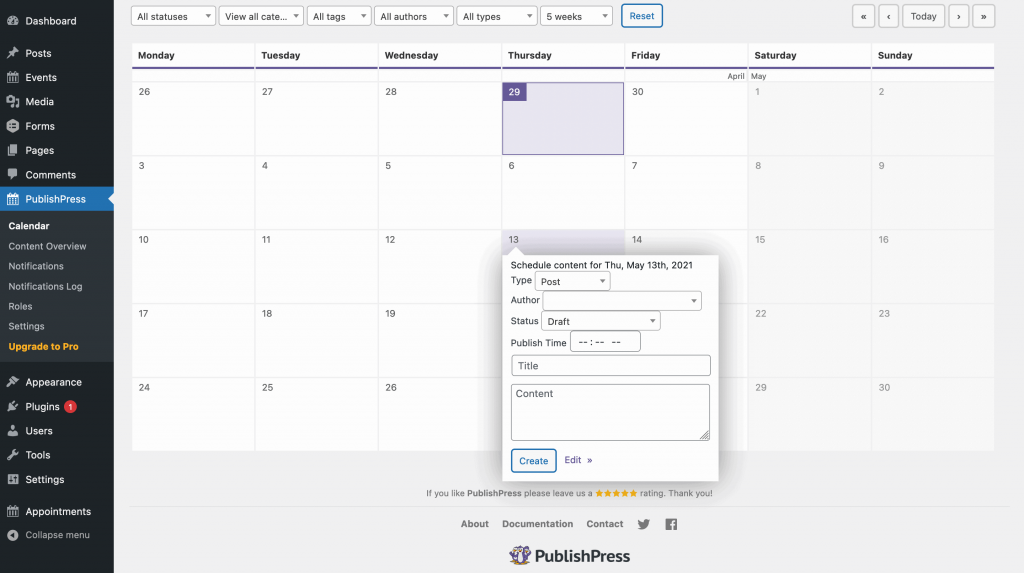
While you can only view calendars within the WordPress back end, there are lots of ways to view your content and work with the events you create.
For example, you can access a Content Overview screen to help you see an at-a-glance view of your schedule. What’s more, you can subscribe to your editorial calendar within your favorite third-party one.
On the whole, it’s a powerful solution that will be just the ticket for content-creation and marketing teams.
Let’s Pencil in a Date!
A calendar is an integral part of any website. If you give your users a way to view your schedule or events based on the date, there’s a greater chance of them booking you, or attending your events.
As such, this post has discussed adding a calendar to your WordPress website. Event-based sites should lean on a solution such as The Events Calendar. Of course, Simply Schedule Appointments can help you add a booking calendar. In fact, WordPress is flexible enough that embedding or integrating an existing Google Calendar should be no problem.
Are you adding a calendar to your WordPress website, and if so, how are you doing it? Share you projects and progress in the comments section below!
Image credit: Olya Kobruseva.