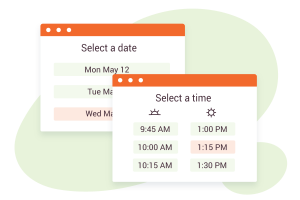
If you’re a Divi user looking for a booking calendar that works perfectly with your theme, you’ve come to the right place. Simply Schedule Appointments offers an appointment booking widget for Divi that allows you to directly drag-and-drop the booking module into any page and layout.
How to Add a Booking Calendar to Divi
In 3 easy steps we’ll show you how to add a booking calendar to Divi:
- Install and Activate the Simply Schedule Appointments (SSA) booking plugin on your WordPress website
- Go to the SSA dashboard and complete the Setup Wizard so that you can create your first booking calendar
- Once complete, head back to your Divi page editor, and drag-and-drop the new “Appointment Booking” module into any place on the page you desire
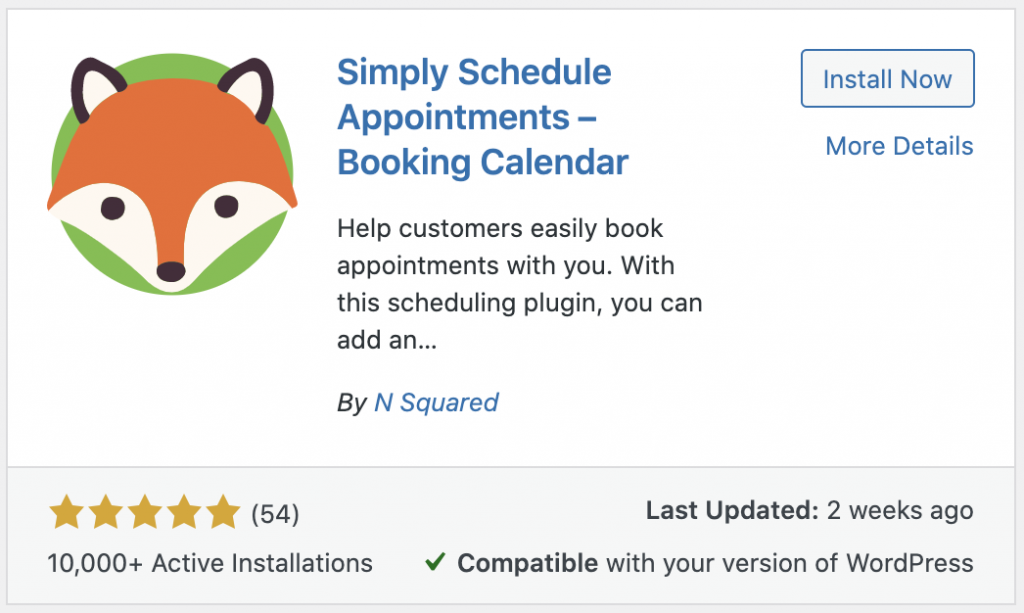
1. Install and Activate the free Simply Schedule Appointments (SSA) booking plugin
Simply Schedule Appointments is a free plugin that comes with everything you need to start taking appointments on your WordPress website. It offers the following features:
- Unlimited booking calendars, appointments, and email notifications
- Styling options to help blend the calendars into your brand and theme
- Blackout days for blocking off availability on holidays and vacations
- Translation-ready using the WordPress translation system
And, if you find that you need more functionality, the plugin also offers the following premium features:
- Google Calendar Sync
- Custom Fields for Customer Information
- Payments via Stripe and PayPal
- Team booking
- and More!
2. Complete the Setup Wizard and Create a Booking Calendar
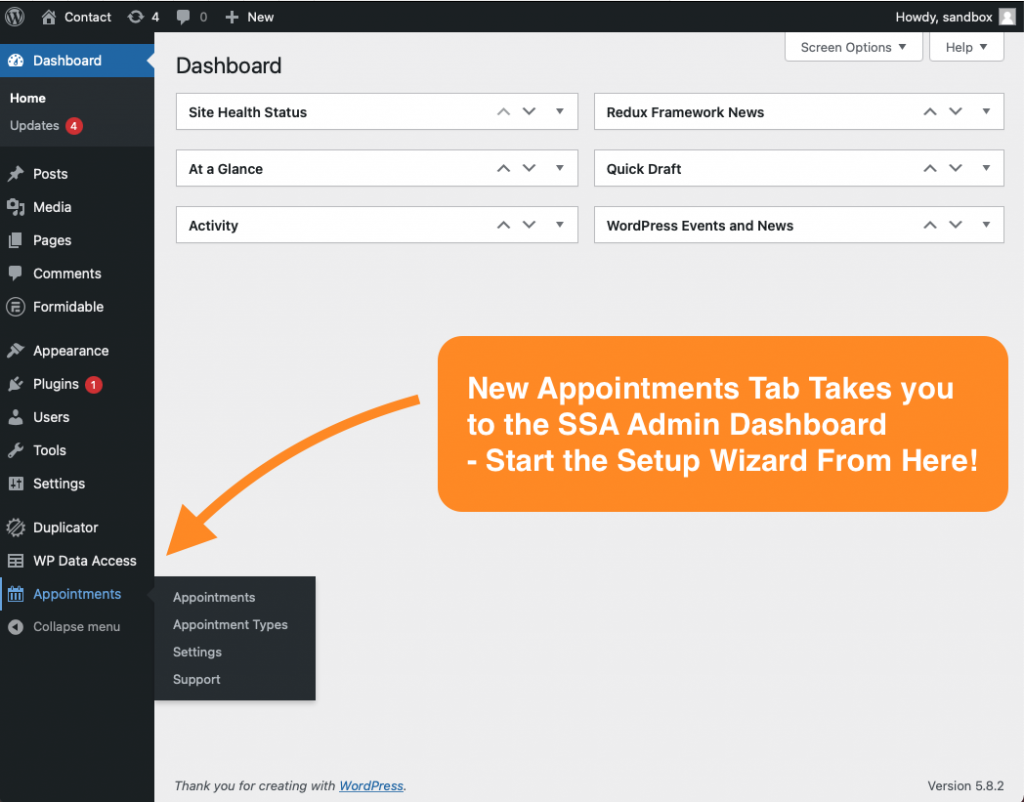
After you’ve finished activating the Simply Schedule Appointments booking plugin, you’re ready to create your first booking calendar. From the WordPress dashboard, head over to the new Appointments tab.
This will open the Simply Schedule Appointments Dashboard which will walk you through the creation of your very first booking calendar. In the plugin, we use the term “Appointment Type” to refer to the booking calendars rules and settings.
Visit our Setup Wizard guide, if you have any questions on this process.
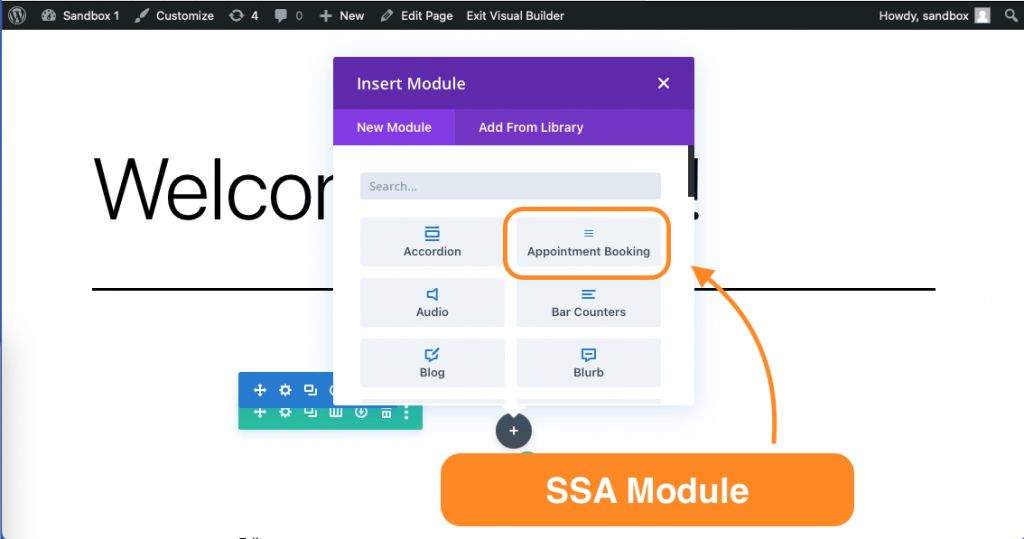
3. Add the Divi Appointment Booking Widget to Your Page
And, lastly, open the Visual Builder for Divi on a page where you’d like to insert the SSA booking calendar. Open the Insert Module pop-up and search for the Appointment Booking module.
This should add the Appointment Booking module into your page, and you can make more adjustments to the module settings. Or, you can drag it into other parts of your page.
More details on the Divi Appointment Booking module settings.
Otherwise, that’s it! You now have a Divi booking calendar embedded into your page with the help of Simply Schedule Appointments.
Booking Management with Simply Schedule Appointments
Now that you’re all set to start taking appointments from your WordPress website page, you’ll need to catch up on how to manage your new bookings.
Here is a list of helpful resources to get you started:
- Make more Appointment Types to book a variety of services.
- Manage your booked appointments from the Appointment Details page
- Create custom email notifications
Conclusion
We hope that was helpful! If you have any trouble setting this up, feel free to reach out to our support team. We’re always happy to help troubleshoot or let you know if Simply Schedule Appointment is the right Divi booking plugin for you.
Not currently using Simply Schedule Appointments? Check out our features and pricing here, and get started today!