In this document:
Introduction
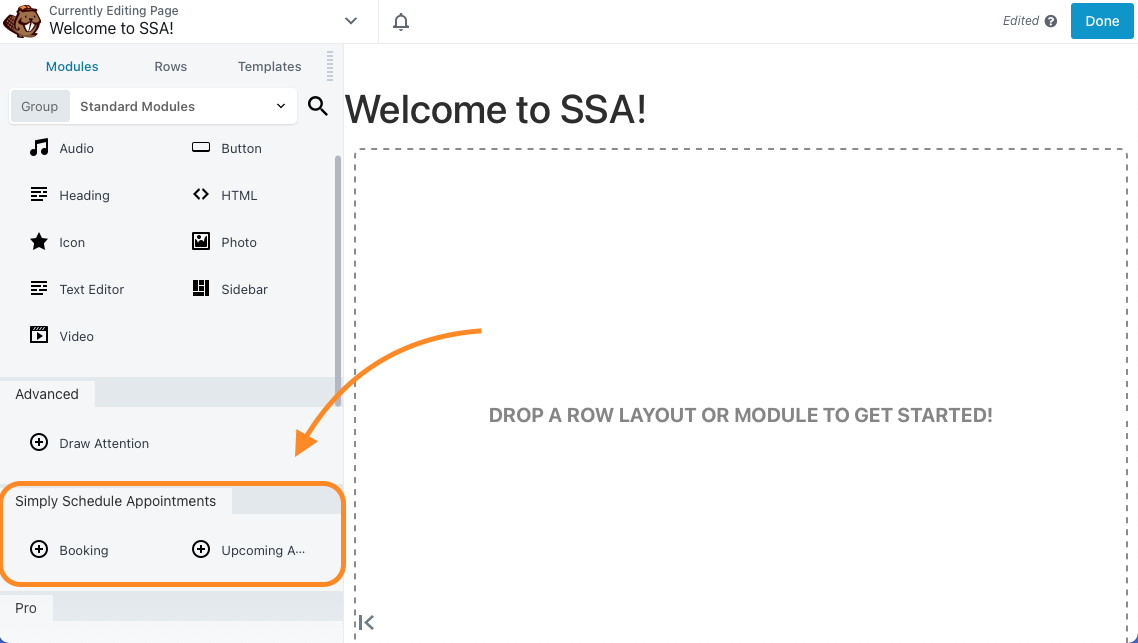
If you have both Simply Schedule Appointments and the Beaver Builder installed, when you’re editing a page with the Beaver Builder page editor, you’ll see two modules to choose from:
- Booking and
- Upcoming Appointments.
To use Simply Schedule Appointments with Beaver Builder, go through The Setup Wizard in SSA first.
Using the Booking Form Module
To add a Booking Calendar, simply click on the plus-sign next to Booking to drag and drop the module into the page.
The module embeds your Booking Calendars on the page so your visitors can book an appointment. Under the Block settings on the left side of the screen, there are a couple of other settings:
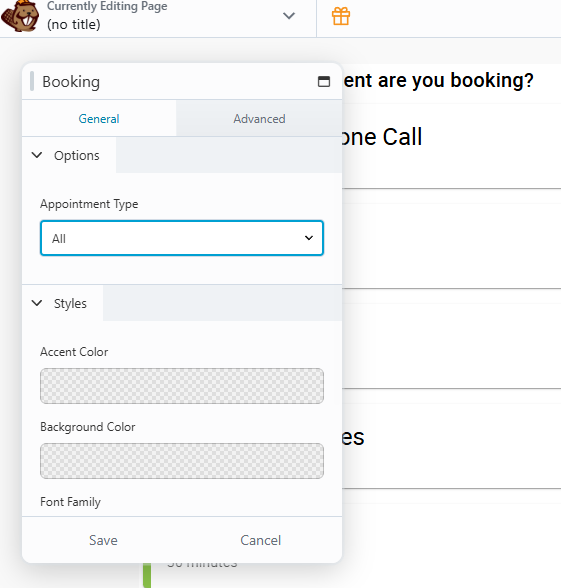
Appointment Type Setting
You can choose to show All Appointment Types, or filter to only display a single Appointment Type Calendar:
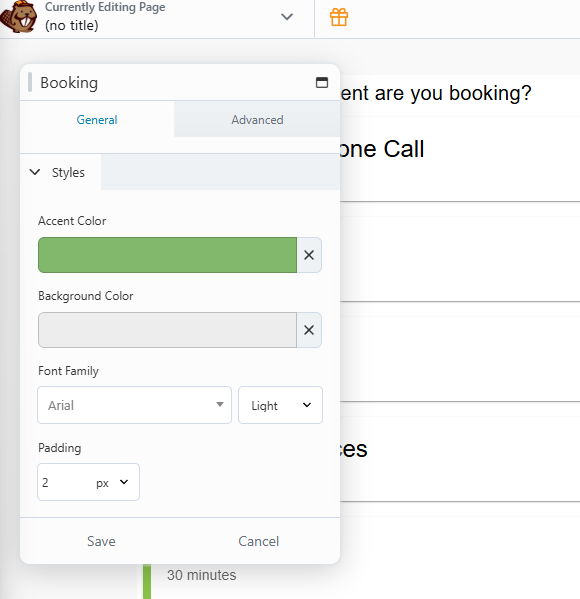
Styling Settings
Under the Styles tab, you can adjust the Accent Color, Font Family, Padding, and Background Color:
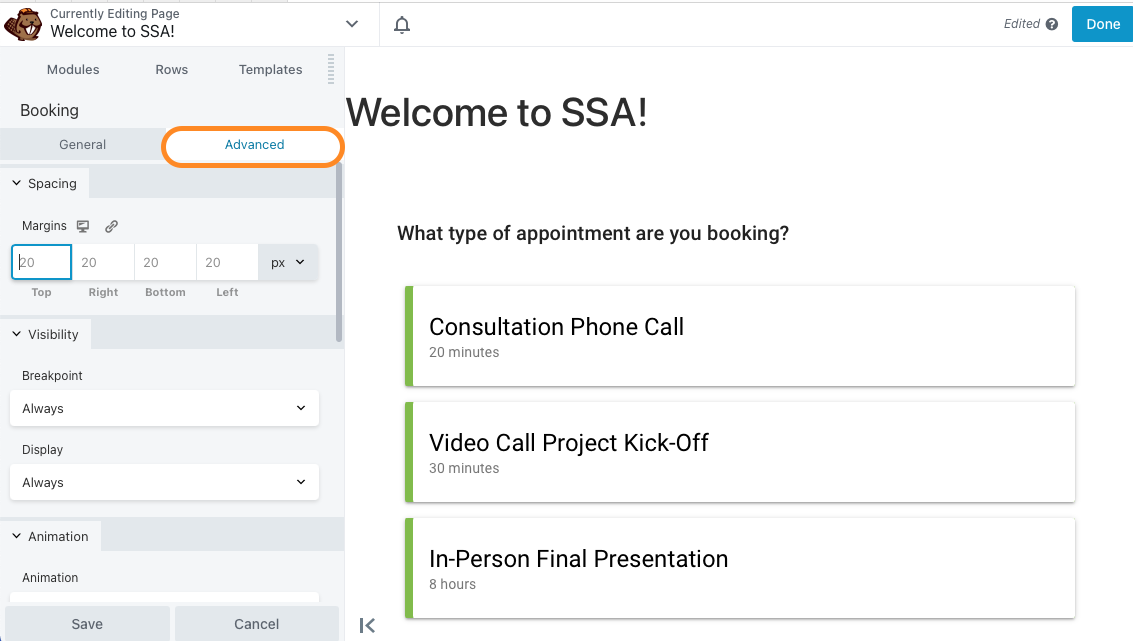
Advanced Settings
Under the Advanced Settings tab, you can adjust Spacing, Visibility, Animation, HTML, and Export/Import.
- Spacing, adjust this to align the Booking Calendar.
- Visibility, use the Breakpoint and Display drop-downs to choose conditions for when the booking calendar is visible to visitors.
- Animation, chose one of these if you’d like your visitors to see an animation of the booking calendar.
- HTML, use when you’d like to be able to use this module in separate HTML code.
- Export/Import, use this is you’d like to use the same settings or styles from the Booking Module in another Module.
Editing an Existing Booking Module
Use the Wrench icon when you hover over the Booking Calendar to bring up the floating box with settings again.
To improve page load performance when the calendar appears below the fold, enable the Defer Loading toggle in the module settings. Learn more!
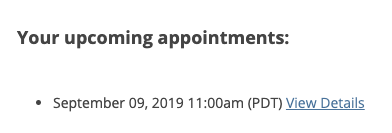
Using the Upcoming Appointments Module
This module will show the logged-in user any appointments they’ve booked.
By default, if the user has no upcoming appointments, the text shows “No upcoming appointments”. The Message field inside the Options tab on the left side menu lets you customize the text.
You can also add your own CSS classes by clicking on the Advanced heading.
Visit our guide on the Upcoming Appointments module to learn more.
Related Guides
-

Upcoming Appointments Module
-
Booking Appointments
-
Searching, Filtering, and Viewing Bookings
-
Cancel, Reschedule, Edit or Delete Bookings