We had plans to allow folks to take payments for appointments through Simply Schedule Appointments from the very beginning, so that was one thing we guessed right. What we didn’t guess, though, was how crucial this feature would be for so many. So we’re very happy to announce that Simply Schedule Appointments now includes the ability to take payments with Stripe. (Read on for some other options that are coming soon).
Preparing for payments
First things first – if you want to use Simply Schedule Appointments to accept payments at the time of booking, you’ll need to upgrade to our Pro package. Pro also currently includes webhooks and will soon also include customized reminders and notifications (including SMS reminders) and services. And, if you upgrade to Pro now, you’ll get a never-available-again discount as a thank you for supporting our ongoing development of Simply Schedule Appointments. The clock on your annual license doesn’t start ticking until we finish all the Pro features, either.
You’ll also want to make sure that your site is set up with an SSL certificate. Just be sure the url for your site starts with https and not just http. If you don’t have an SSL certificate, contact your hosting company for help in getting that set up. It will boost your search engine rankings and help keep your customer information secure, too.
Getting set up with Stripe
If you don’t have a Stripe account already, just head on over to their website and get one set up. Stripe is easy to work with, has great support, and is a real favorite among developers for their friendly APIs. Stripe will allow you to securely accept credit card payments from customers all over the world.
Once you’ve got your Stripe account, you’ll just need to get your Publishable key and your Secret key from your Stripe account. You’ll find those under Developers > API keys.
With your keys, go to your Settings screen in the admin interface for Simply Schedule Appointments. Enable Payments, then click into Payments settings. Set your default currency, then enable Stripe and head into the Stripe settings. You’ll see the fields where you need to paste in your publishable and secret keys from Stripe.
That’s all that you need to do! You’re set up with Stripe. You’ll notice there are a few other fields in the Stripe settings for Simply Schedule Appointments. Just check out our documentation for a full description of what those are and what they do.
Taking payments for appointments
With Stripe enabled and your API keys from Stripe saved, you can now edit any of your appointment types. You’ll see a new section called Payments:
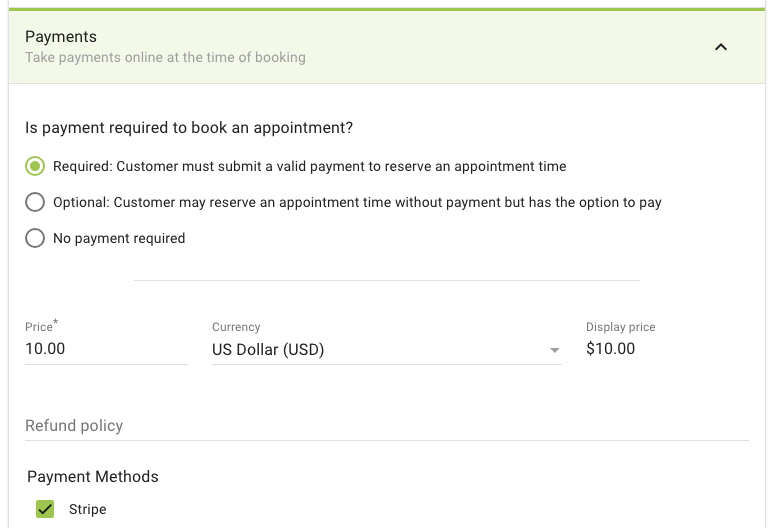
First up, the payment can be required or optional. If you mark the payment as required, then customers will have to provide a valid payment in order to book their appointment. For optional payments, customers can elect to pay later (likely in person at the time of the appointment) and will be able to book the appointment even without paying.
Then you can set the price of the appointment, the currency if it’s different from the default currency you set in the Payments settings, and you can enter a refund policy. Save the appointment type and that’s all there is to getting set up to accept payments while booking appointments.
Booking with payment
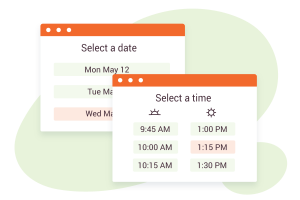
When a customer books an appointment with a payment, they’ll see the price on every screen of the booking process.

After selecting a date and time for the appointment, your customer will be asked to pay. If you’ve selected an optional payment, your customer will also have the option to Pay Later.
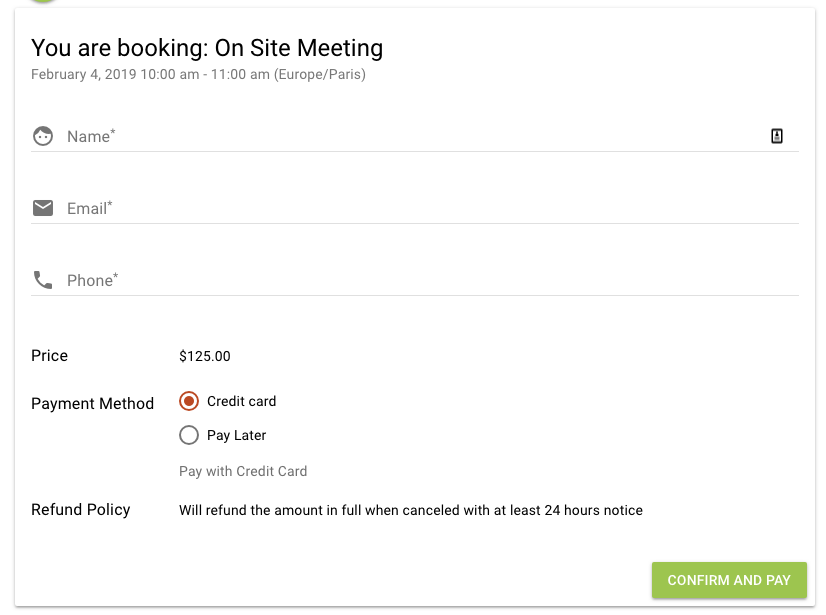
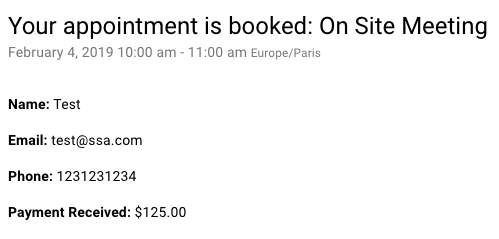
If the payment fails for any reason, the customer can edit the credit card information they entered, or can try a different credit card altogether. On the final confirmation screen, we’ll show that the payment was received:
Payment details for you
Then, when you’re viewing the upcoming appointment, you’ll see that a payment was received.
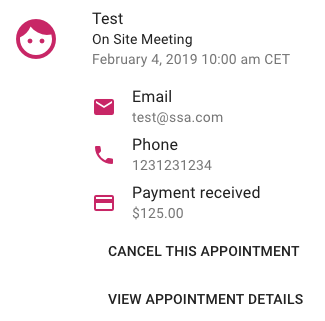
And you’ll even be able to click the View Appointment Details link to see all the detailed information about the payment:

PayPal and WooCommerce coming soon
We’re also going to be adding support for PayPal and WooCommerce to Simply Schedule Appointments Pro as well. The integrations for Stripe and PayPal are relatively simply and straightforward. Setting them up is quick and easy and they’re simple for your customer when booking as well.
If you want to offer coupon codes, take other payment gateways, or have more complex payment arrangements, we’ll provide the WooCommerce integration available to cover all the more complicated cases.
Phew!
Getting everything shuffled around and updated to allow for payments was a lot of work. But we’re really proud of how easy it is to set up and use and we think you’ll find it really useful, too. Thanks for your support and patience while our little two-person team keeps chugging along like the Little Engine That Could to build this plugin. Thanks for hanging in there with us, and we promise to keep working on the features you need so that Simply Schedule Appointments can be the best appointment-scheduling plugin yet.