In this document:
Introduction
Use Stripe test mode with Simply Schedule Appointments to ensure your account is set up correctly and that your payments will go through successfully. You can test how paid appointments work and see that your Stripe account is being updated after booking.
Make sure you’ve set up your Stripe account and SSA settings before you begin testing.
To get this setup:
- Collect your Test Publishable Key and Secret Key from Stripe
- Set up a Test Webhook
- Collect the Test Webhook Signing Secret and enable test mode
- Use Test Card Info to Test Appointments
1. Collect Test Publishable Key and Test Secret Key
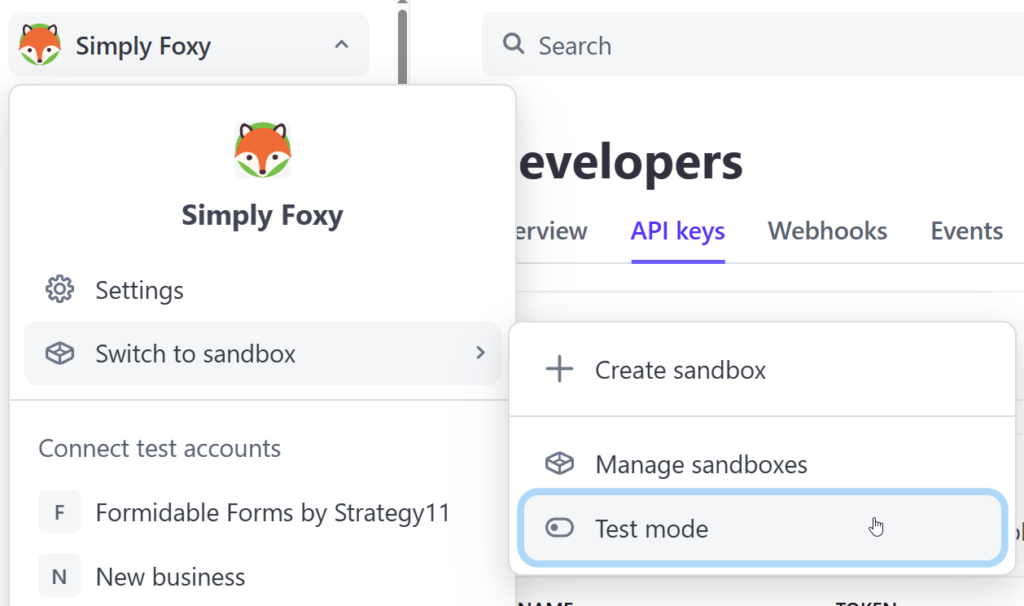
In your Stripe Account, enable the Test Mode by clicking on your profile icon and name on the top right, heading to Switch to sandbox, and toggling on the Test mode.
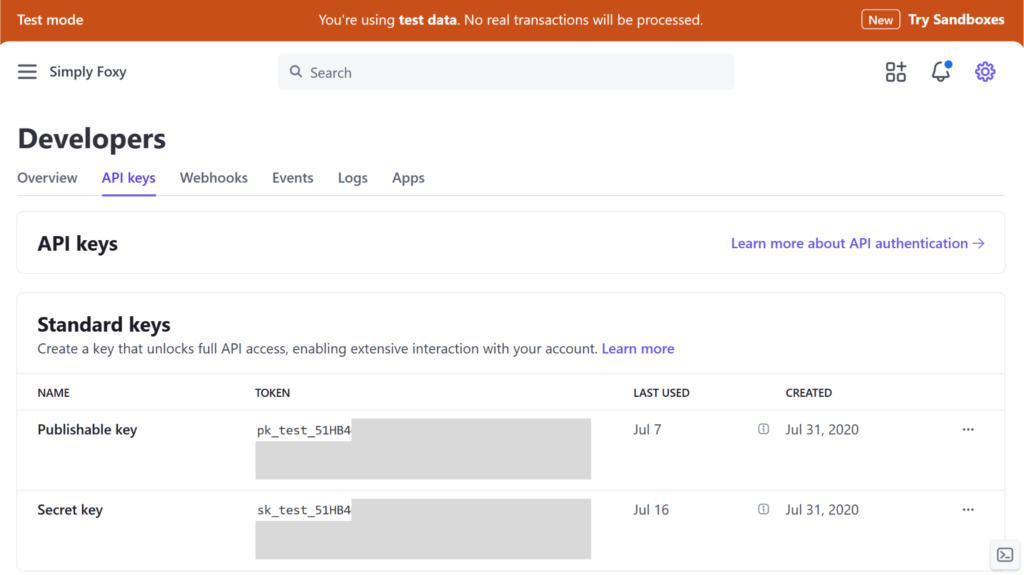
Once the Test mode is active, go to Developers > API keys. You’ll see the Publishable Key and Secret Key listed under the Standard Keys option, from which you can copy them.
2. Set up the Stripe Webhook URL in Stripe
You need to install an SSL Certificate for this step to work.
Copy the Webhook URL From SSA
Go to your SSA Settings > Payments > Stripe.
You’ll see the Stripe Webhook URL that you need to copy under the Basic Settings.
Paste the Webhook URL to Stripe
While still in Stripe Test mode, go to Developers > Webhooks.
Click on + Add endpoint. Then paste in the Stripe Webhooks URL to the Endpoint URL field.
Select Events to Send
- Click on the +Select Events button
- Scroll through the list for the Payment Intent tab
- Click on the Select all Payment Intent events checkbox
- Click the Add Events button
Lastly, click +Add Endpoint at the bottom of the screen.

3. Set up the Test Webhook Signing Secret
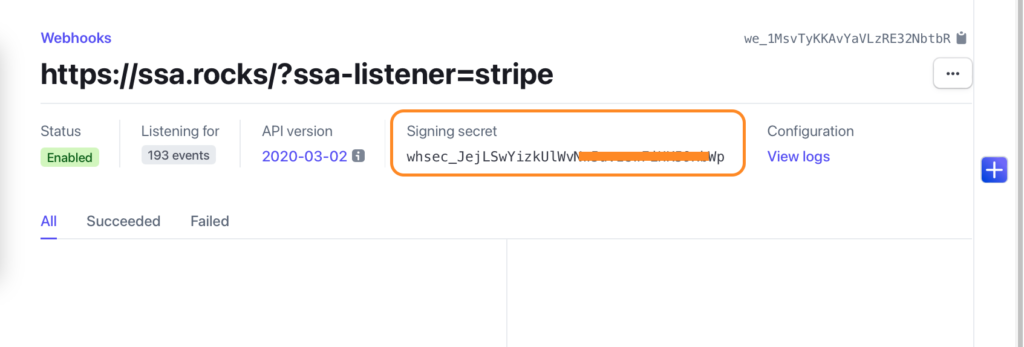
After finishing the Webhook creation from Step 2, you’ll be redirected to the Webhook detail page. From here, you’ll need to collect the Signing Secret.
Under the Signing Secret column > click Reveal > and copy the code shown.
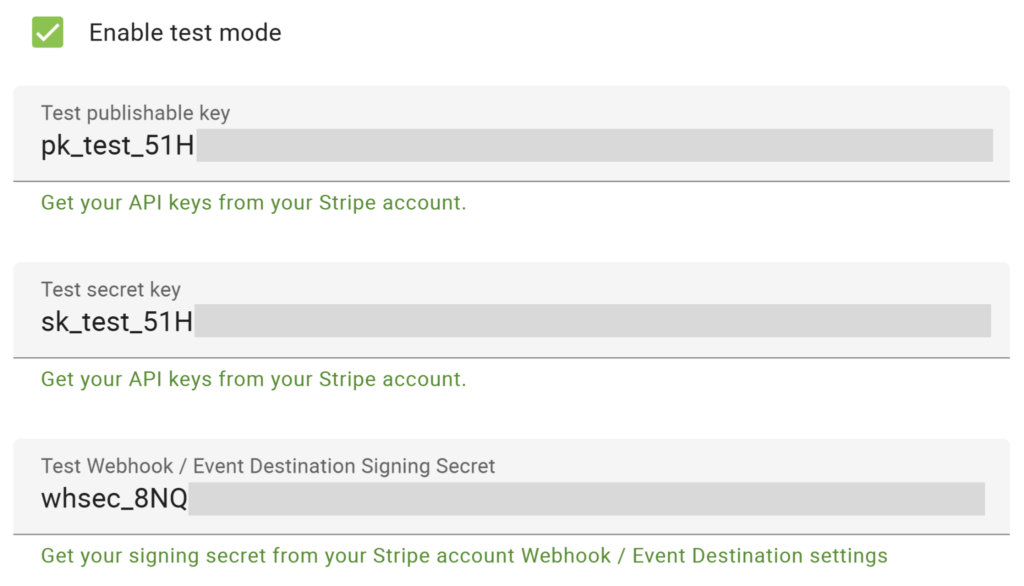
Back in SSA Settings > Payments > Stripe > Open the Advanced Settings tab, paste the code you just copied into the Test Webhook Signing Secret field.
Along with that, paste the Test Publishable Key and the Test Secret Key that you copied from your Stripe account.
After copying and pasting the keys from your Stripe account, Enable Test Mode and click Save.
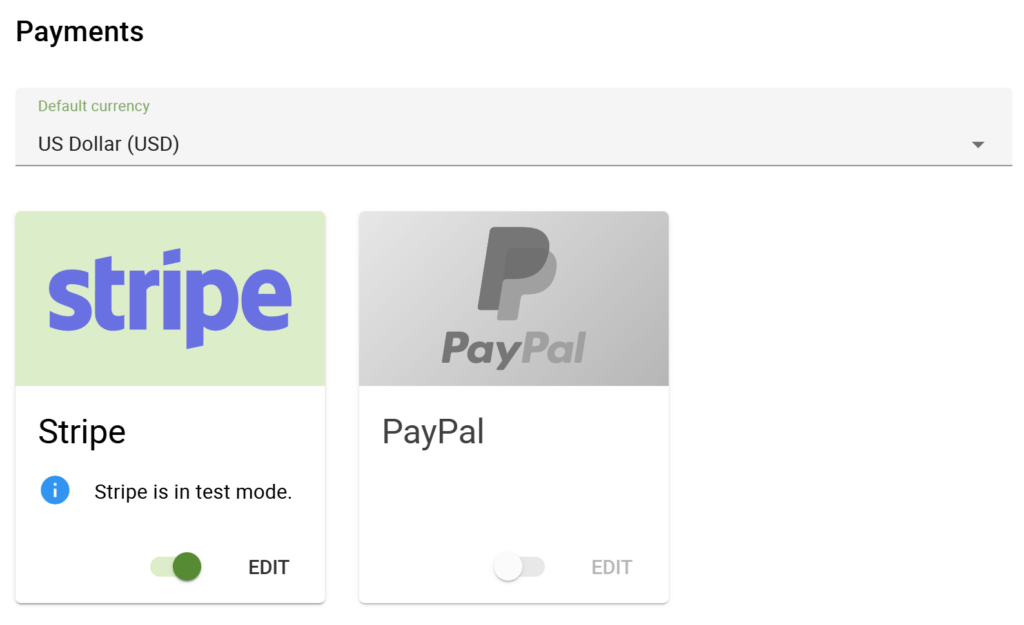
Once you’ve done this, a message will pop up on your Admin Dashboard and Stripe option within Payments stating that Stripe is in test mode.
4. Book a Test Paid Appointment
Make sure to add payments to your appointment types before testing them.
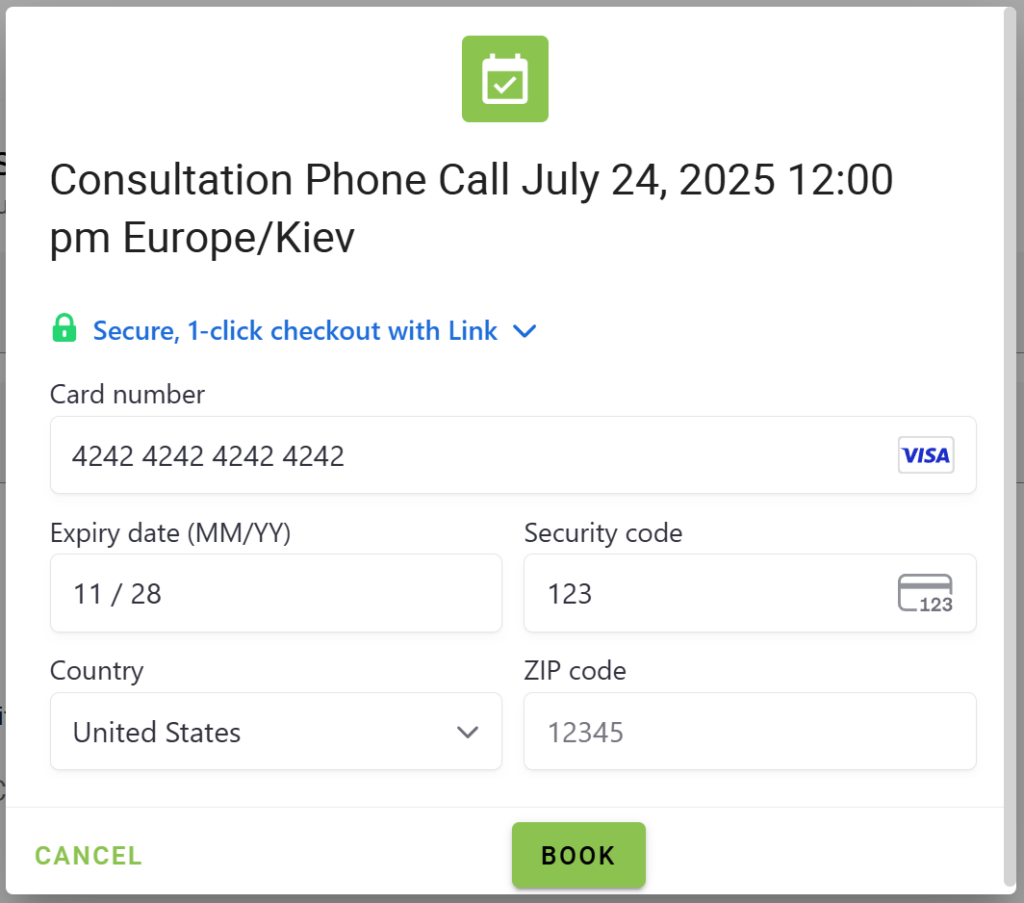
When Stripe and SSA are in test mode, the payment portal won’t accept genuine card information. You’ll have to use the test card information provided by Stripe.
Just copy one of the card numbers included in their list, enter an expiration date in the future, and add a random CVC/Security number.
Viewing the Test Paid Appointment
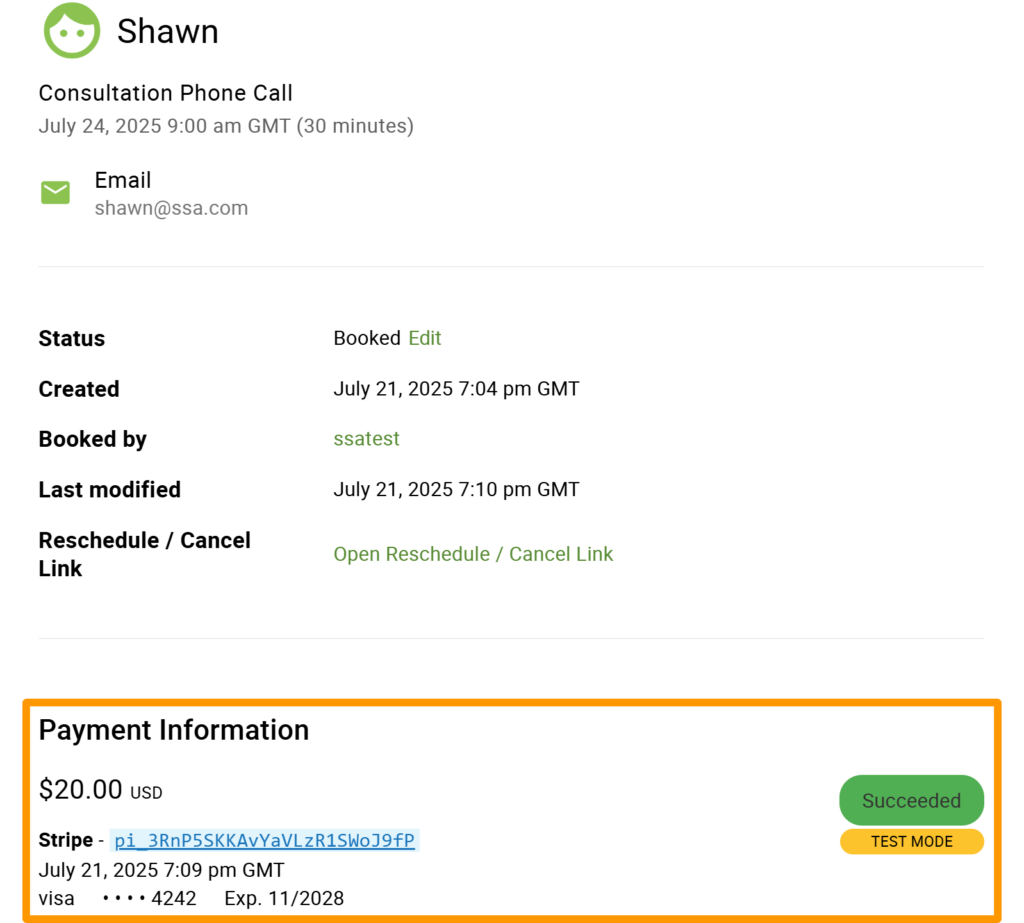
After booking the paid appointment, you can head over to the SSA Appointments page. You’ll find the new appointment on the list. It’ll look like a regular appointment.
Only if you open the Appointment Details will you see that it is a test appointment. Under the Status bar in the Payment Information section, you’ll see a yellow Test Mode bar.
Clicking on the Stripe Payment ID will take you to the payment information page in your Stripe account. Here, you can view your payment in test mode.