In this document:
Introduction
This guide will show you how to purge (delete) old or abandoned/canceled appointments. This is helpful if you’re a high-traffic site that books a lot of appointments—over time, you may see that the booking plugin slows down due to the accumulation of data.
Purging your old and abandoned appointment data will help improve performance.
How to Purge Appointments
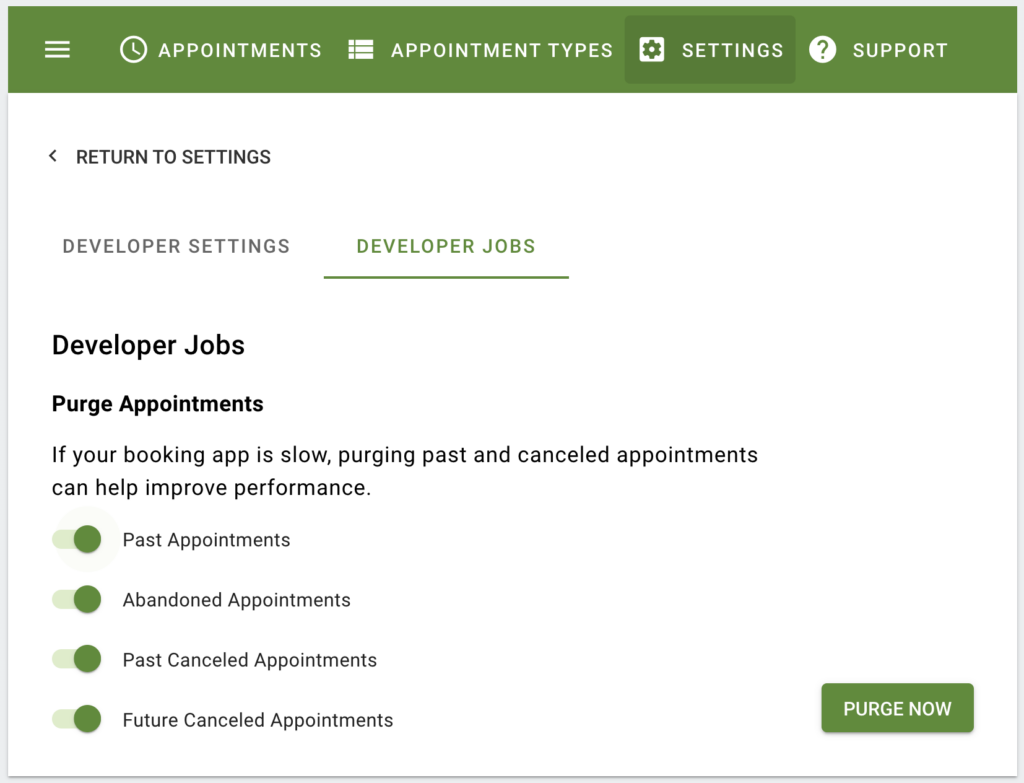
Go to the Simply Schedule Appointments Settings page > scroll to the bottom and click on Developer > go to the Developer Jobs tab.
Toggle the options that you’d like to purge:
- Past appointments
- Abandoned appointments: Delete all of your Abandoned status appointments.
- Past Canceled appointments
- Future Canceled appointments
After selecting one or multiple options, click on Purge Now.
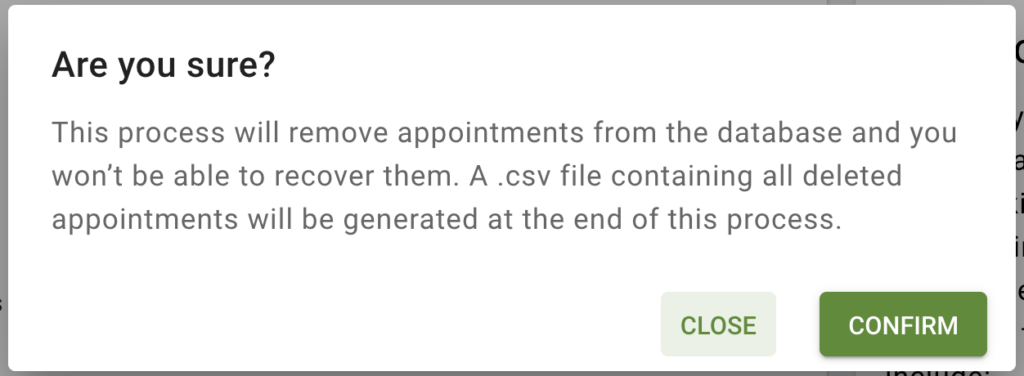
Next, you’ll need to confirm your selection. The message says, “This process will remove appointments from the database, and you won’t be able to recover them. A .csv file containing all deleted appointments will be generated at the end of this process.”.
When you’re ready, click Confirm.
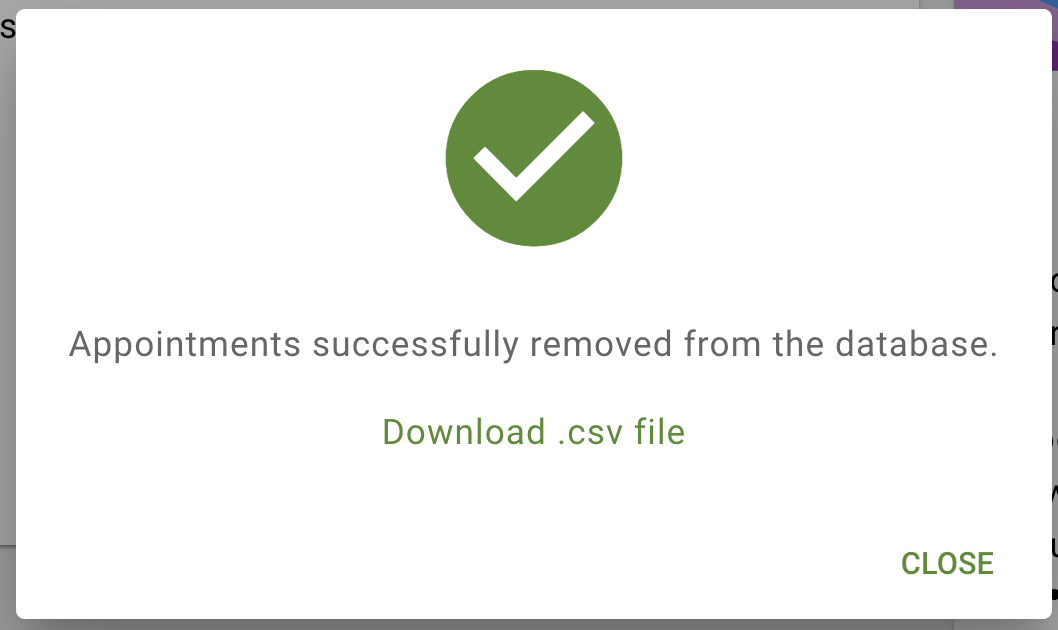
Finally, you’ll see one last popup letting you know that the process was successful. From here, you can download the CSV containing all of the deleted appointments.
You won’t be able to access this CSV file again.
If you’re running into any other performance issues, feel free to take a look at our guides on troubleshooting performance.
Related Guides
-

How to Fix “There Are No Available Appointments”
-
Admin App or Booking App Never Loads
-
Cancel, Reschedule, Edit or Delete Bookings
-
Export ALL Bookings to CSV