In this document:
Introduction
If you’re moving to a new WordPress site, this guide explains how to copy over your appointments and settings from Simply Schedule Appointments using the Import and Export feature.
Using our Import and Export feature, you can do this all within our plugin, and it’s a matter of just copying and pasting our generated code.
How Importing Works – Be Careful!
Importing overwrites all the settings and appointments that exist in your new site’s Simply Schedule Appointments install.
For example, let’s assume you used to have an old site with SSA appointments and settings. But, on your new site, you started booking appointments already.
You decide you want to merge the two together in your new site. You import all the appointments and settings from your old site to your new site.
Here’s the catch: all your new site’s settings and appointments will be gone in this scenario 🙁
Just make sure you’re careful when you import and know the consequences. Unfortunately, there’s no way to recover the overwritten data.
Open the Import and Export Page
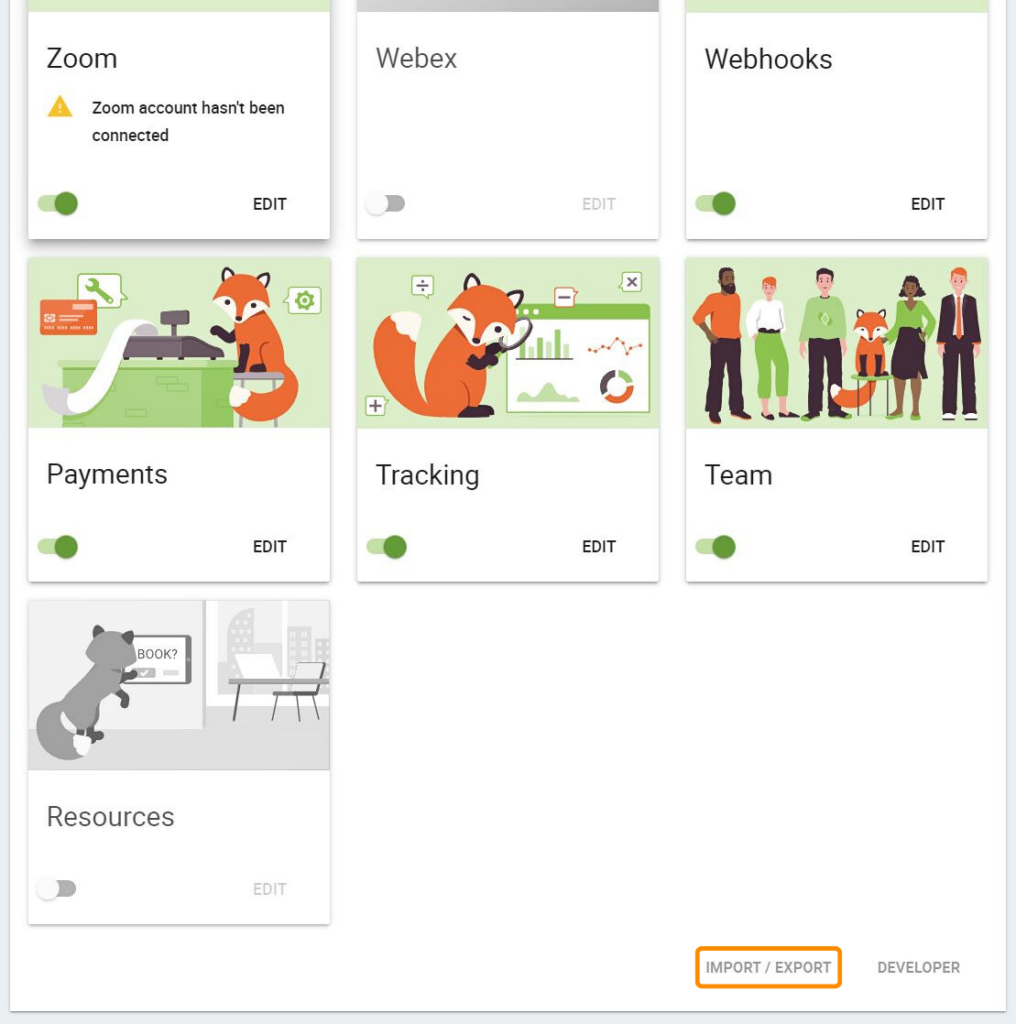
To open the Import/Export feature, go to the SSA Settings page and scroll to the bottom. You’ll see a link that says Import/Export.
Export Your Settings and Appointments
Start by exporting the settings and appointments to your old site.
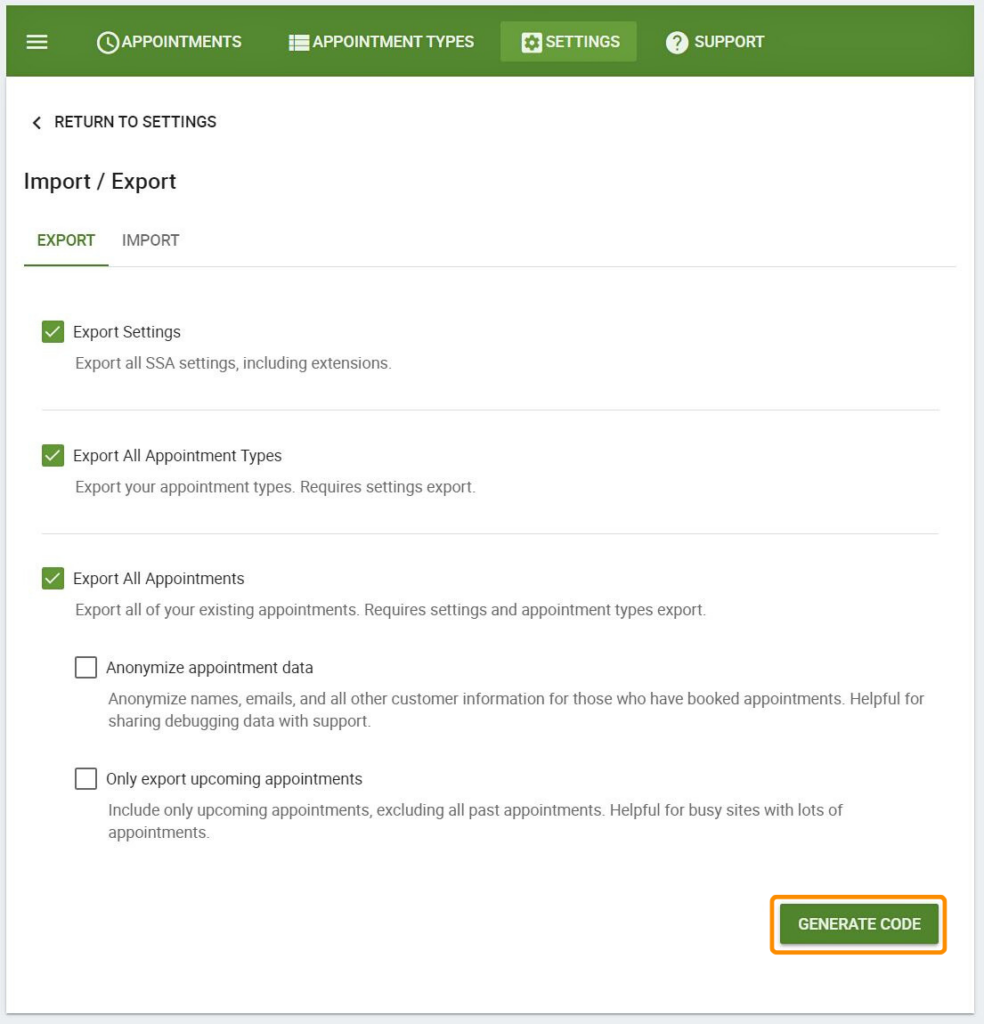
Under the Export tab, you’ll see 3 different checkboxes. You can choose whether you want to export:
- Settings: Your general settings, blackout dates, notifications, and styles. If you’ve set up any paid features, those settings are also exported.
- All Appointment Types: Your Appointment Types settings, like availability and scheduling options. Requires you to export Settings.
- All Appointments: All your past and upcoming appointments from all your appointment types. Requires you export your Settings and Appointment Types.
- Anonymize appointment data: Anonymize names, emails, and all other customer information for those who have booked appointments.
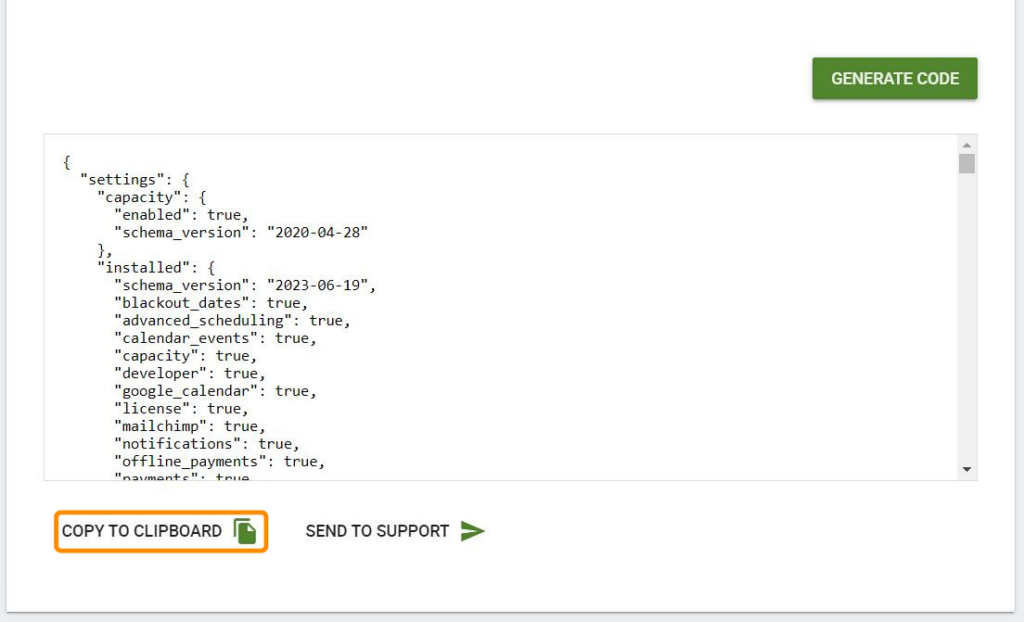
After selecting the checkboxes, click Generate Code. A long code snippet will be shown in the box.
Use the Copy to Clipboard option to easily copy the entire snippet.
Send to Support
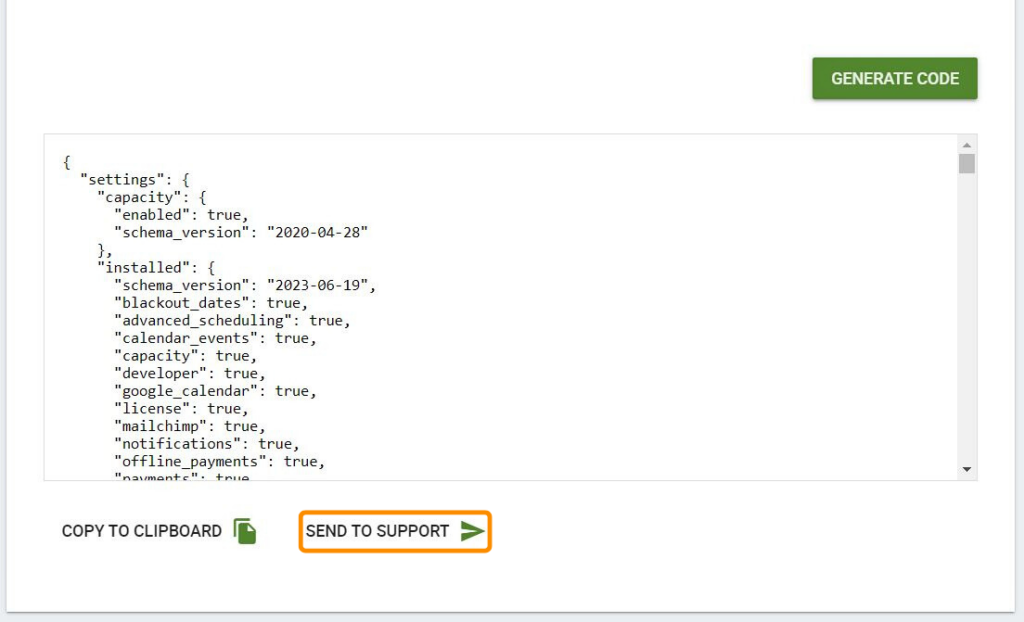
If you’re having trouble with your plugin, our support team may ask you to send us your settings using the Send To Support option after you Generate the Export Code.
See more methods of providing plugin access to the Support Team here.
Importing to Your New Site
After copying the code snippet, go to your new site and visit the Import/Export feature.
Under the Import tab, there’ll be a field box where you can paste the code.
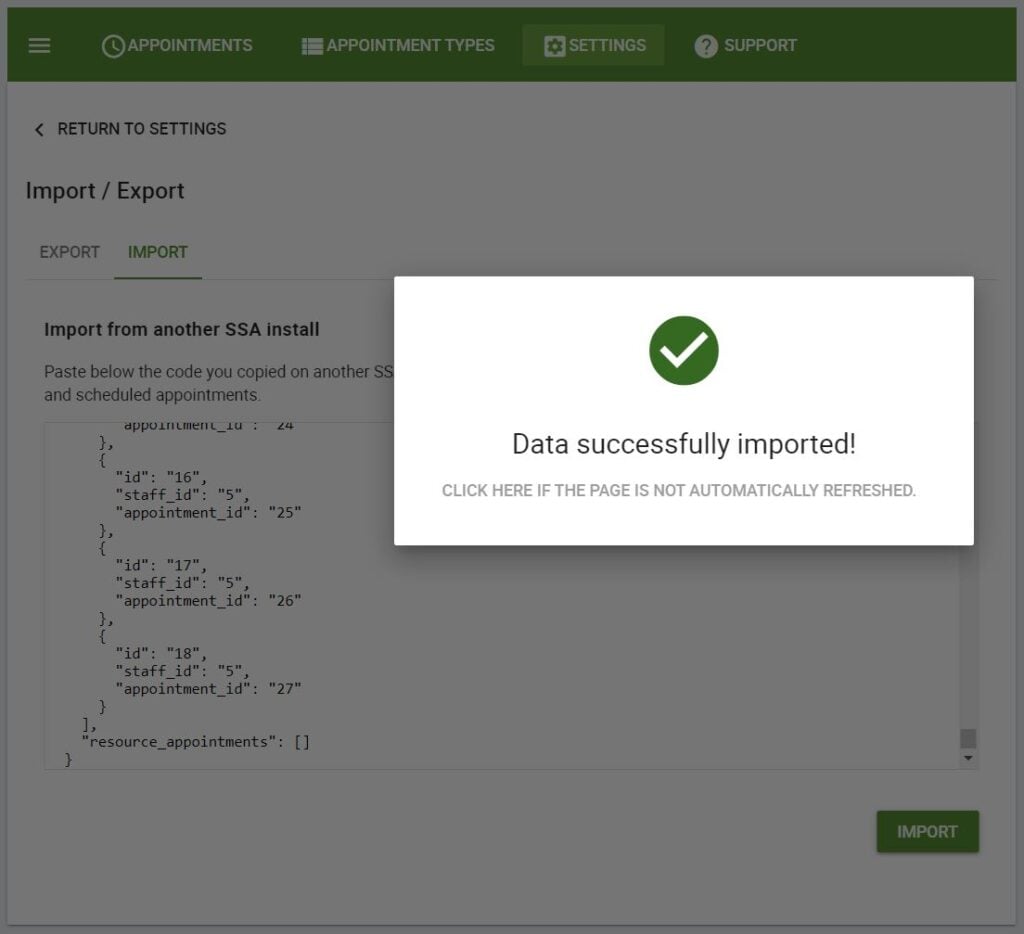
When you paste in the code, the Import button will enable you to begin importing.
Appointments Revision
When importing Appointment and Settings from SSA into the new site, the Appointment History data is not included.
That’s why, if you’ve toggled on the Appointments Revision option in the Developers tab to view Appointment History, those details will not appear on the new site where the SSA data was imported.