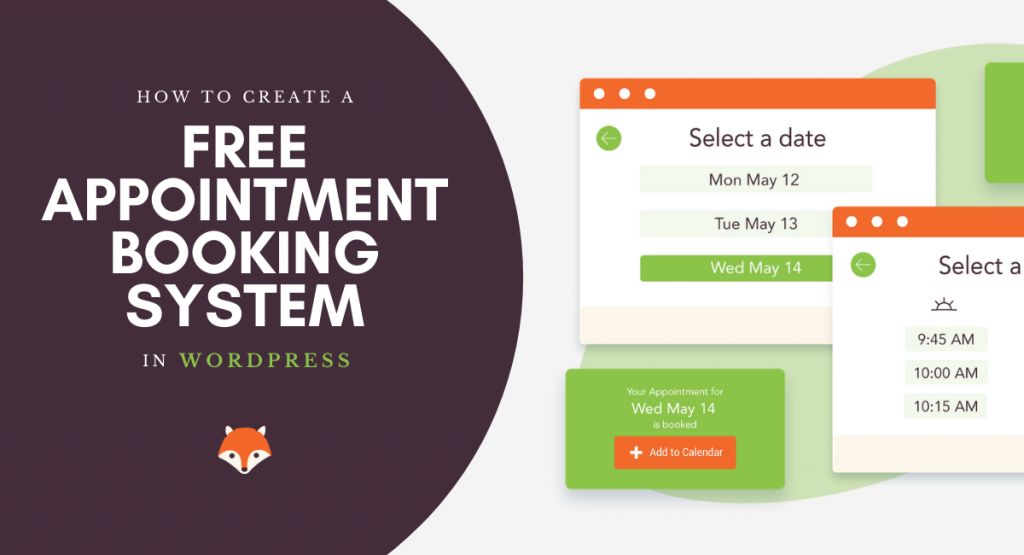
Do you want to create an appointment booking system for your WordPress website without spending a dime? An appointment booking system allows your website visitors (or current clients) to easily schedule appointments—like phone consultations and video-chats—with you or your business directly through your website. In this article, we will show you how to create a 100% free appointment booking system in WordPress.
What is an Appointment Booking System?
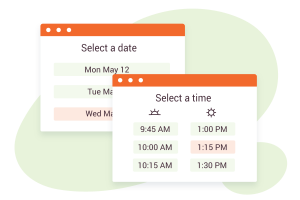
An appointment booking system is an online calendar that displays your availability, appointment types, blackout dates, and more. It’s different from, say, a simple contact form on your WordPress website. With an appointment booking system, you’re able to capture website visitors at the height of their interest on your website and nudge them to take an action that automatically sets up the next step with you or your business (for business folks: it ensures they move down the conversion funnel into becoming a paying customer or client of yours).
Let’s take a look at how you can simply schedule appointments with your website visitors using a free appointment booking system.
Creating a Free Appointment Booking System in WordPress
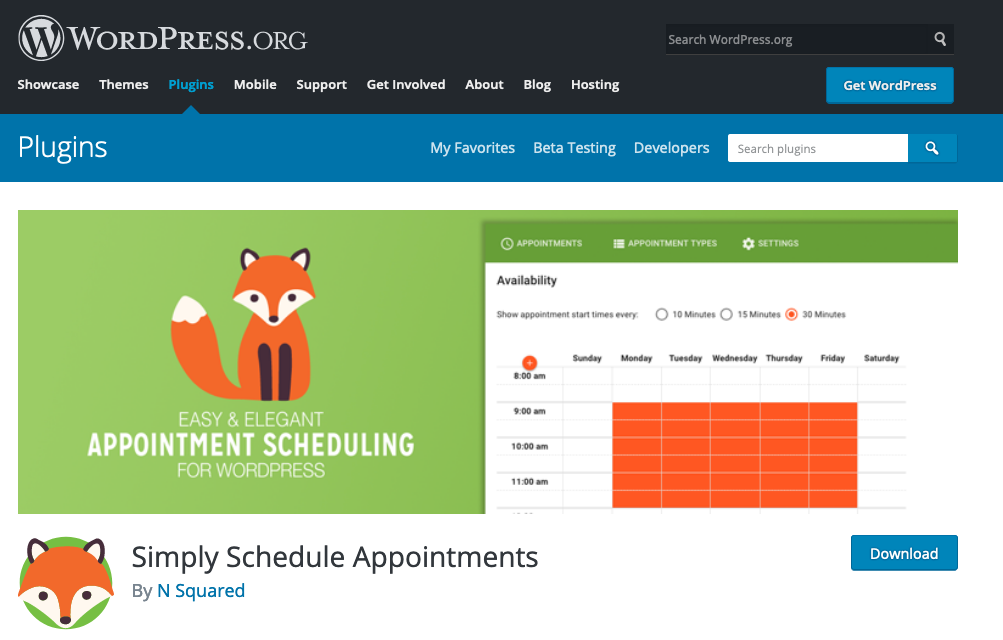
First thing you need to do is install and activate the Simply Schedule Appointments plugin. (P.S. If you’re unsure how to install a plugin, check out our step-by-step guide on how to install a WordPress plugin).
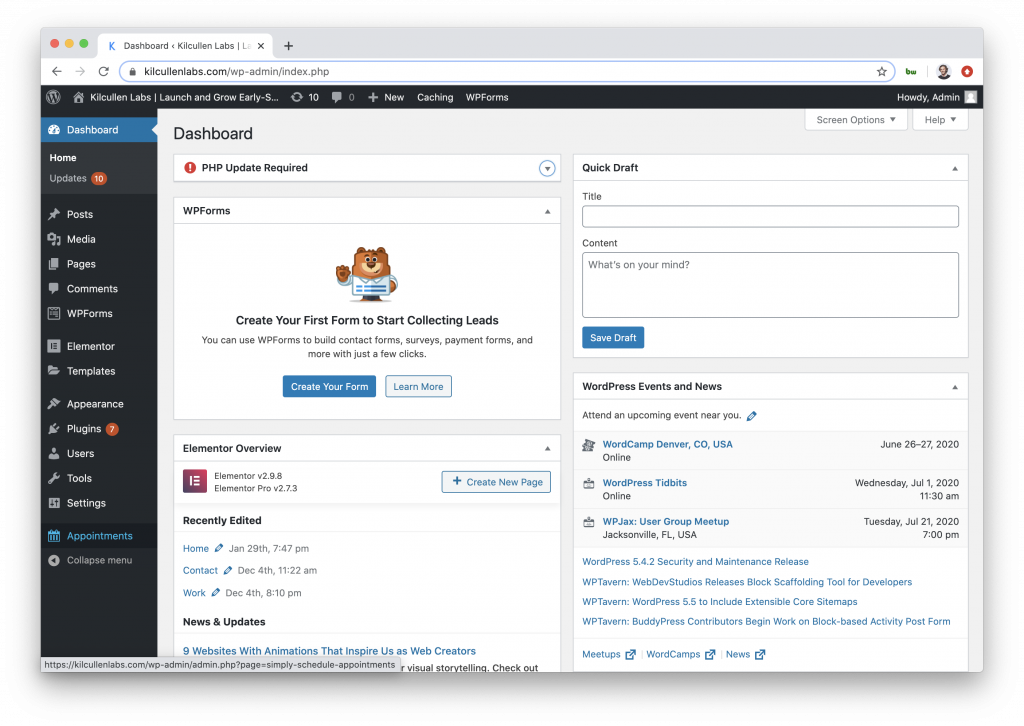
Upon activation, you’ll see a new sidebar item, Appointments, in your WordPress admin panel. Simply click on it to begin setting up your appointment booking system.
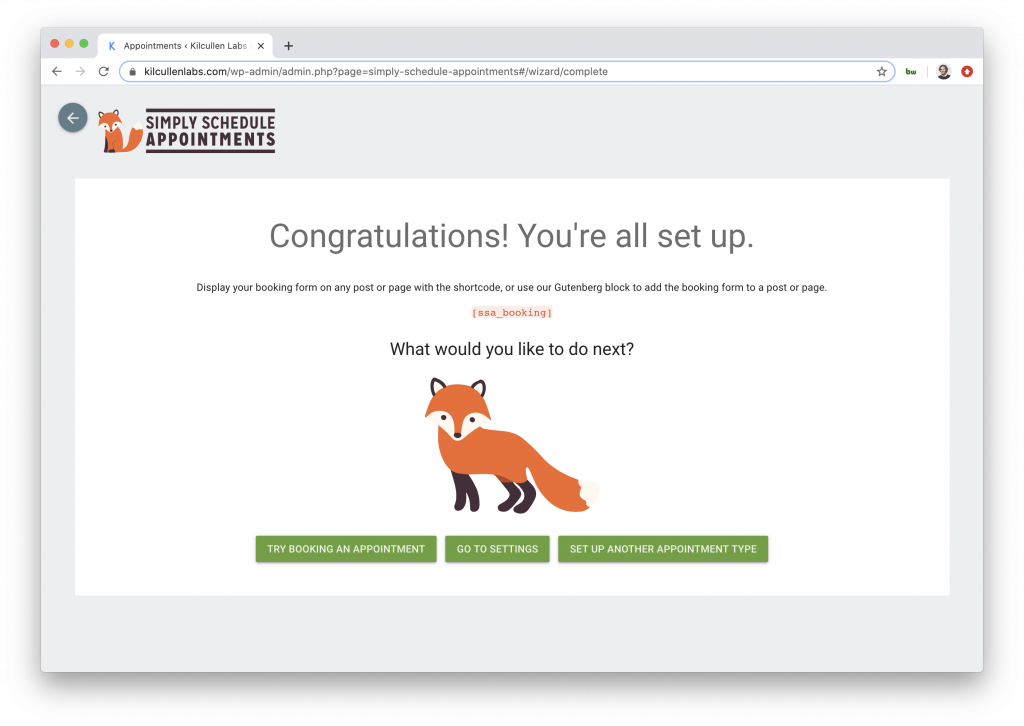
After clicking Appointments, you’ll be loaded into a welcome screen for the first-time setup wizard. After continuing, you’ll land on the first page, where you’ll review and confirm basic settings like preferred time zone, date format, time format, contact info, and more. If everything looks good, just click the “Looks Good! Let’s Go!” button at the bottom of the page.

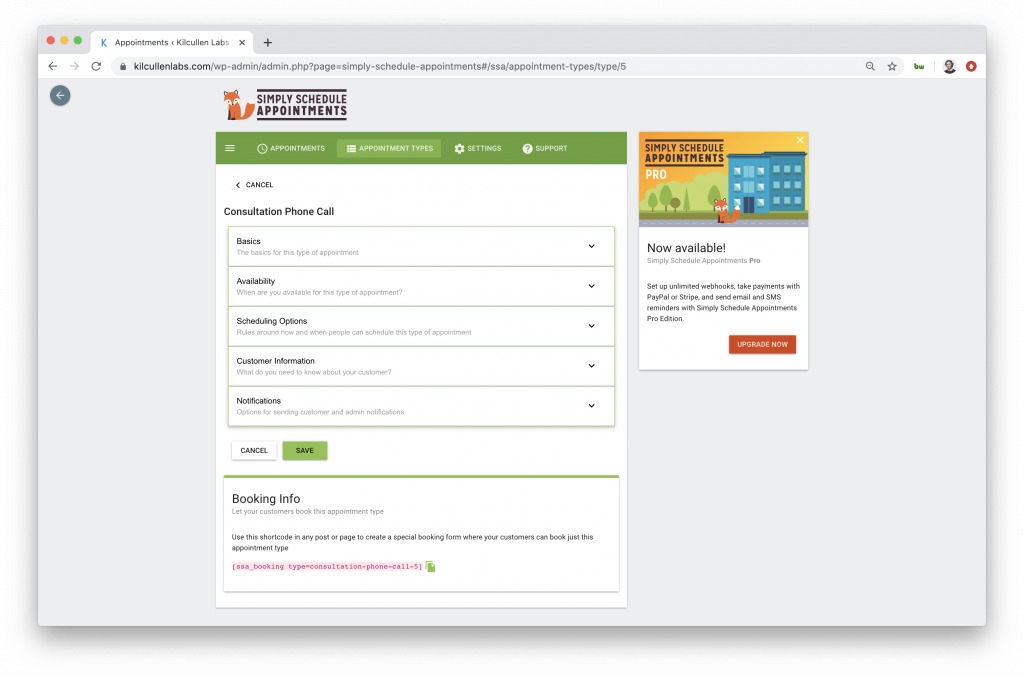
Next, you’ll set up your first Appointment Type. This includes filling out the basics—like the appointment’s name, duration, slug, and additional details.

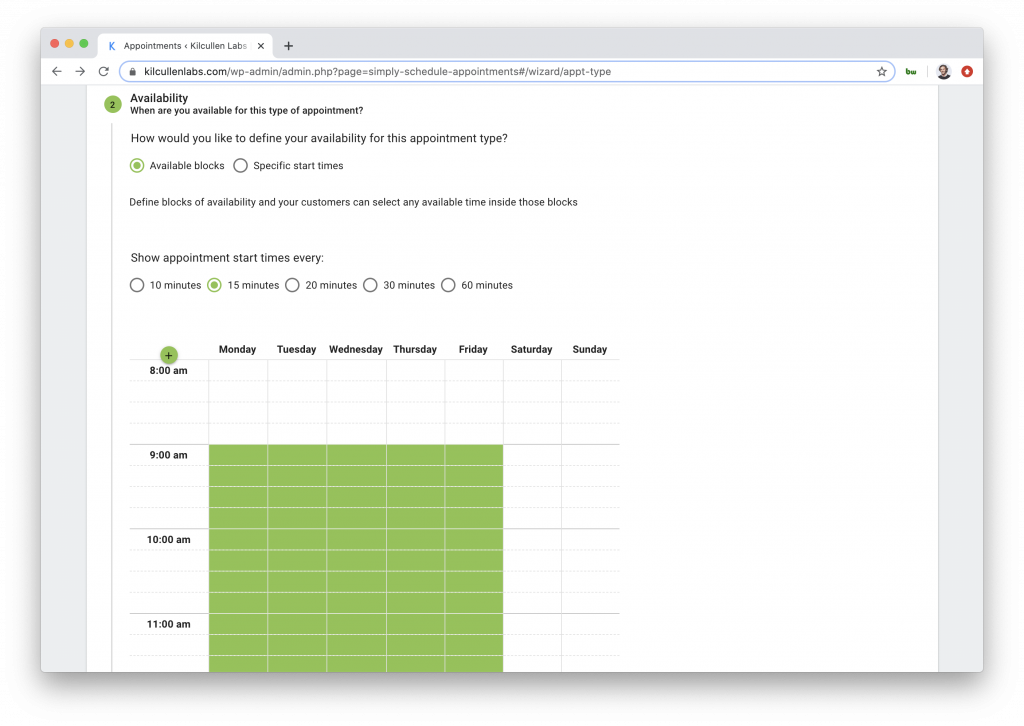
After the details of your first appointment type are set up, you’ll move on to confirming and displaying your Availability for this appointment type. Here you can choose how you’d like your availability to be displayed (available blocks or specific start times) and how often appointments can start (every 10, 15, 20, 30, or 60 minutes).
Once you’ve chosen, you’ll then be able to easily click an availability calendar to choose exactly which times and days you’d like to show availability and be available for bookings.
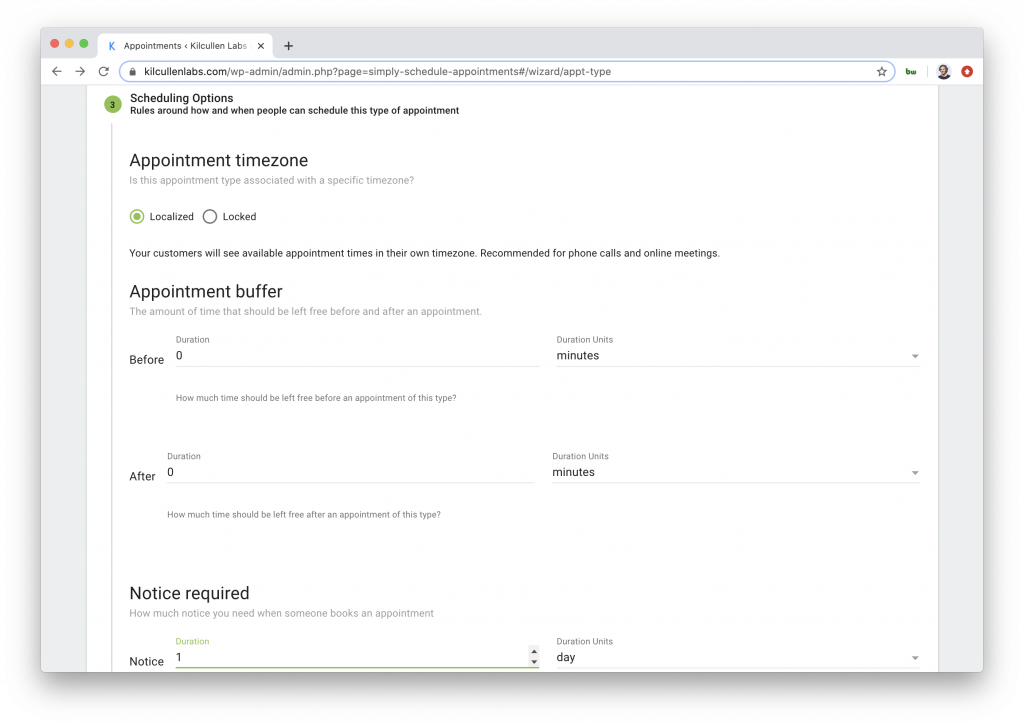
Next, you’ll be able to choose from a few helpful Scheduling Options, such as:
- Appointment Timezone – Do you want to show this appointment to your customers in their own timezone or only in a local timezone?
- Appointment Buffer – Amount of time left free before and after appointments
- Notice Required – How much notice you need before someone books an appointment
- Per Day Limit – How many times this appointment type can be booked per day
Note that these are all optional and can be edited later, so don’t worry if you’re not completely sure what will work best for this appointment type at this exact moment.
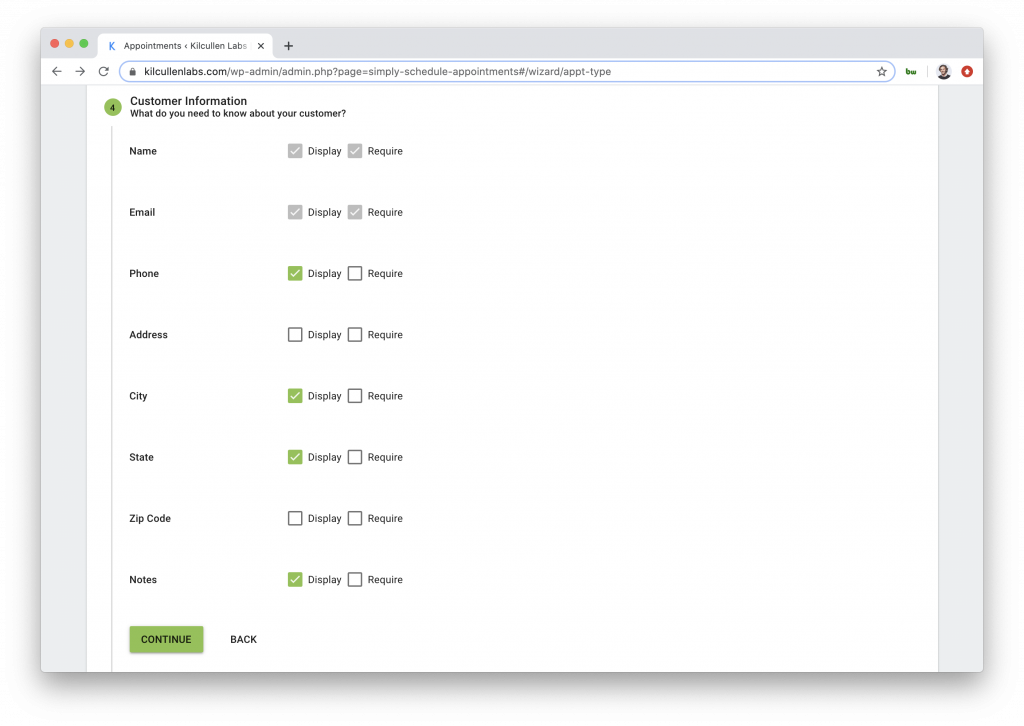
Once you’ve chosen your scheduling options, you’ll be able to choose which Customer Information you want to collect (or require) of those that are booking this appointment time. You’ll notice that name and email are set as displayed and required by default, but you can also enable the display and require for additional fields like phone number, state, notes, and more.
You’ll then be prompted to quickly Review your appointment type and all of its details. If all looks good, click “Continue” to save the appointment type and finish set up.
Adding Your Free Appointment Booking System to Your WordPress Website
Now, we’ll just want to add your free appointment booking system to display on your WordPress website.
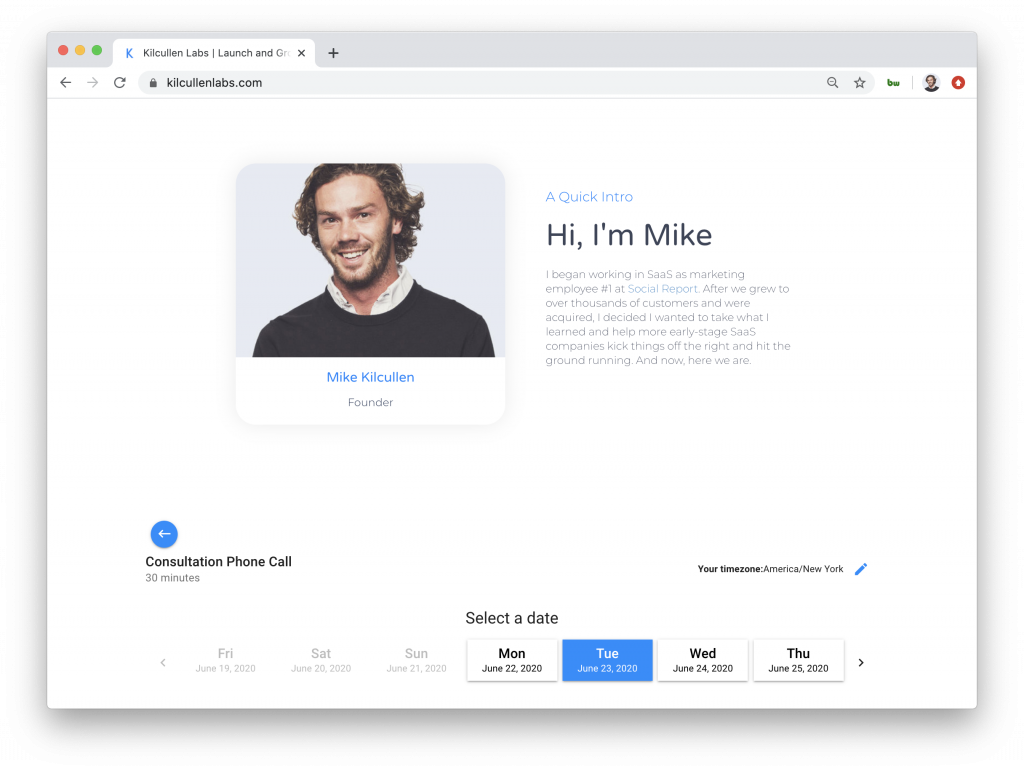
You can embed your appointment booking system into any sections of your website’s pages via Shortcode (which is available under Booking Info at the bottom of the page of your appointment type):
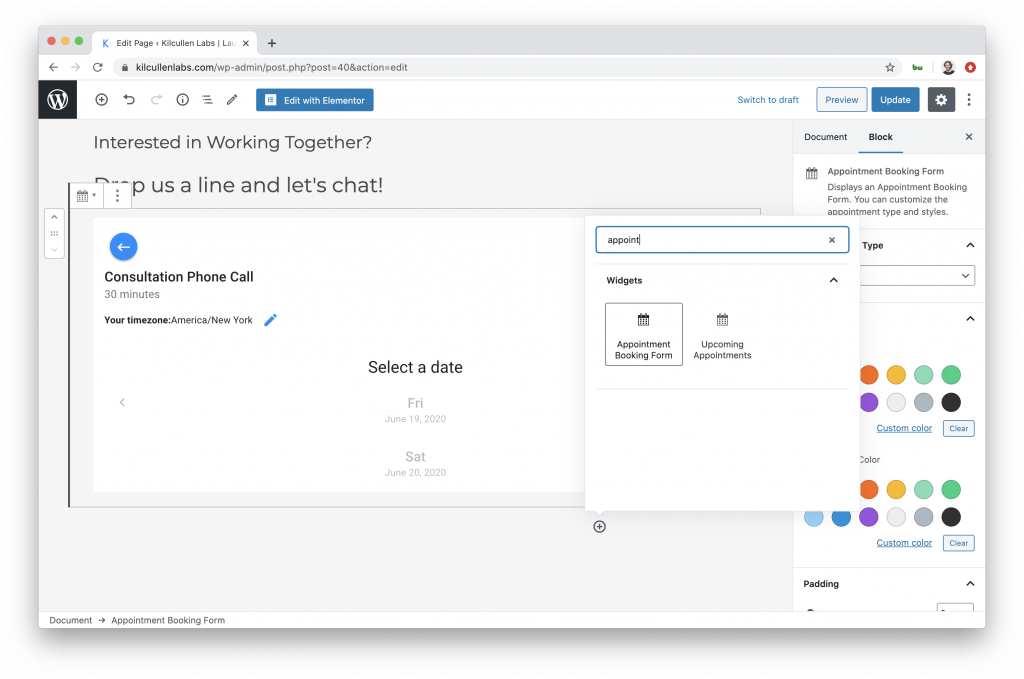
Alternatively, you can drag-and-drop WordPress’ Gutenberg “Appointment Booking Form” blocks (or Elementor widgets, Beaver Builder modules, or Divi widgets) into a desired area on a page, when editing the page:
However you choose to implement your appointment booking system, just make sure the page you place it on is published and live (or is published when you are ready)! And that’s it!
We hope you enjoyed learning how to create and add a free appointment booking system to your WordPress website.
P.S. Love your new appointment booking system but looking for more features, integrations and functionality? Check out Simply Schedule Appointments Plus, Pro, and Business editions.