Introduction
When you send your customers any notification for their appointment, you may notice that we use the default Sender Name and Sender Email Address set on your WordPress Site.
This guide shows how you can change the Sender Name and Email Address to match your business name better. To do this, we can use a free WordPress plugin called CB Change Mail Sender.
To customize the email notifications further, find more information in our Custom Styling for Email Notifications guide.
Install and Configure CB Change Mail Sender
This may cause email delivery issues if you’re not using a dedicated email delivery system to authenticate your emails. Please read our other guide on Reliably Sending Emails to learn more.
First, install the CB Change Mail Sender plugin. Once the plugin is installed and activated, go to Dashboard > CB Mail Sender.
You should see a screen that looks like this:
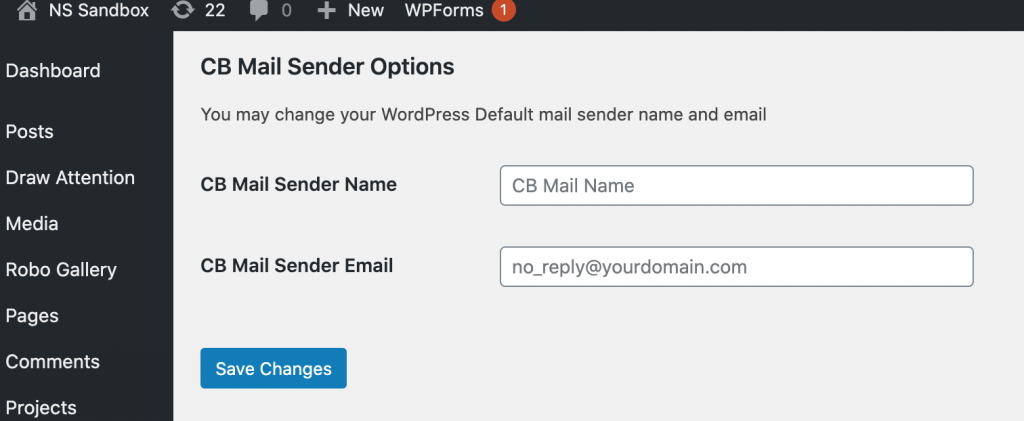
Sender Name
In the CB Mail Sender Name field, enter the name you want to use with all of the emails you send from your site, including Simply Schedule Appointments.
Sender Email
In the CB Mail Sender Email field, enter the email address you want to use when you send emails from your site, including Simply Schedule Appointments.
This email address will appear as the From address when your customer views your email.
Related Guides
-

Custom Subject and Message
-
Custom Email Styles for Notifications
-
Email Delivery Issues
-
Email Message Errors