In this document:
Introduction
By default, Simply Schedule Appointments’ email notifications are pretty standard – black text on a white background. This guide will walk you through using the Email Templates plugin to create a custom email template.
Potential ways to use this:
- Add your own logo and header
- Change the background colors and text colors
- Use custom CSS
If you’d like to change the Sender Name and Address, use our other guide to help you setup.
Install the Email Templates Plugin
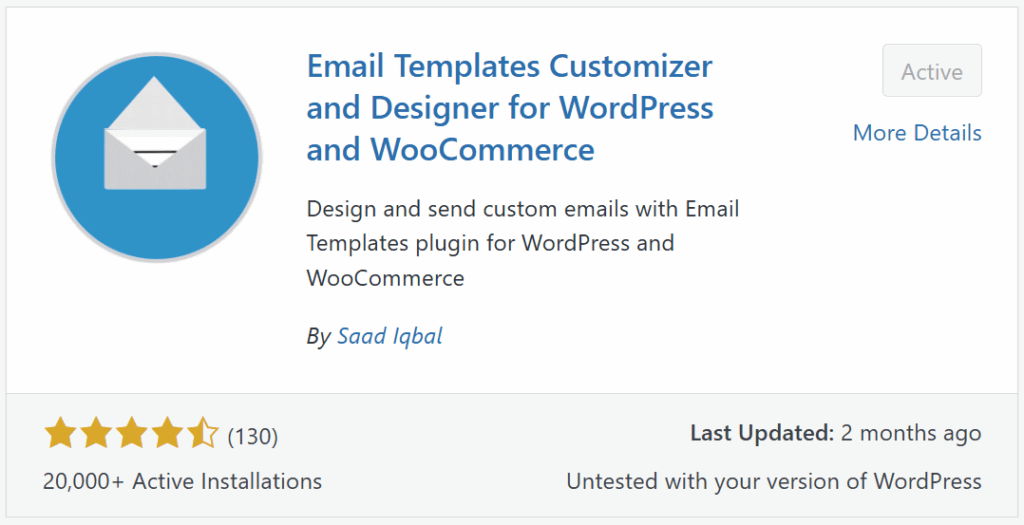
The first step to create a custom email template is to Install and Activate the Email Templates plugin from the WordPress Plugins page – don’t worry, it’s free!

Customize Email Templates
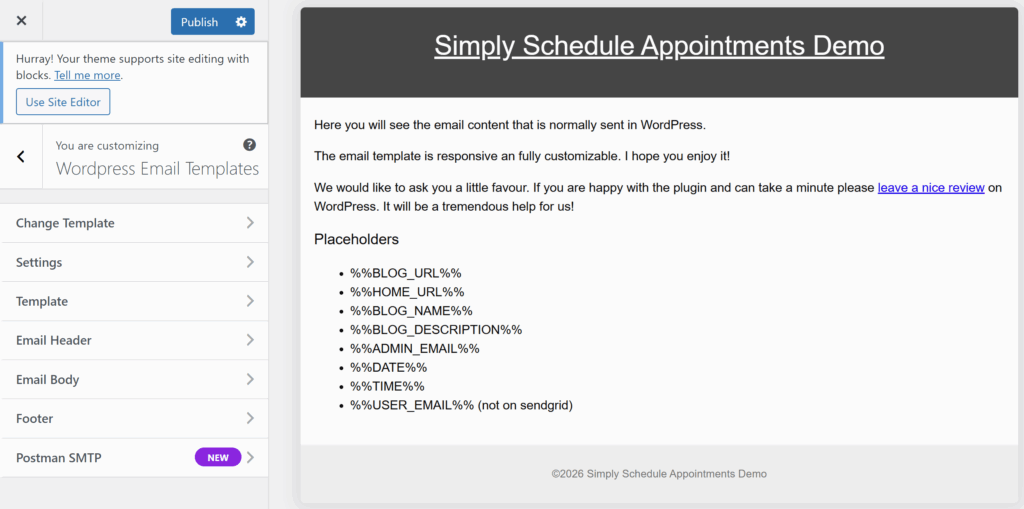
Once the plugin is enabled, it’s time to start customizing! Go to Email Templates from the WordPress sidebar menu to see the whole plugin settings.
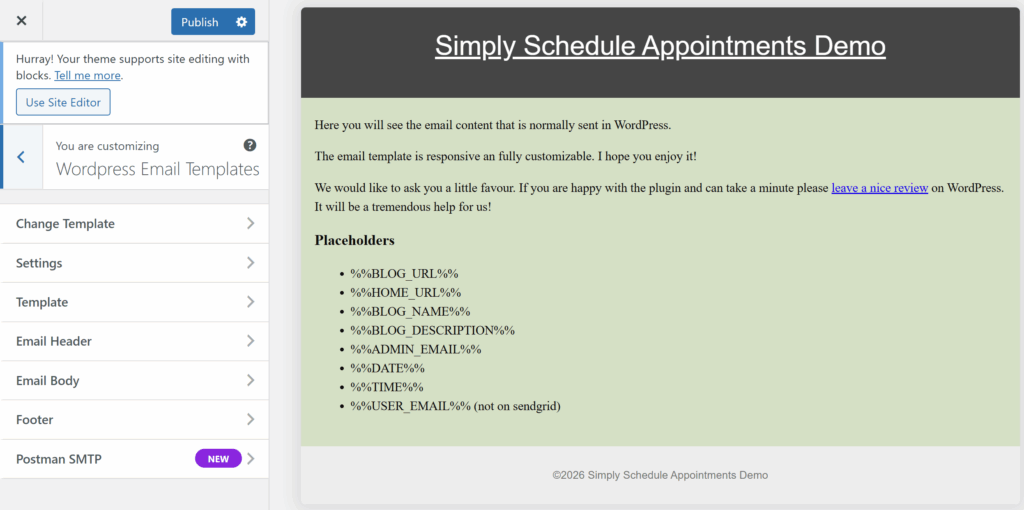
To the left, you’ll see different options for customizing the template. To the right is a live preview of what your new email layout will look like.

Email Templates’ Plugin Settings
From here, you can manage different parts of your email, including the:
- Template
- Email Header
- Email Body
- Footer
This will allow you to add a custom font, background color, logo, and other layout options.
When you’re finished with your changes, click Publish to save your changes.
And that’s it! You now have a beautiful new template design that you can use for emails with Simply Schedule Appointments and the rest of your WordPress site!

Send Test Email
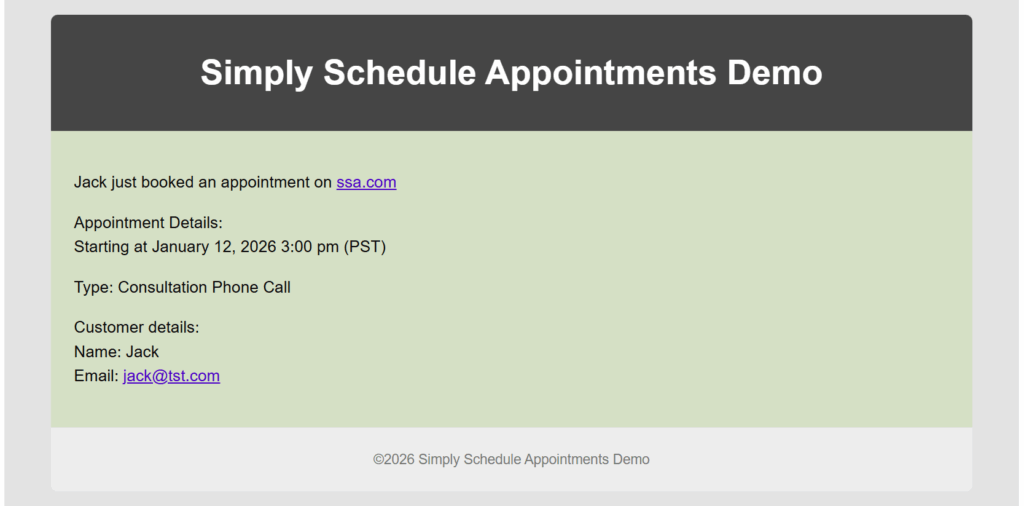
Lastly, click the Send test email > Send to send a test message to the default admin email. Or, book a test appointment in Simply Schedule Appointments to see what the final email template looks like.
We also recommend using the free WP Mail Logging plugin to verify that the email templates look good and are working for the SSA notifications.

