In this document:
Introduction
Make it easy for your customers to book paid appointments using PayPal. Add the PayPal option to receive payments directly to your PayPal Business Account.
After completing the steps in this guide, you’ll be ready to take PayPal payments! Finish setting up Payments for your appointments by adding your payment settings to your Appointment Types.
Video Walkthrough

1. Install an SSL Certificate
The PayPal IPN verification process requires your site to have an SSL Certificate.
A quick way to tell if your site is SSL Certified is to check your site’s URL. Make sure your URL starts with HTTPS, not just HTTP.
If you find that your site isn’t SSL certified, contact your hosting company for help in getting that set up.
2. Getting a PayPal Business Account
You’ll also need to set up a PayPal Business Account. PayPal requires these accounts for you to accept payments – and they’re free to create!
You can create a new Business Account, or upgrade your current account to start accepting payments.
Update your PayPal Email Address in SSA
Go to SSA Settings > Payments > Toggle PayPal On > Edit.
Type in the email address you’re using in your PayPal Business Account under the PayPal Email Address field.
3. Setup the IPN in PayPal
The PayPal Instant Payment Notification (IPN) service lets PayPal communicate with Simply Schedule Appointments.
Copying the SSA IPN Notification URL
Go to SSA Settings > Payments > Toggle PayPal On > Edit.
Copy the URL on the IPN Notification URL field.

Updating the PayPal IPN Settings
Log in to your PayPal Business account and go to your Account Settings found in the menu at the top-right corner.
In the left sidebar, go down to the section for Products & Services > click on Website Payments.
Click on the Update link next to the Instant Payment Notifications list item. Click on the Choose IPN Settings button.
Paste in the Notification URL from SSA. Then, change the IPN messages option to Receive IPN Messages (Enabled). Click Save.

4. Save Your SSA PayPal Settings
Double-check the Display title and Description fields and ensure that’s what you’d like your clients to see when they’re booking.
Basic Settings
- Display Title: The name that will display to your customers for the PayPal payment option
- Description: The description that will display to your customers for the PayPal payment option
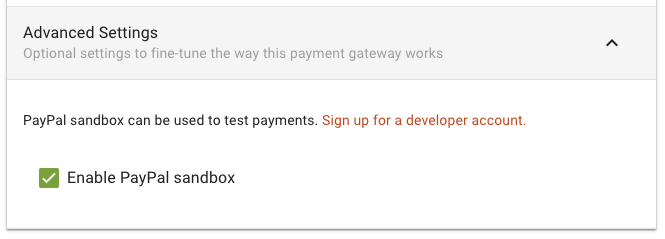
Advanced Settings
If you have a PayPal developer account, you can optionally enable Sandbox mode on your site. This is handy for testing payment scenarios and your connection to PayPal without entering real payment information.
5. Adding Payments to Your Appointment Types
Now you can start accepting payments for your appointments with PayPal! Finish setting up your payments by adding your payment settings to your Appointment Types.
Adding Payments to Appointment Types
6. Manage Pending Bookings
An appointment with a Pending Payment status is waiting to hear back from PayPal. These are handled differently from normal bookings. And, the admin has a few options on how to handle them.
Learn more about managing pending bookings.