In this document:
Introduction
Setting up Mailchimp gives your customers the option to add themselves to one of your audience lists.
You can enlist customers based on their booking interests by assigning a different audience list to each of your Appointment Types.
Potential Use Cases:
- Sign-up clients for your blog newsletter
- Keep your clients updated on promotions or special events
- Send your clients new product recommendations
Find answers to commonly asked MailChimp questions in our MailChimp FAQ guide.
Mailchimp Setup Walkthrough and Demo Video
Enabling the Mailchimp feature
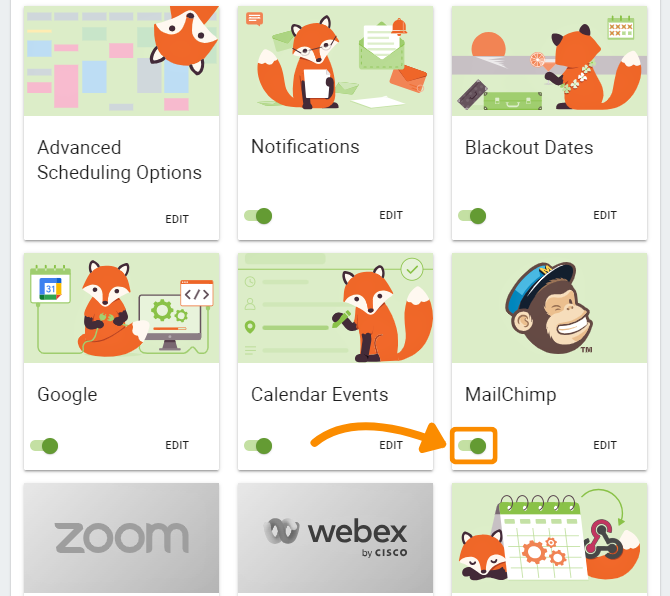
In Simply Schedule Appointments, go to the Settings tab. Find the Mailchimp setting and click the toggle to enable this feature.
Click the Edit Settings button.

Collecting the API Key
You can get your API by logging into MailChimp and using the drop-down menu in the bottom-left corner to access your Account.
From there, you can click on the Extras drop-down and click on API keys.
Or, click here, to directly link to the API keys page.
Create and Enter the API Key in SSA
Scroll down to where it says Your API keys. Click Create a Key. Your new key instantly appears. Copy the field that says API Key.
Take the API key you just copied and paste it back into the API Key field in the SSA settings.
Click Save and Authorize. You’ll now see a list of your available audience lists, along with a link to disconnect your account.
Turn on Subscription Checkbox in Appointment Type Settings
In each Appointment Types’ setting, you’ll see a new tab titled Mailchimp.
This settings tab lets you choose a single audience list for that Appointment Type.
And, feel free to customize the “Opt-in” checkbox text field; this text will display on the booking form next to the subscription checkbox.

