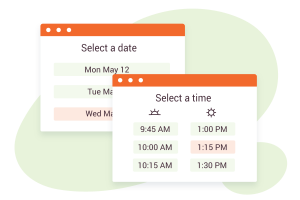
In today’s world, there’s never been a better time to start an online business. If you’re a coach or provide coaching services, this guide will explain step by step how you can start an online coaching business, or take your existing coaching business online with WordPress.
We’ll start with the basics of how you can set up a domain name, choose your web host, and get WordPress installed.
Next, we’ll take a look at some of the top WordPress coaching business themes, decide which pages you should add to your coaching site, and how you can use Simply Schedule Appointments with WordPress to set up an online booking system for your clients.
Finally, we’ll review how Zoom can help manage video meetings, and how MailChimp can help manage newsletters for your customers. The best part – all of these tools are managed through your coaching site with WordPress.
Let’s get started!
Getting Started: Choosing a Domain Name

A domain name is the name of the site that visitors will type into their web browser to get to your site. Many services like Google Domains or Domain.com will let you register a domain name. Most domains are fairly inexpensive and typically renew each year.
Some coaches like to use their own name as their website name (i.e. http://www.kristaroesler.com/), while others may associate their business name with their site (i.e. smartlifecoaching.com).
When you’re choosing a domain name, you’ll want to make sure it’s easy to remember, easy to type, and not too long. The easier it is for visitors to remember and type in your website name, the more often they’ll visit your site!
You’ll also want to try and aim for a domain that ends in “.com”. You will notice that there are plenty of domain endings you can choose from as you’re registering your domain. However, “.com” is still the most common and universally standard website naming convention, and most familiar to your visitors.
Next Up: Choose a Web Host
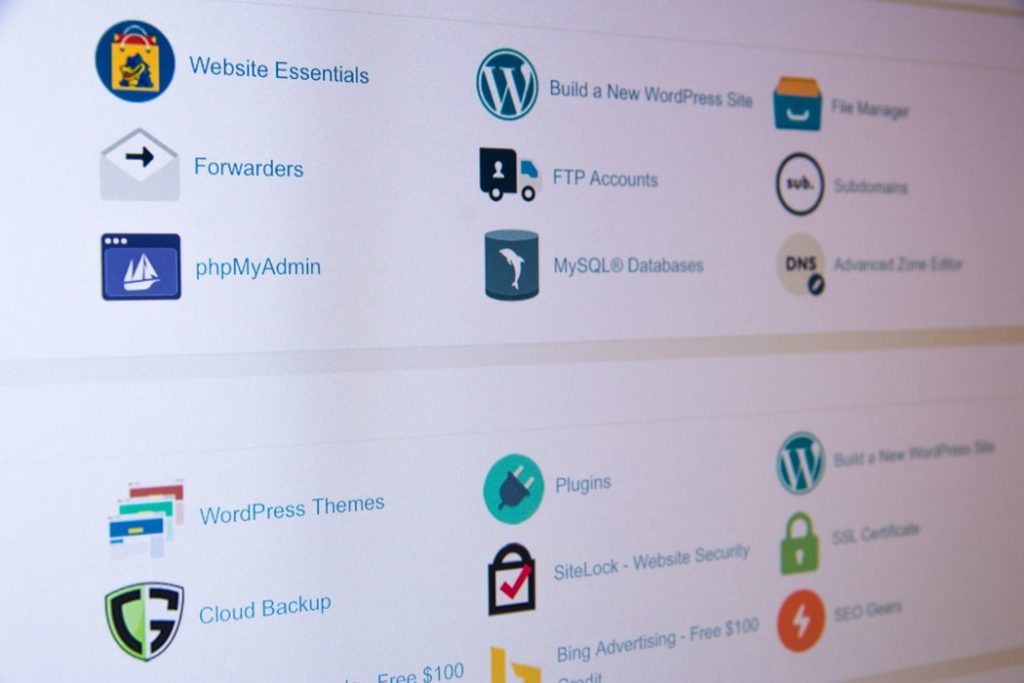
Once you have a domain, it’s time to choose a web host. A web host is used to store your website files. One requirement that you will need from your web hosting is the ability to install WordPress on it since that’s what we’ll be using to manage your website pages and content. There are many different web hosts available and most offer very similar features, but we like to recommend BlueHost to purchase your hosting.
What’s nice about Bluehost is that they also include WordPress in the hosting package, so there’s one less step for you to worry about.
It’s often easier to purchase both your domain and web host from the same provider, but if you do decide to purchase your domain from one provider and your hosting from another, you can usually find documentation provided by your web host that will explain how to link your domain to your web host. Here’s an example with BlueHost.
Getting Ready for Coaching Content: Set up WordPress
Now that your site is set up, you should be able to get to it by typing in your domain name into your web browser. You may see either a blank page, or the default page provided by your hosting. Let’s take a look at how we can set up WordPress to manage your website content.
What is WordPress?

WordPress is a free, open-source content management system. It makes it simple to create new pages, add media like images, and add themes to make your site look great.
Each web host usually has its own instructions that explain how to install WordPress. We recommend searching for your web host name + “install WordPress” to get the most relevant information for you.
Alternatively, the BlueHost mentioned earlier already has WordPress set up, which means you can skip this step.
The Top Coaching Themes for WordPress
One of the most powerful features of WordPress is definitely its wide range of themes that are available. A theme can help make your website look professional and great to look at too! While you can use any WordPress theme you’d like on your site, here are some of the top themes we recommend for your coaching business:
Health Coach

Perfect for any type of coach whose offerings are health-related. The soothing green tones and simple layout make this theme perfect for emphasizing wellness and energy:
DotLife
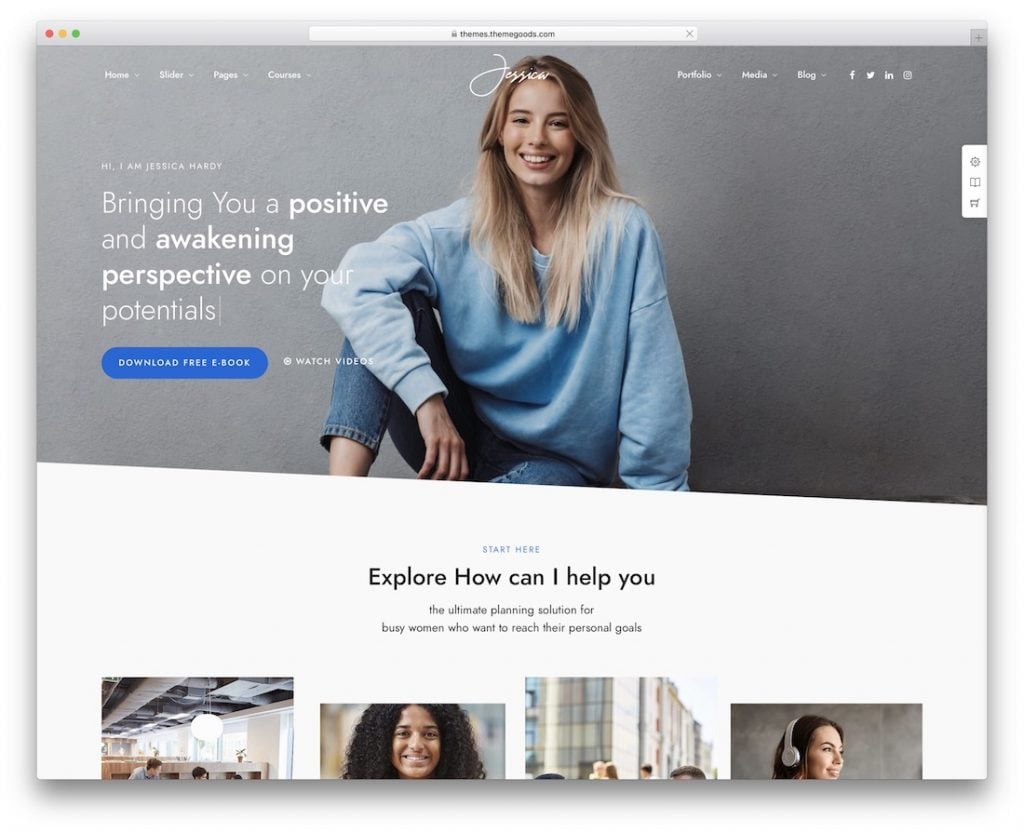
Clean and modern, this theme is a great all-rounder for any type of coaching. What’s unique about this theme is that it lets you create your own lessons and quizzes for students with the included LearnPress plugin:
Colead
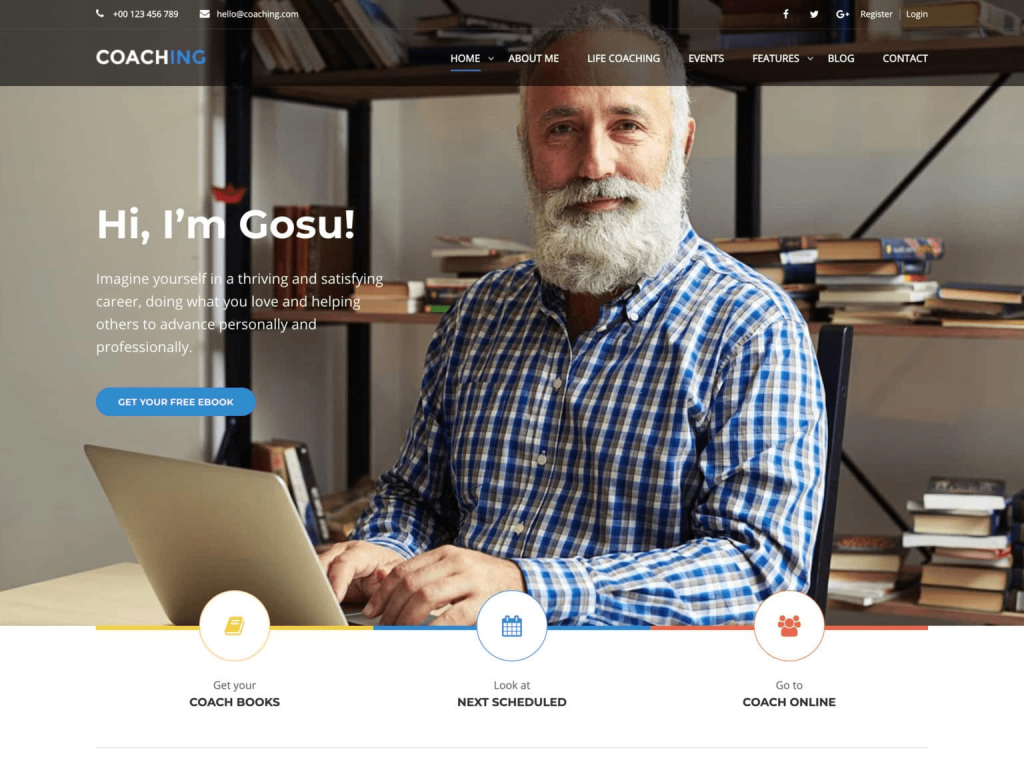
This flexible theme offers 9 different home page layouts, so you’re bound to find one that looks great for your coaching business. It also includes the popular Revolution Slider and LearnPress plugins.
PJ

This high end theme projects confidence and the utmost professionalism for your coaching brand. It’s perfect for business coaches, advisors, or consultants:
Life Coach and Psychologist Personal WordPress Theme

Designed for life coaches, this theme is extremely simple and minimalistic. The soothing colours will help your clients feel right at home as they navigate your site:
Installing Your WordPress Theme
When you’re all set with your theme, you can install it by logging into WordPress and going to:
Dashboard ⇒ Appearance ⇒ Themes. Click “Upload Theme” and choose your theme’s Zip folder:

Click “Activate” to enable your new theme.
Adding Content and Pages to your Coaching Site
So far, we’ve covered how to:
- Choose a domain name
- Choose a web host
- Install WordPress
- Install a WordPress theme
You’re doing great! Now that you have the backbone of your site set up, it’s time to set up your website’s pages.
To add a new page, from the WordPress administrative area, go to Dashboard ⇒ Pages ⇒ Add New
Here are some pages we would recommend adding to your site:
- Home page: This page is your chance to give your clients/prospects a great first impression! It should be clean and draw the visitor’s attention to learn more about your business.
- About page: This page is all about you! Use this page to describe who you are, what inspired you to become a coach, and to help visitors gain some insight about who they’re taking lessons from
- Services page: A way for you to share what exactly you offer and how your services fit with your clients’ needs.
- Booking Calendar/Contact page: A place for your students to sign up for classes or contact you if they need anything.
- Blog page: A place for you to share helpful content so you can attract more visitors.
- Sign-up/login page for members: A great option if you’d like to offer members-only content on your site
Set Up Online Booking
A booking calendar is a great way to let clients schedule coaching sessions through your website. Simply Schedule Appointments makes it easy to get started.
With Simply Schedule Appointments, you have the option to create different appointment types, which can represent different services you offer, sessions with different durations (i.e. 30 minutes vs. 60 minutes), or both.
For example, if you’re a dating and relationships coach, you could create a booking calendar for these services:
- Couples Counseling (60 minutes)
- Creating Confidence Workshop (30 minutes)
- New client consultation (30 minutes)
The booking calendar also sends confirmation emails whenever a student books. That way you can add your Zoom invite link and passcode every time someone signs up.
To add the booking calendar start by adding your availability and set other rules for when student can book. And since this is going to be setup for members, their name and emails always auto-fill for them.
After you create appointment types for each service, you can display the booking calendar on your page by adding the shortcode using the WordPress block editor.

There’s also a step-by-step video that shows you how to set up SSA in 5 minutes:
Bonus:
Simply Schedule Appointments can also integrate with your Google Calendar – so whenever your client books an appointment, it automatically gets added to Google Calendar. Learn more about how to integrate your Google Calendar with SSA here.
Set up Video Calls
If you’re going to be offering coaching sessions online, it makes sense to look at some video conferencing tools that can help you to connect virtually with your clients. There are many tools available, but we recommend using Zoom. It’s the standard in video conferencing and has a simple interface that’s straightforward and intuitive.
To start, head on over to Zoom.us and click on the orange button that says “Sign Up, It’s Free”. After you sign up, you’ll have the option to create a new meeting and you can share your meeting link with clients so they can join too.
There are several different meeting options that allow you and your students to share your cameras, share screens, and even record meetings to watch or listen to later.
The free version of Zoom is limited to 40 minutes per meeting, but you do have the option to upgrade if needed.
Set up MailChimp to keep your Clients Updated
A newsletter is often a great way to keep your clients and prospects engaged and up to date with your coaching business.
A tool like MailChimp makes it easy to send email campaigns to your clients and prospects. You can set up these campaigns to be automatically delivered to your users, and users can opt in to subscribe to your newsletter on your website.
Here’s a full guide on MailChimp that shows you how to set up a campaign, step by step:
https://mailchimp.com/help/getting-started-with-mailchimp/
Best of all, MailChimp integrates directly with Simply Schedule Appointments:
Conclusion
As a personal or business coach, a coaching website running on WordPress is the perfect tool for you to stay connected to your current customer base, promote your business, and find new clients. We reviewed how to set up your domain and web host, get up and running with WordPress, some of the top coaching themes, and some extra features like online scheduling and setting up email newsletter campaigns.
With these tools in hand, you have everything you need for your coaching business to thrive. Now, it’s time to get coaching!


