When we first created Simply Schedule Appointments, we went pretty basic with the notifications that go out to the customer and the appointment administrator. Just a simple email for each with the details about the appointment time, date and time, and some basic customer details.
As we’ve gotten more and more people using Simply Schedule Appointments, we’ve had lots of requests for some more robust functionality for notifications. Folks have wanted to customize the messages, send the emails to multiple email addresses, and lots of other stuff you just couldn’t do before.
So today, we’re happy to announce a more robust notifications system – and more improvements for Pro and Business edition users on the horizon as well!
Customize your notifications
Now it’s easy to customize the content of your notification emails. You can customize both the subject line and the message itself right inside Simply Schedule Appointments. You’ll find the settings for your notifications inside Settings > Notifications:
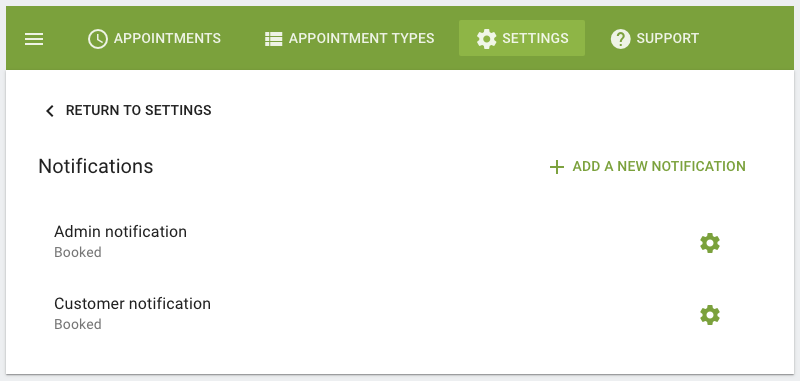
Click on any notification to edit it, or use the gear icon to clone or delete a notification. Or click the Add new notification link to create a new notification. On the notification editing screen, you have total control over the subject line and content:
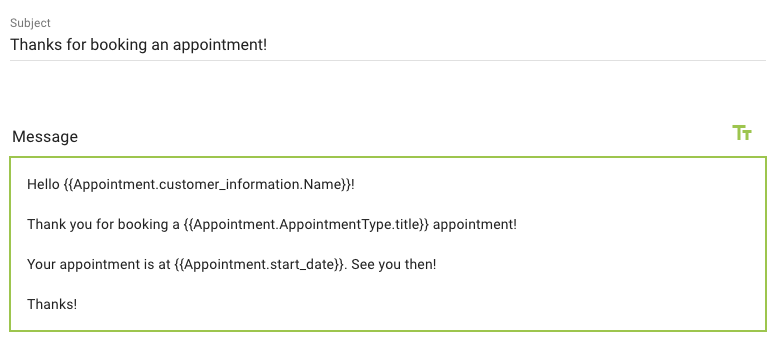
The notification message uses Twig templating. More information about Twig is available in the Twig documentation.
Click the icon at the top right to insert tokens automatically, or just type {{ to open the list of options right where you’re typing.
Notification triggers
When should a notification be sent? Of course a notification should be sent when someone books an appointment, but you might also want to send a followup message when an appointment is canceled or edited as well. We’ve got you covered!
For each notification, you can select a trigger for when that notification will be sent:
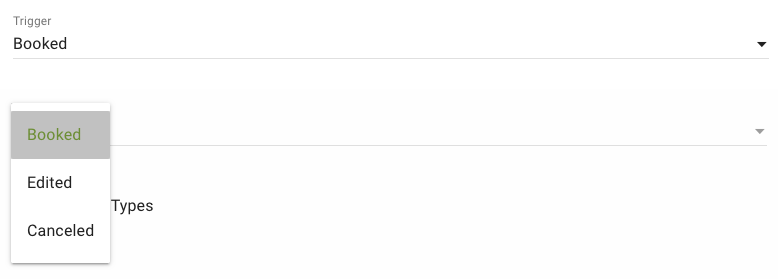
That way you can set up different messages for different situations.
Select who to send to, and even cc or bcc anyone
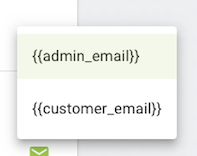
For each notification, you can select to send to the appointment admin, or the customer who booked, or both. You also have the option of adding any email address to the notifications. You can even elect to cc or bcc anyone on the notifications. If you like, you can bcc yourself on any notifications sent out to customers:

Click the envelope icon at the right of each field to get shortcuts for inserting the appointment admin’s email or the customer email as needed.
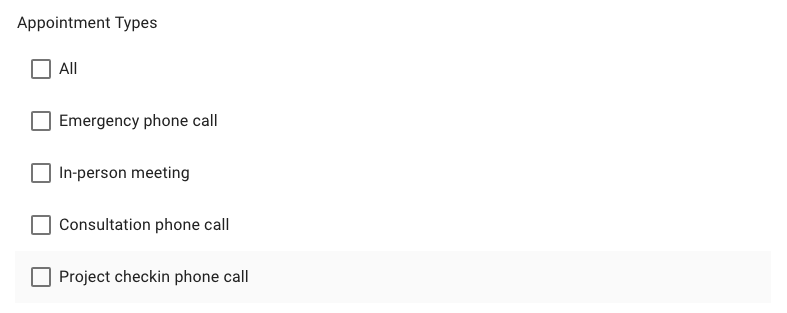
Unique notifications for different appointment types
Finally, you might want to send a different sort of message for different types of appointment types. For example, your customer might need different information about their appointment if it’s a phone call than they would if it was an in-person meeting. When you set up a notification, it can be universal – sent out for every appointment type. Or it can be set to send out with just certain appointment types.
Reminders coming soon for Pro and Business!
And we’re already hard at work on making this feature even more robust for our Pro and Business edition users. Pro and Business users will have the option of sending out SMS messages as well as emails, and will additionally be able to select the time of the appointment as a trigger.
So if you want to text your customer a reminder an hour before their appointment or email them a link to a follow-up survey a day after their appointment, that will all be possible.