In this document:
Introduction
In this guide we’re going to show you how to export your Bookings (both Visible and ALL) directly from the Appointments tab in your SSA Admin page.
You can use filters like Appointment Types & Labels, Appointment Status, and Team Members to load specific appointments.
Potential Use Cases:
- Use the CSV file in Excel to analyze appointment data.
- Import it to your CRM or Client Management Tool.
Exporting Visible Bookings
Any appointments that are loaded on your screen will be exported.
You could add Filters or Load More Appointments; either way, all the ones visible on the page will be exported.
Exporting Visible Bookings example
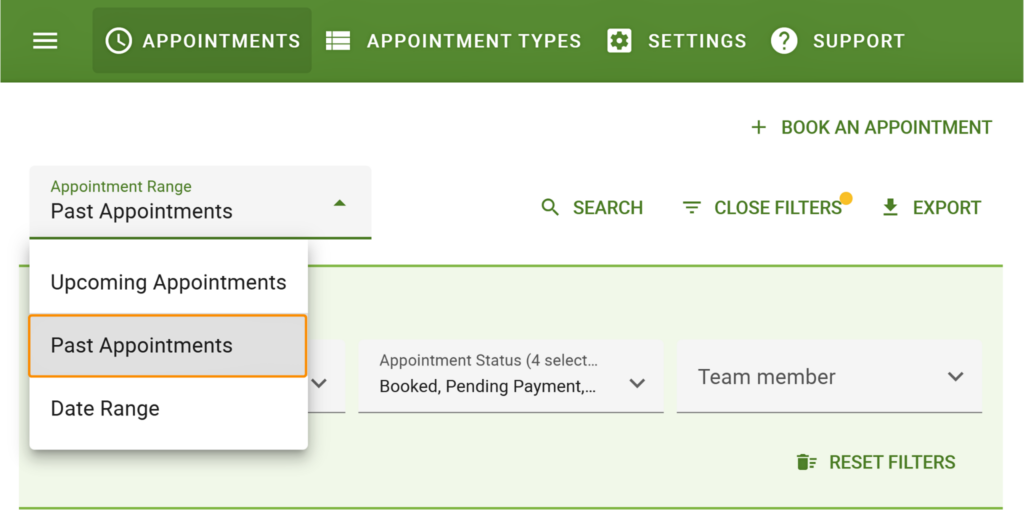
Let’s say I only wanted to export bookings in the Past Appointments view for my Consultation Video Call Appointment Type.
1. First, I’d change the Appointments View to Past Appointments.
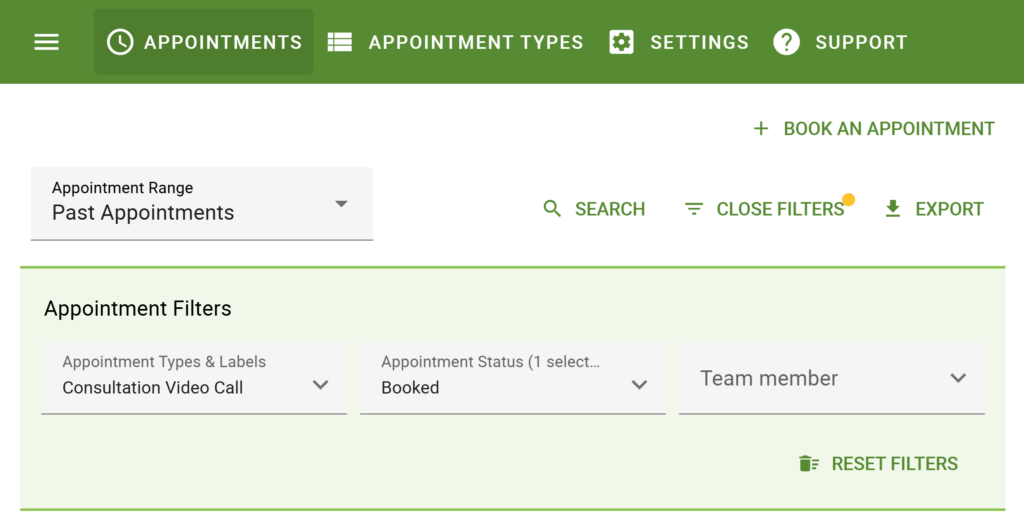
2. Then, I’d go to the Filter and choose Consultation Video Call from the Appointment Type dropdown and only select Booked from the Appointment Status dropdown.
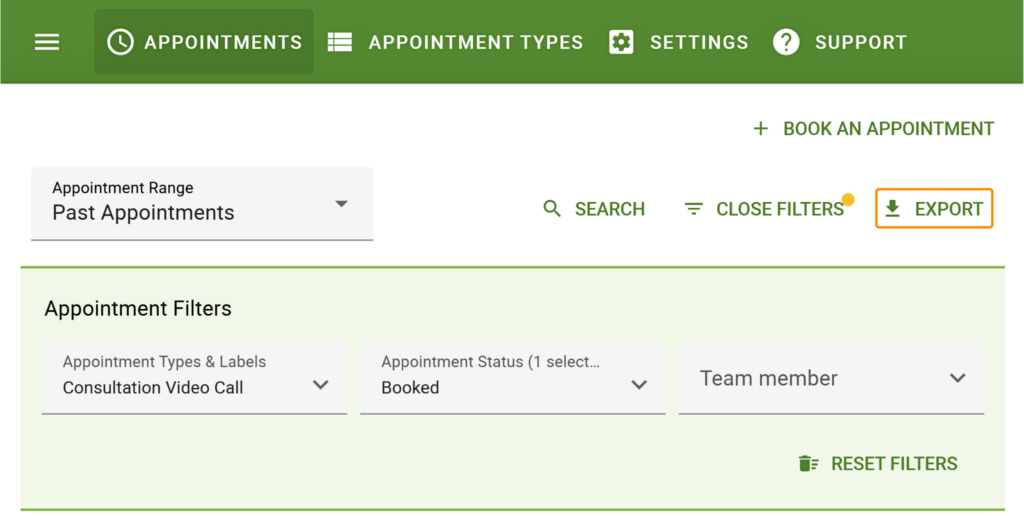
3. Now, I can use the Export button to create a CSV of all the Visible Past Appointments for my Booked Video Calls.
Exporting ALL Bookings
Any appointments that are loaded via the Date Range View will be exported.
Our export feature currently works by only exporting the loaded and visible appointments on the page. So, by using the Date Range, we will essentially be loading ALL of the appointments onto the page so that they’re technically visible.
Exporting ALL Bookings example
Let’s say I wanted to export all bookings from January 2024 to December 2024 for the Consultation Phone Call appointment type that are either Booked or Cancelled.
1. First, I’d need to use the Views dropdown to select the Date Range View.
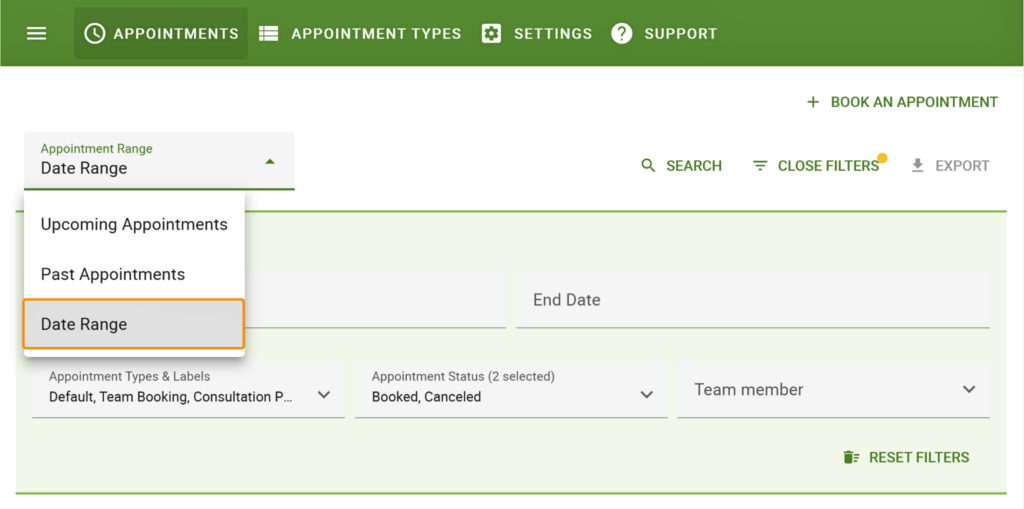
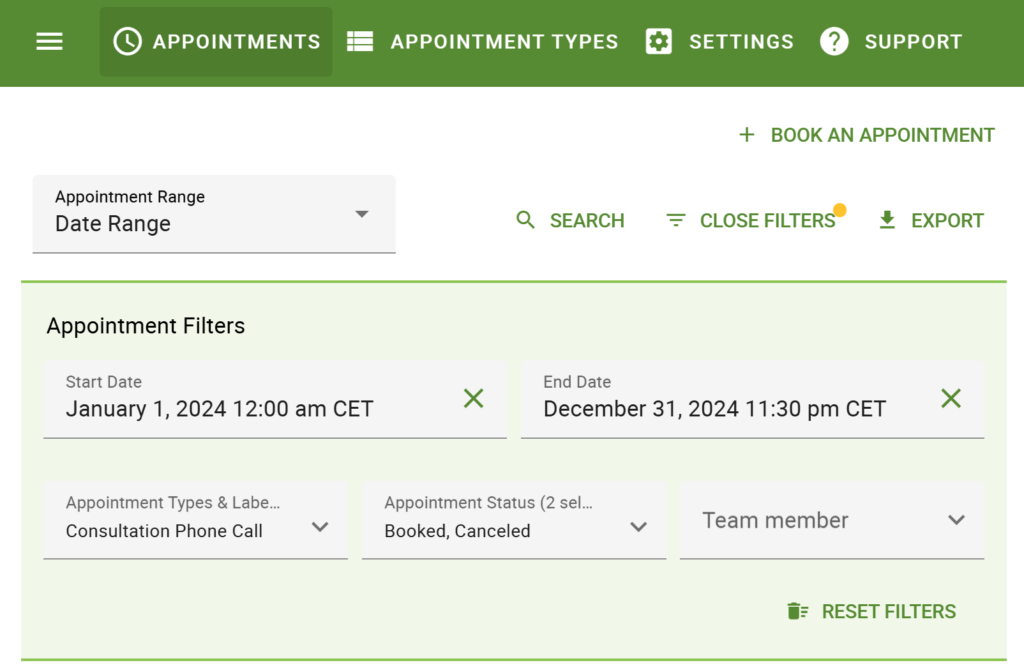
2. After selecting the Date Range View, you’ll see a screen with Start Date and End Date, along with other filters. In our case, I will enter January 1, 2024, as the Start Date and December 31, 2024 as the End Date.
Also, I’ll choose Consultation Phone Call from the Appointment Type dropdown and only select Booked and Canceled from the Appointment Status dropdown.
If you have 100s or 1000s of bookings, please be patient; the plugin is trying to load all of your bookings onto the page, which may take a while. If it seems like the page is frozen, give it a moment to finish loading.
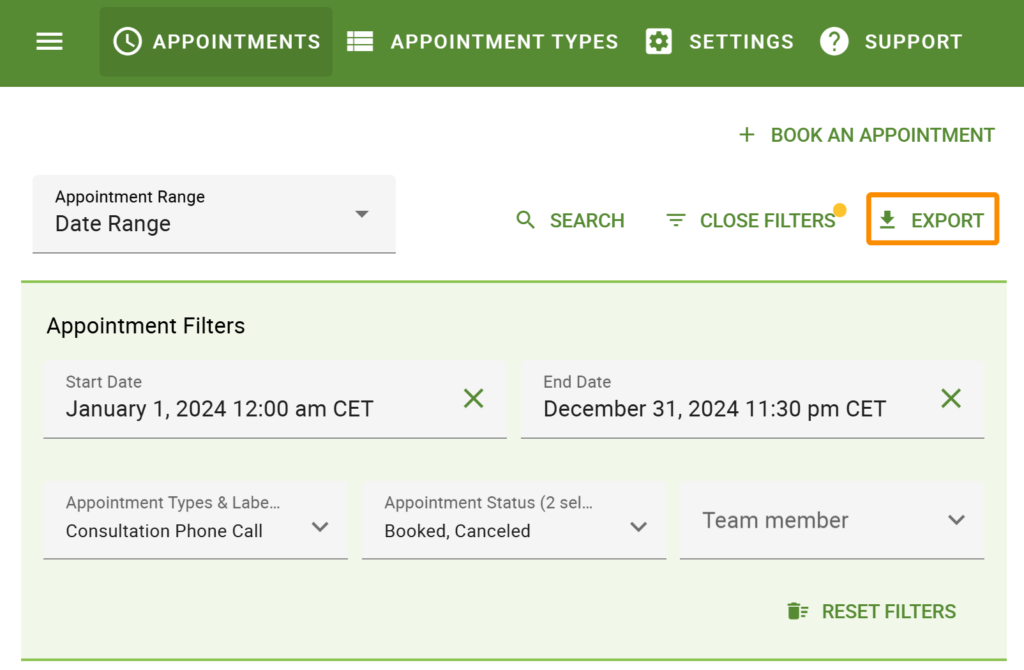
3. Once the page is done loading, I’ll use the Export button on the top-right corner. This will start the CSV download from the browser.
What’s Included in the CSV File
When you select the Export option, a file called appointments.csv is created and downloaded onto your browser. From there, you can download that file to your computer.
Each row of the CSV represents an appointment. Here is a list of the included columns:
- ID
- Start Date
- Start Time
- End Date
- End Time
- Appointment Type
- Status
- Customer Timezone
- Date Created
- Payment Method
- Payment Amount
- Payment Transaction ID
- Edit Link
- Team Member(s)
- Name
- Fields: One column for each field (Paid Edition Customers will also see their custom fields in each column)
- No-Show Status
Related Guides
-

Zapier and SSA Webhooks
-
Searching, Filtering, and Viewing Bookings
-
Cancel, Reschedule, Edit or Delete Bookings
-
Export ALL Bookings to CSV