In this document:
Introduction
Use Formidable Forms to create complex booking forms using conditional logic; this will allow you to display specific booking calendars or fields depending on a user’s previous choices in the form.
Potential Use Cases
- Guide visitors to book with the correct department or person.
- Help people book an event depending on their preferences, including add-ons.
What You Need First
- Formidable Forms is installed and activated, including their Basic, Pro, Elite, or Developer plan.
- Go through the Setup Wizard in SSA and finish setting up your Booking Calendar rules and styling.
- To get started on how to set up a basic Formidable Forms form, please refer to our guide on the initial form setup.
Initial Set Up for Appointment Types
By using conditional logic, you can easily direct users to a specific Appointment Type.
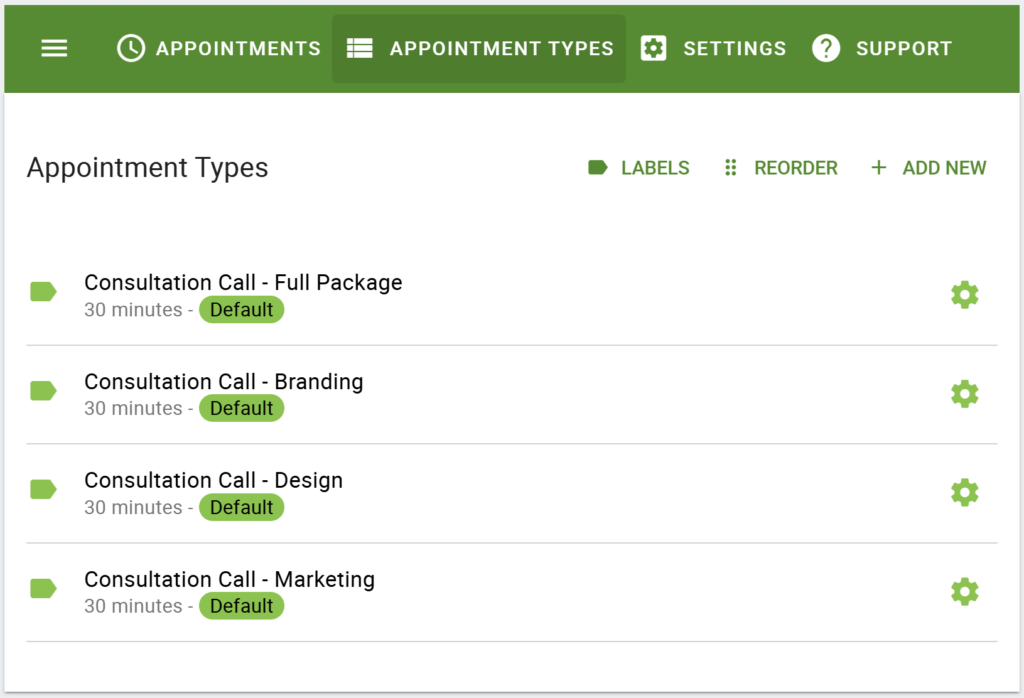
First, you’ll need to create different Appointment Types to accommodate all the different services and combinations.
Setting Up the Form
After creating all the required Appointment Types, create a new form with Formidable Forms and start with the required Name and Email fields.
Name and Email fields are required on your Formidable Form, or else all the appointments listed in SSA will be indistinguishable.
To use conditional logic, you’ll need to make sure to include
- Field(s) to filter which booking calendar to display to the user, and
- Each individual appointment type is added to the form.
Using Fields to Filter the Booking Calendar Displayed
You’ll have a few different options to decide how you want to filter the booking calendars:
- Radio Buttons: This option is best when you want to offer only a single service or specific packages.
- Drop Down: This option is similar to the Radio Buttons option. You can use this if you would like your form to appear shorter if you offer many different services.
- Checkboxes: This option is best when you want your users to have the ability to mix and match different options instead of creating multiple Radio Buttons.
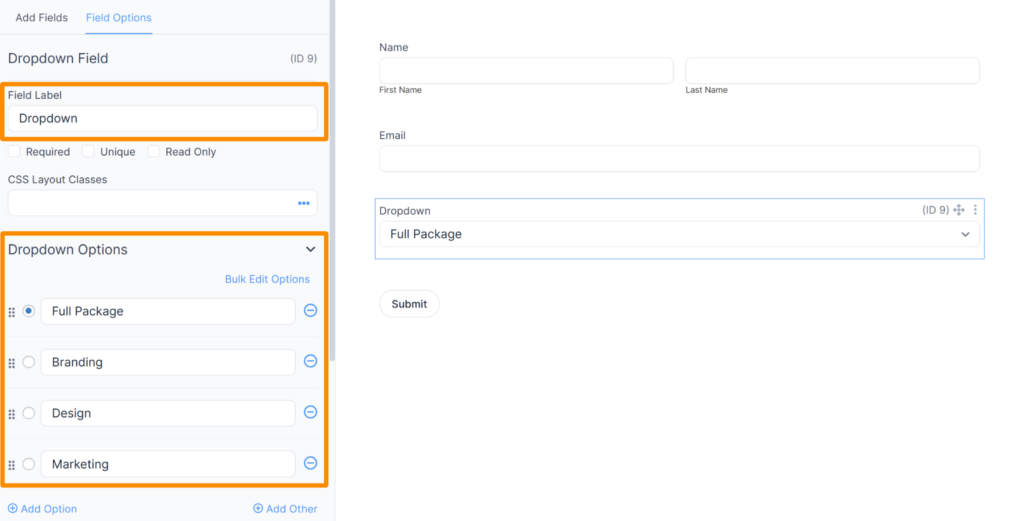
For this example, we will be utilizing Drop Down field. By default, Formidable Forms will provide 2 options. You can easily add more options if needed.
Adding the Appointments Field(s)
Next, you’ll add the Appointment field to your form. Since there are multiple Appointment Types, you’ll need to add each one of them individually. If you have 4 appointment types you want to include, you’ll need to add 4 Appointment fields to your Formidable Form.
Make sure to edit the Appointment field settings:
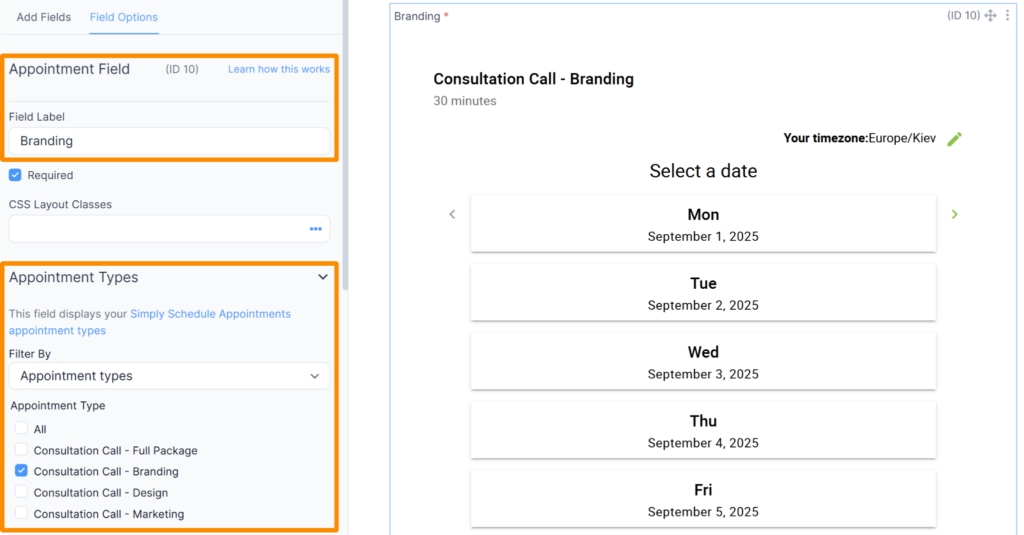
- Appointment Type dropdown: By default, this is set to ‘All’, but you’ll need to choose a specific appointment type.
- Required: Make sure to turn on the ‘Required’ toggle so that you can make sure a user books a time before they submit their booking form.
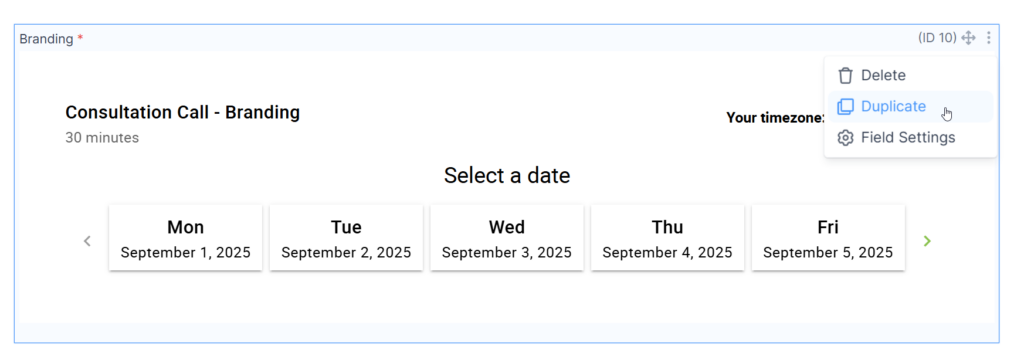
To make it easier for you to add multiple Appointment fields, after adding one Appointment field to your form, you’ll be able to duplicate it. Unfortunately, the settings do not transfer over, so you would have to adjust all the settings again manually.
Now that you have all of your Appointment Types in the form, you’ll be able to start creating conditional logic!
It is highly recommended that you save your form after adding all of your appointments before adding conditional logic!
Creating Conditional Logic
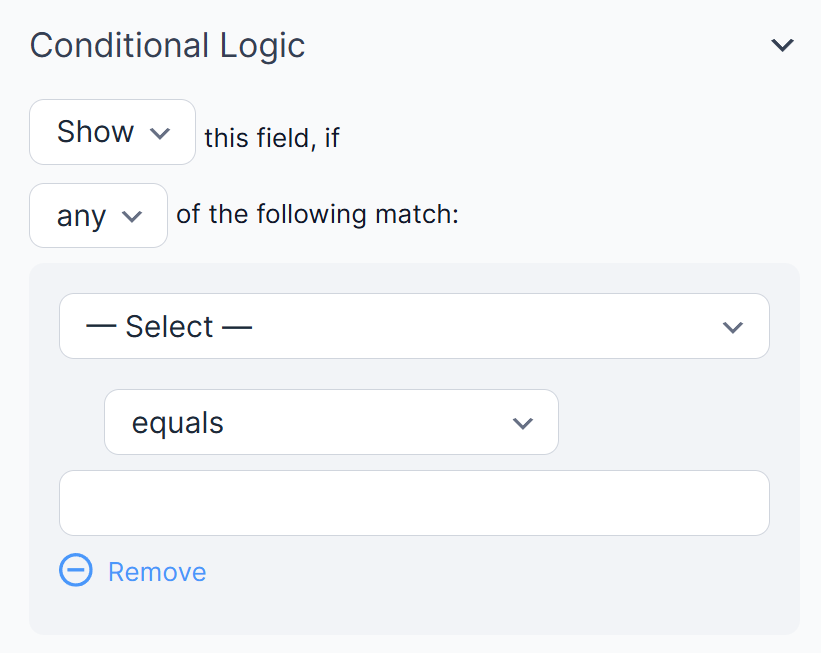
To create conditional logic, you’ll need to click on the Appointment Type module in Formidable Forms and view the settings. There will be a button called Add Conditional Logic. Click on the button to bring up its settings.
After clicking the button, you’ll see the different fields to adjust according to how you’d like to filter the booking calendars.
If you’d like more details on what you can do with the Conditional Logic settings, visit Formidable Forms’ documentation to learn more.
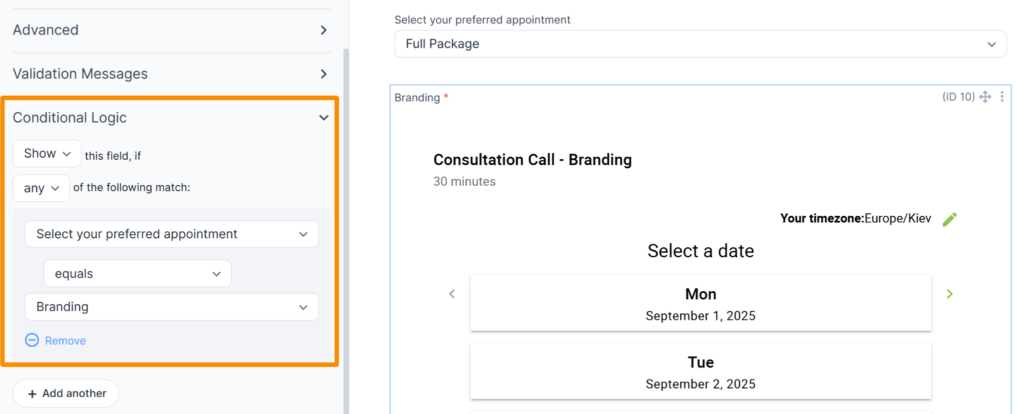
Creating a Single Conditional Logic Rule
To create conditional logic for my “Consultation Call – Branding” appointment, I’ll need to make sure that the booking calendar only displays if the “Branding” checkbox is selected in my “Select your preferred appointment”. To do this, I need to make sure to:
- Select the Drop Down Field Label. In this case, it would be “Select your preferred appointment“
- Select the Drop Down option you want to filter it to. In this case, it would be “Branding.”
The options you choose are the Field Label names when you created each form element, so make sure you choose helpful and clear names!
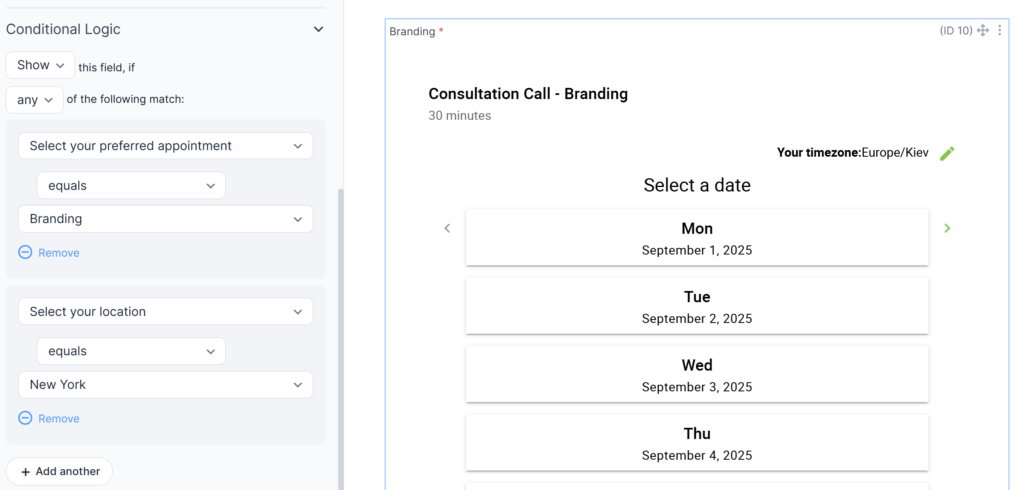
Creating Multiple Conditional Logic Rules
You can easily add multiple rules by clicking on the Add + button. Multiple Conditional Logic works best with Checkboxes, or if you want to direct your users to different sets of specific form elements based on the different answers they choose from other form fields.
Test the Form
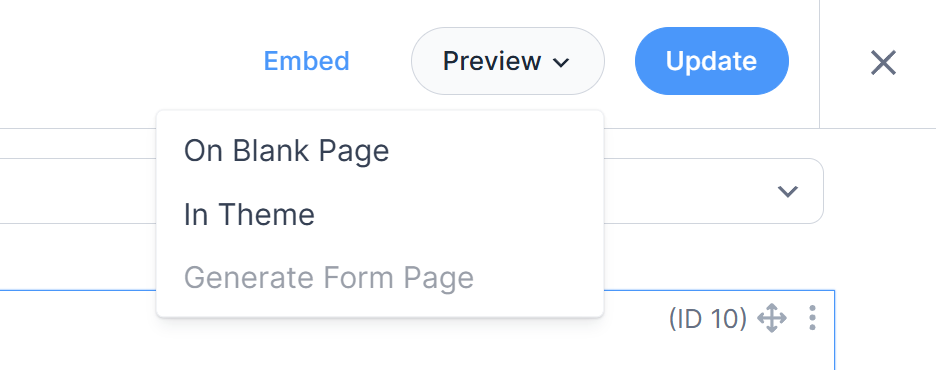
Now that you have completed implementing all of your conditional logic, the only thing left is to test out your form! You can easily preview this form by clicking on Preview and choosing either “On a Blank Page” or “In Theme.”